|
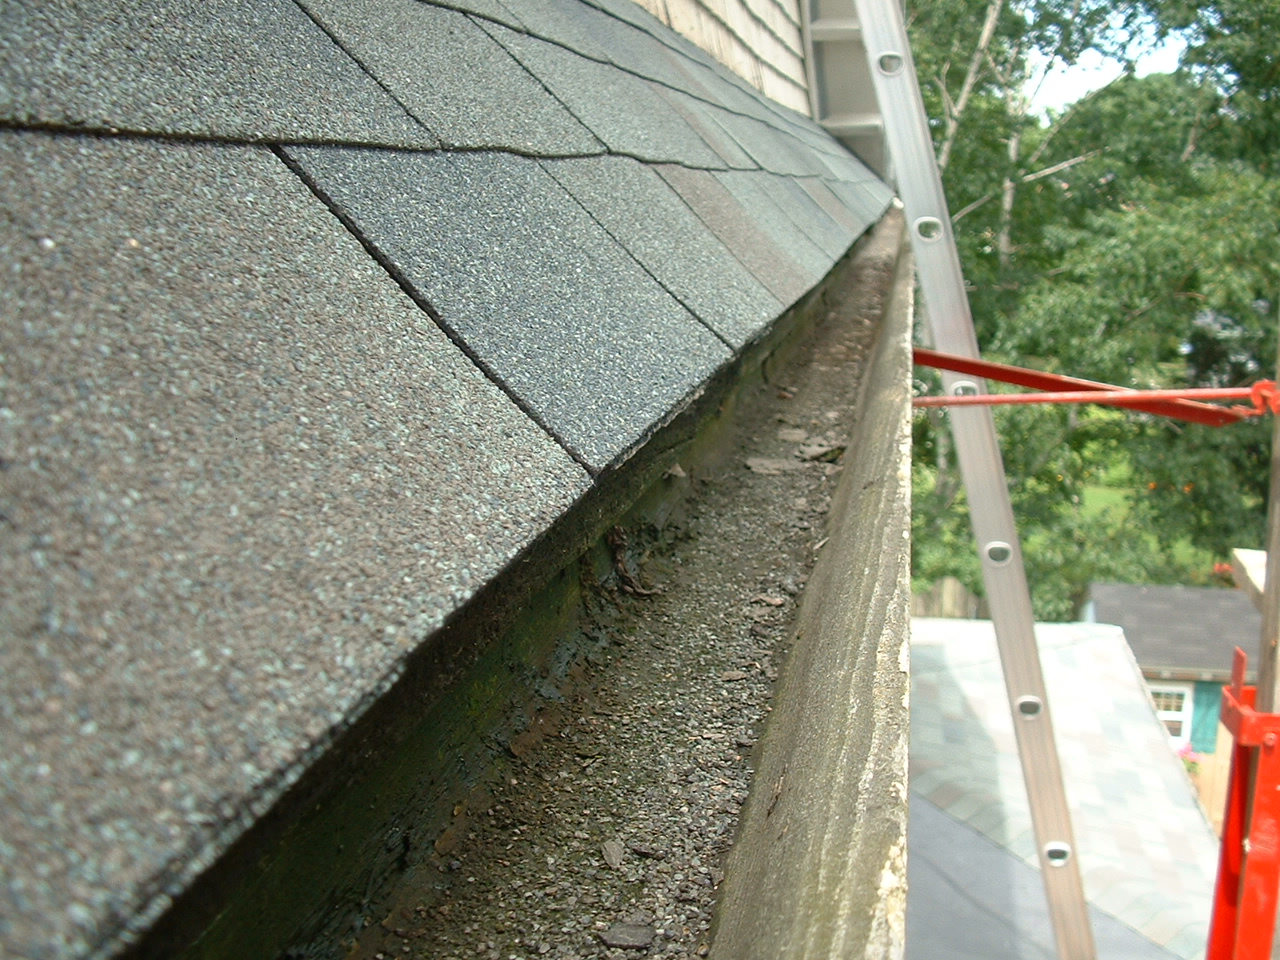
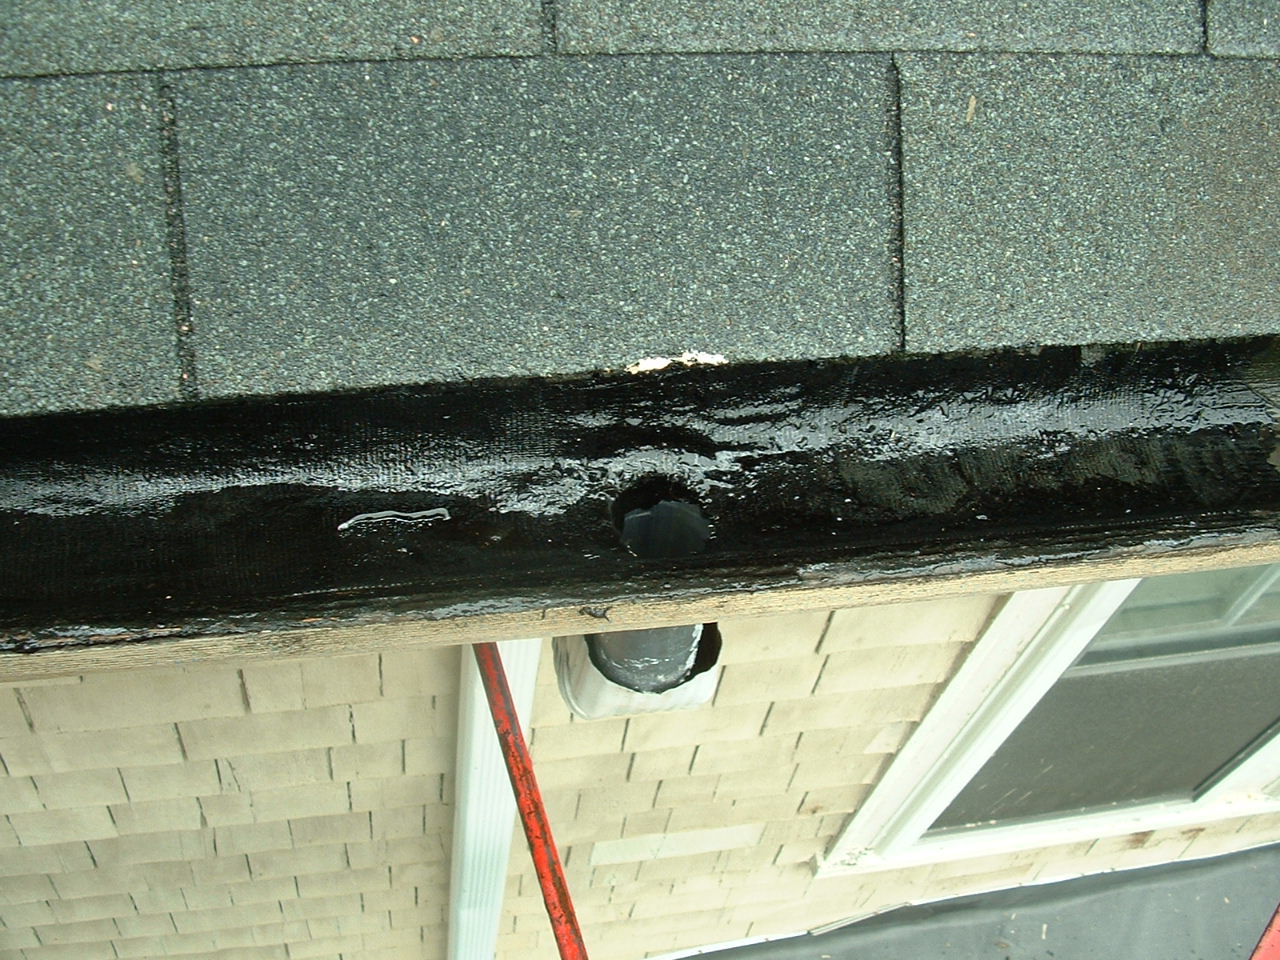
The leader outlet seen on the right is buried beneath this inch thick layer of asphalt shingle granules. |
|
|
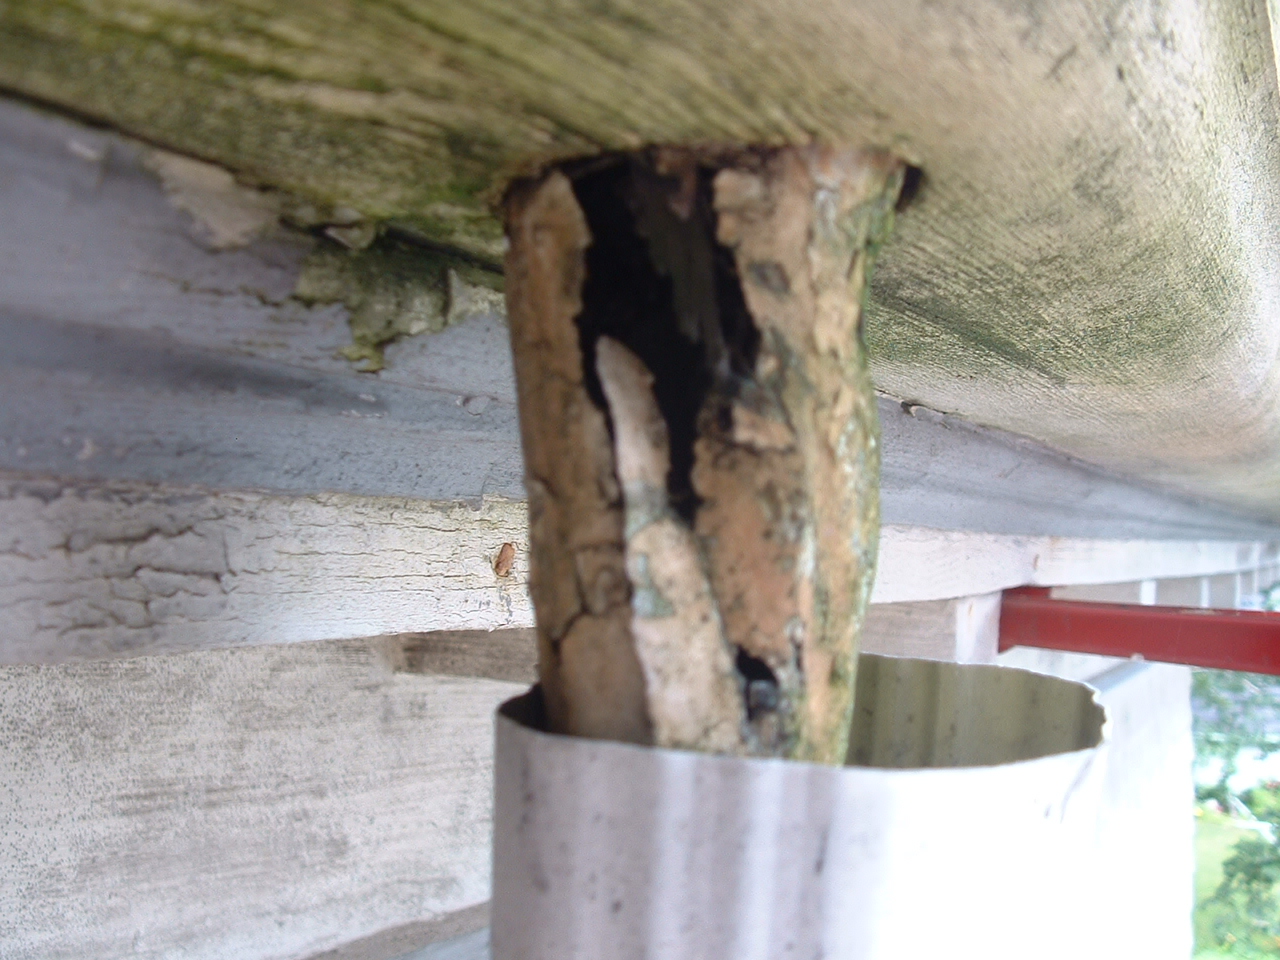
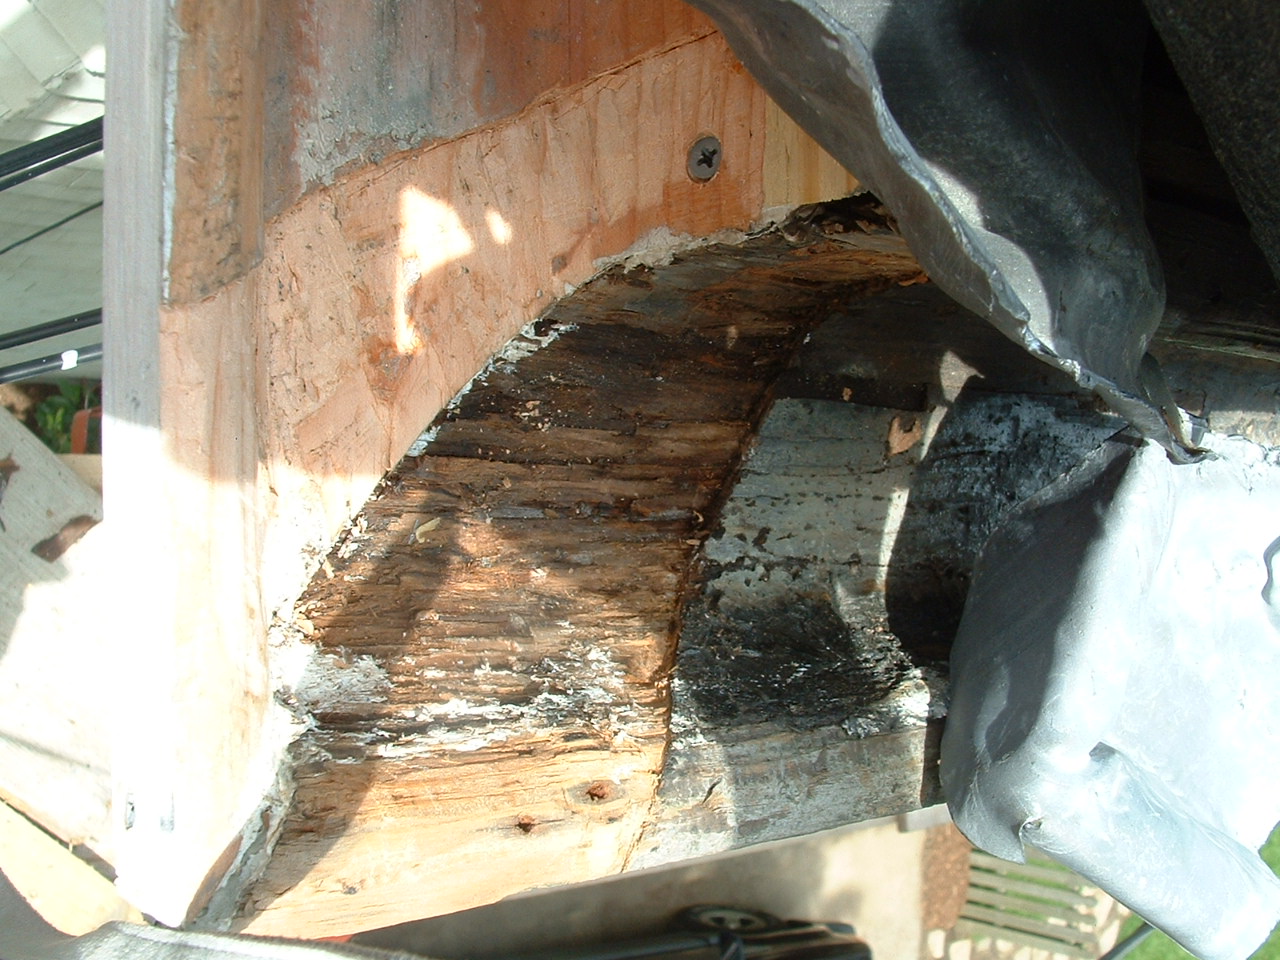
Even lead corrodes over time. This leader outlet, and the downpipe elbows directly below are plugged solid with decayed maple leaves and seeds |
|
|
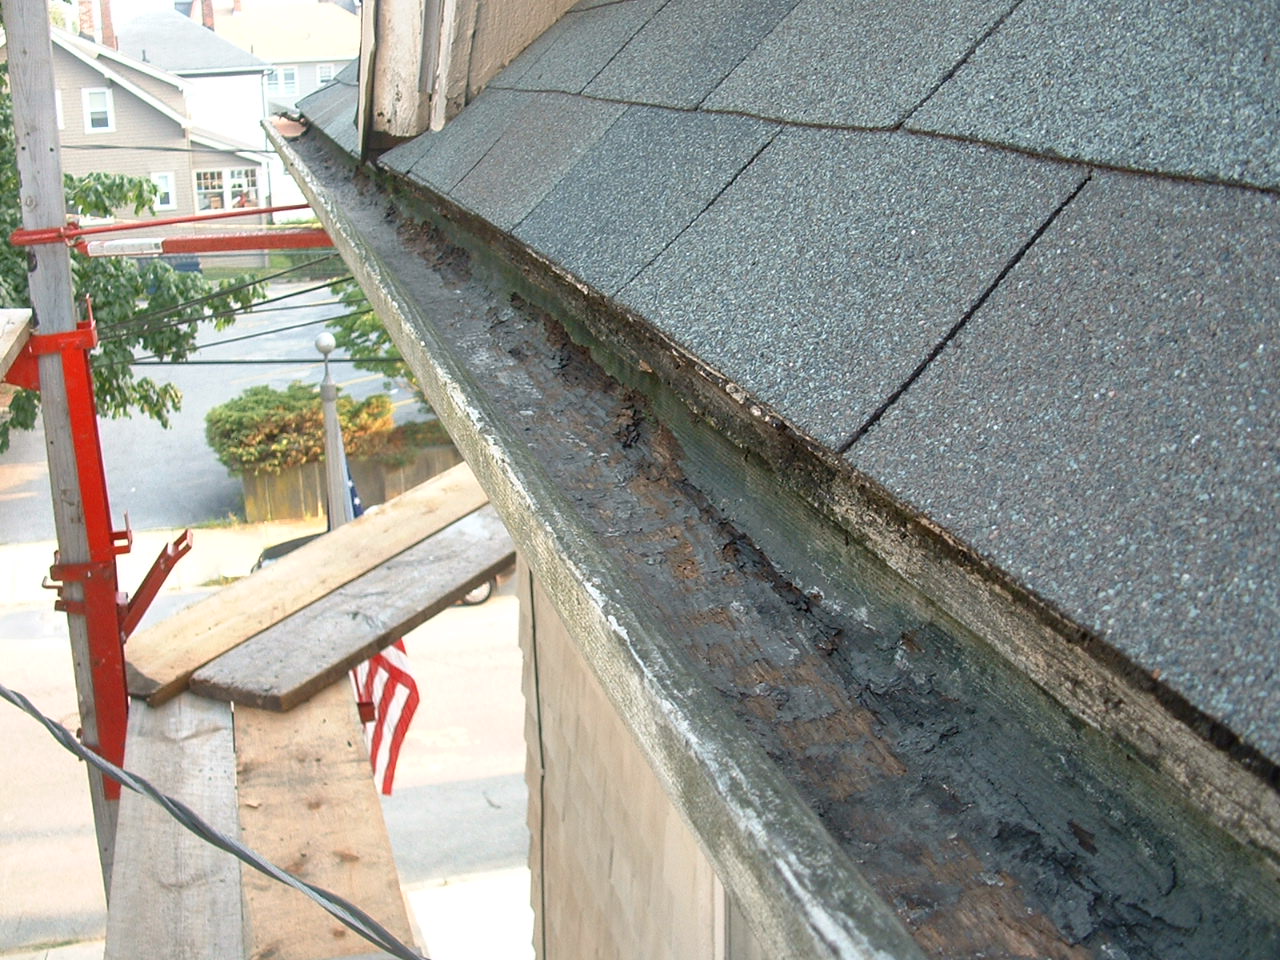
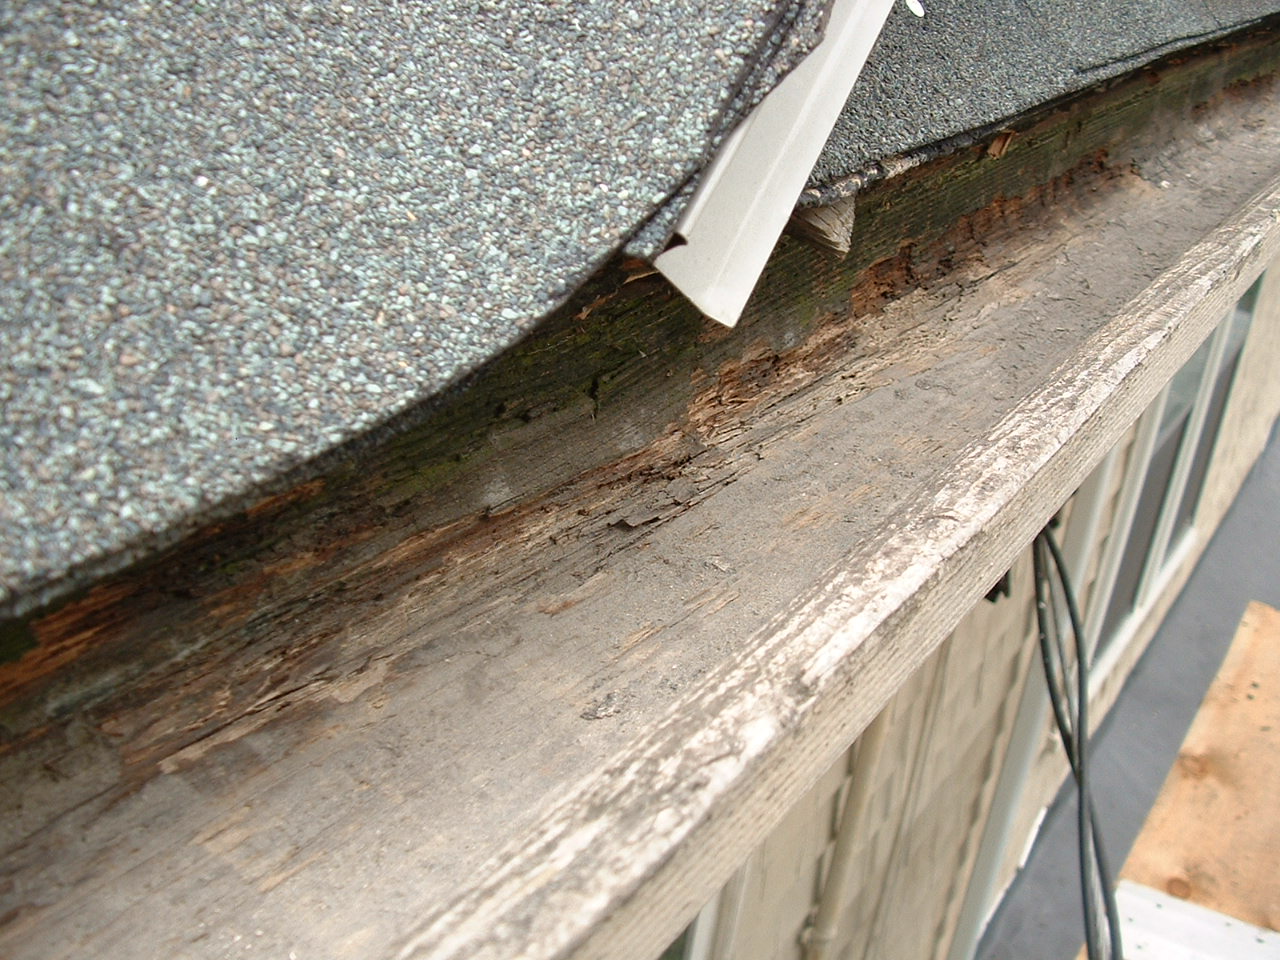
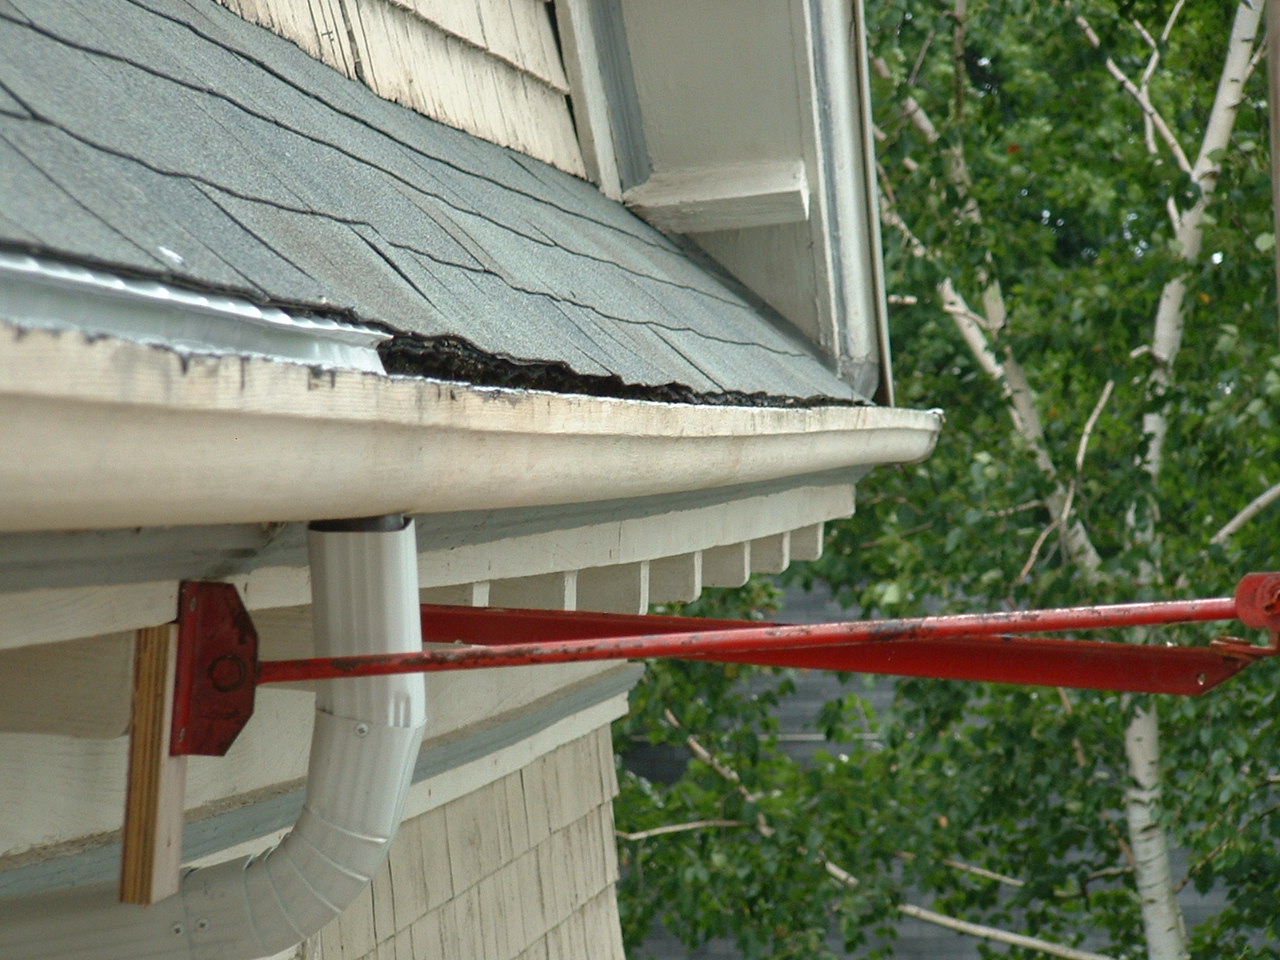
A first look at the gutter's condition beneath this leader outlet |
|
|
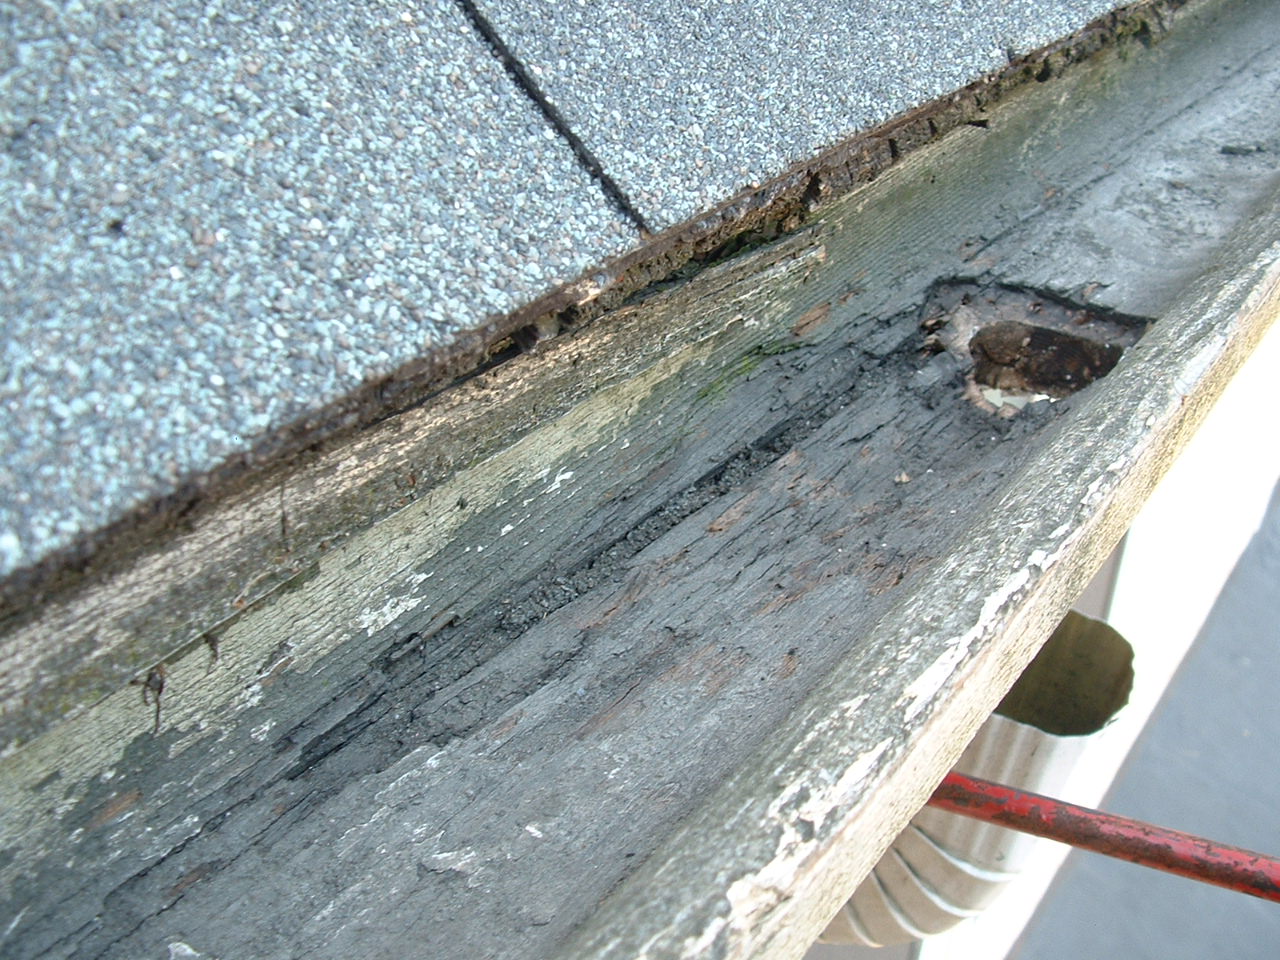
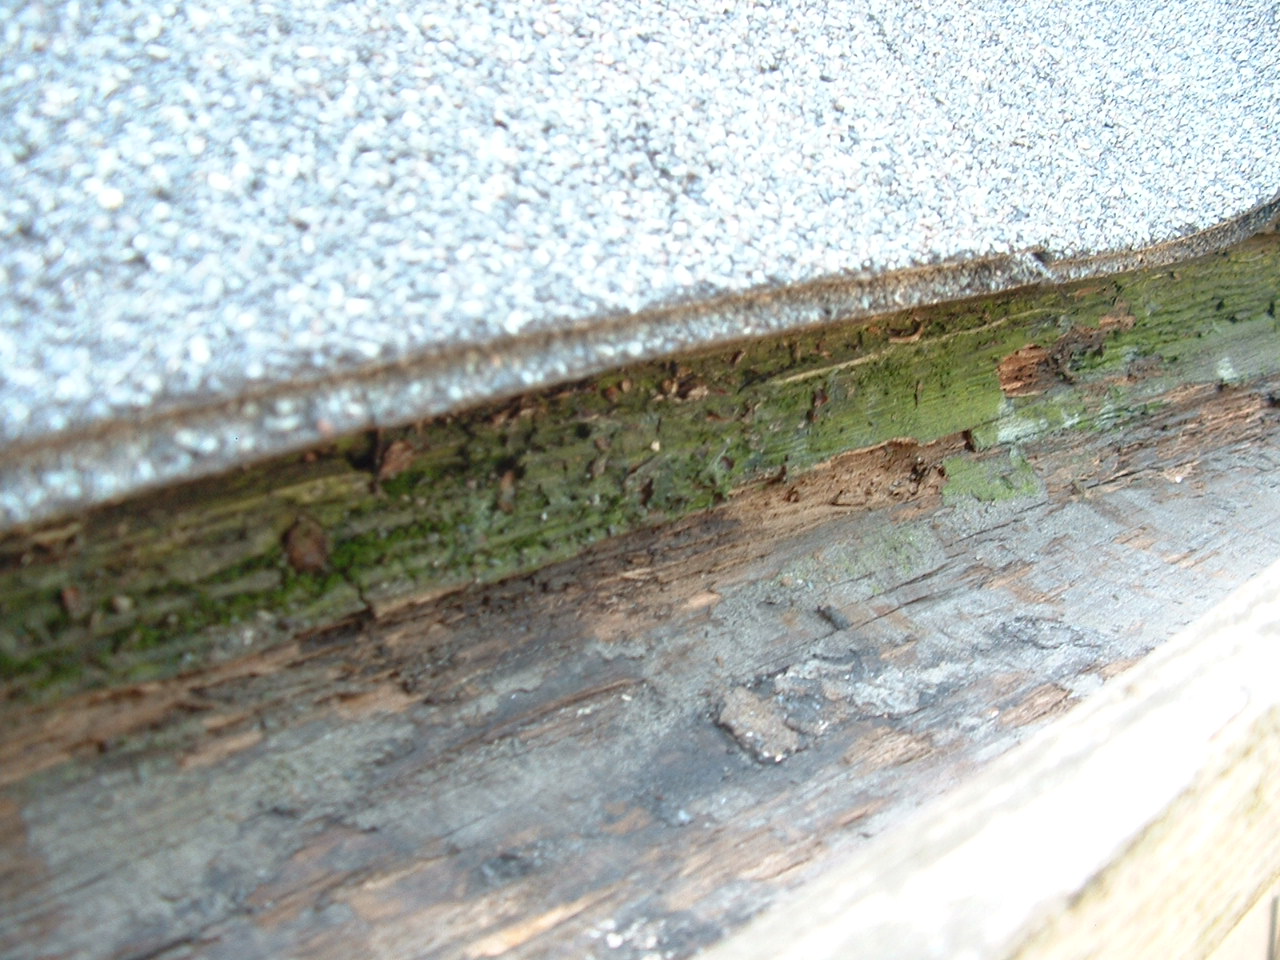
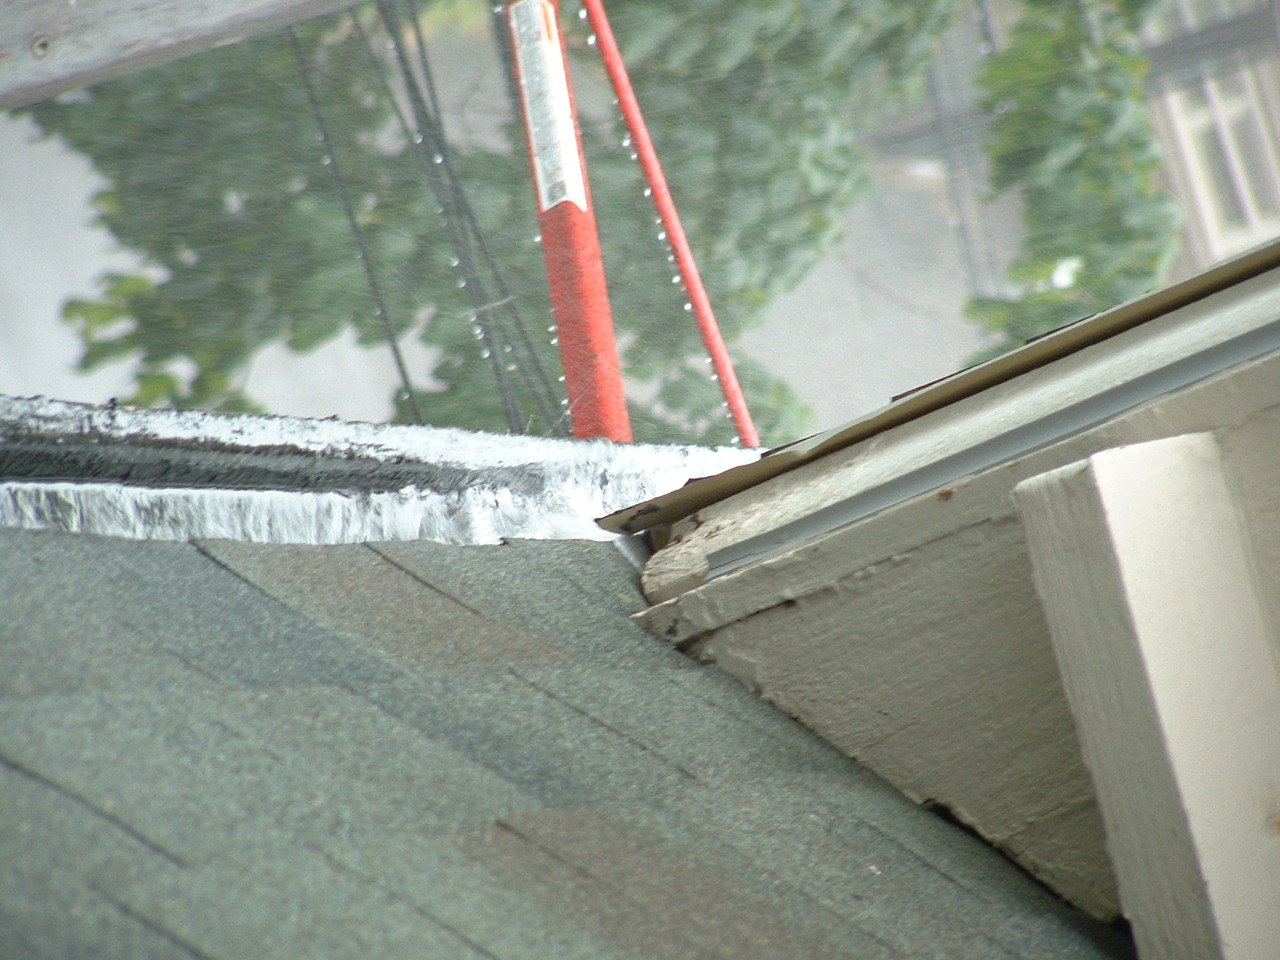
This grit filled check (crack) is a bad moisture trap and should be sealed to prevent rot from spreading all the way through.
|
|
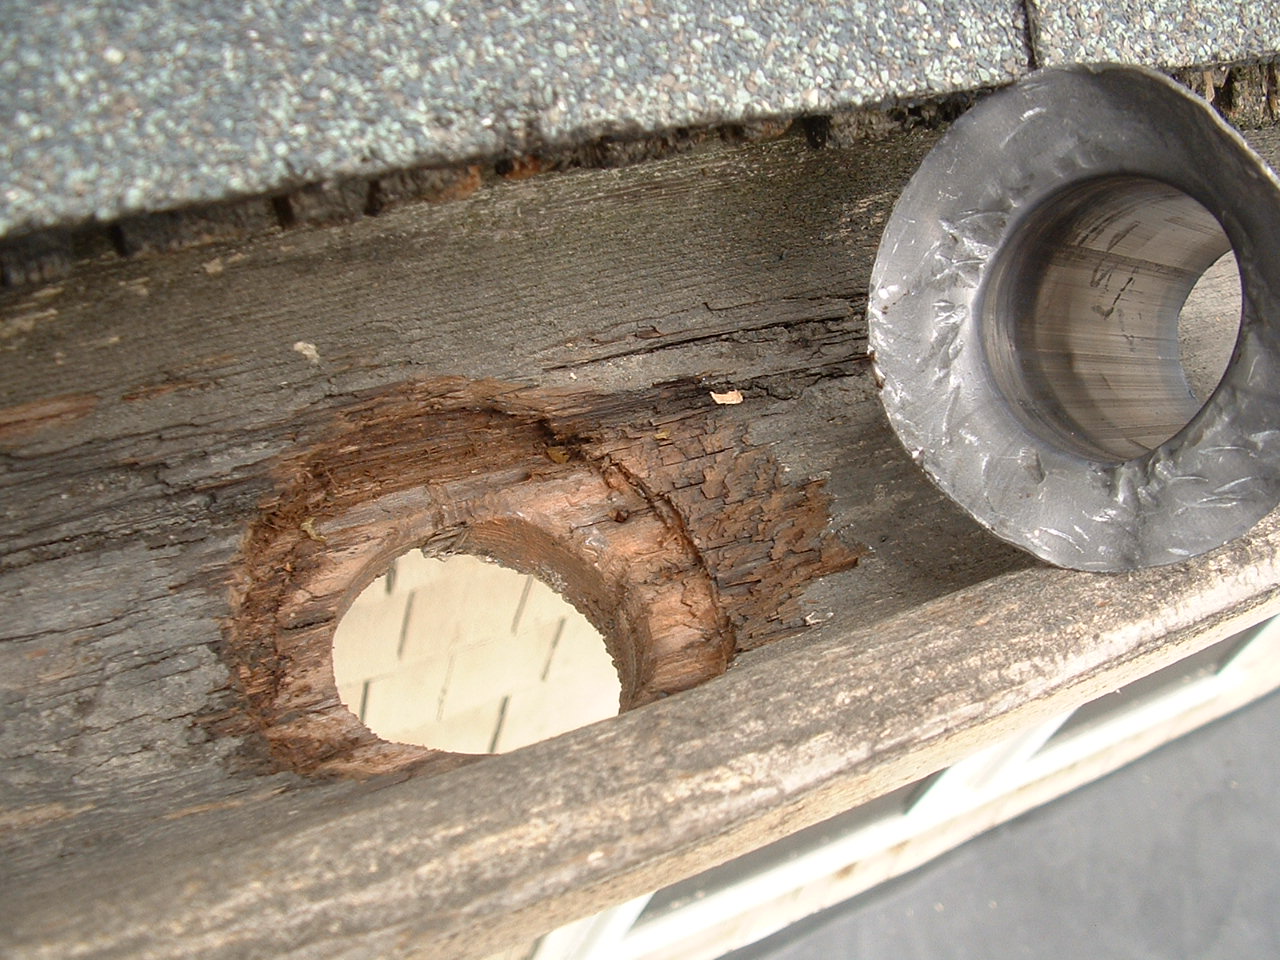
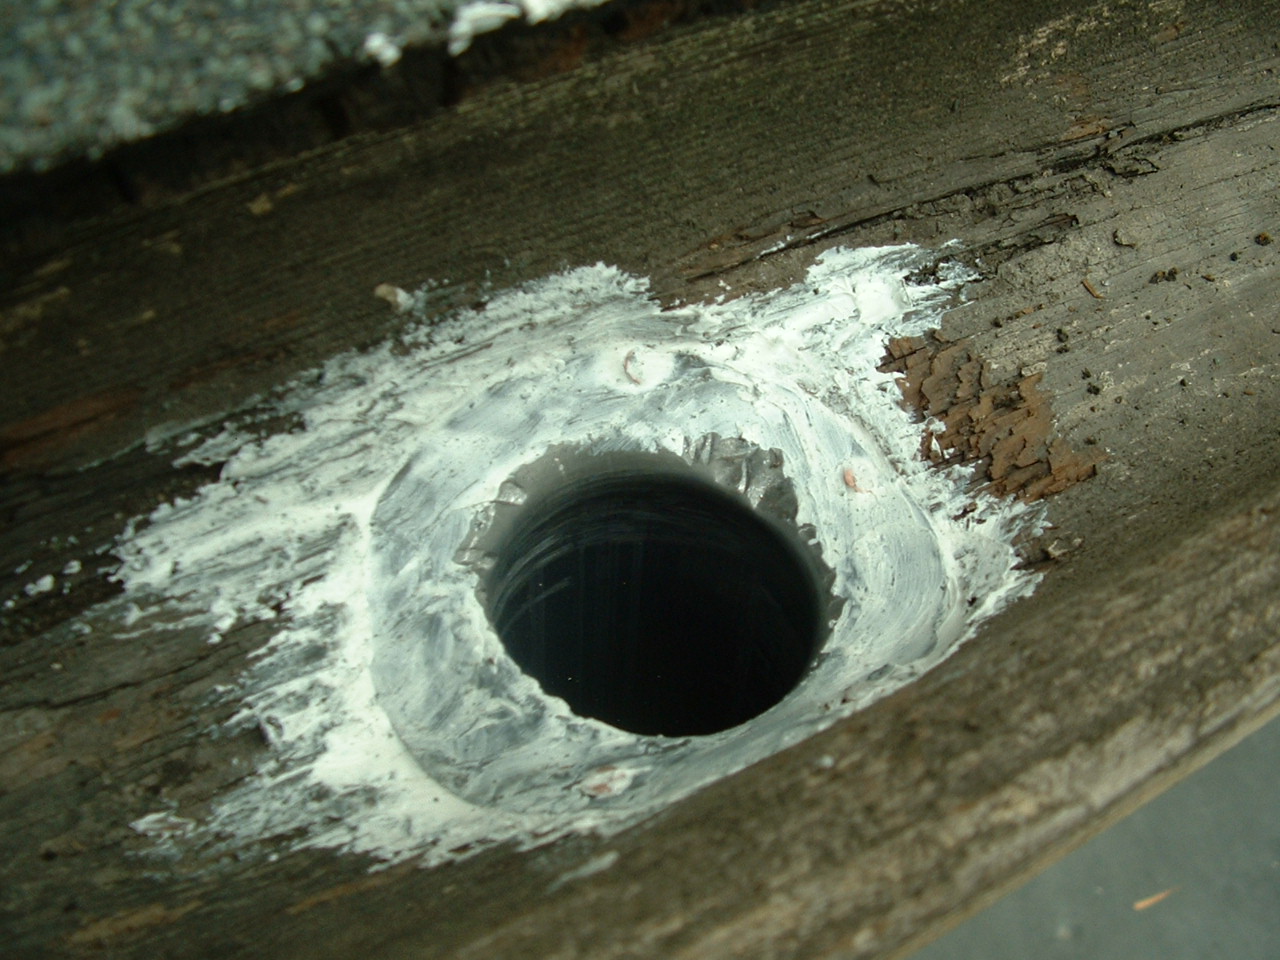
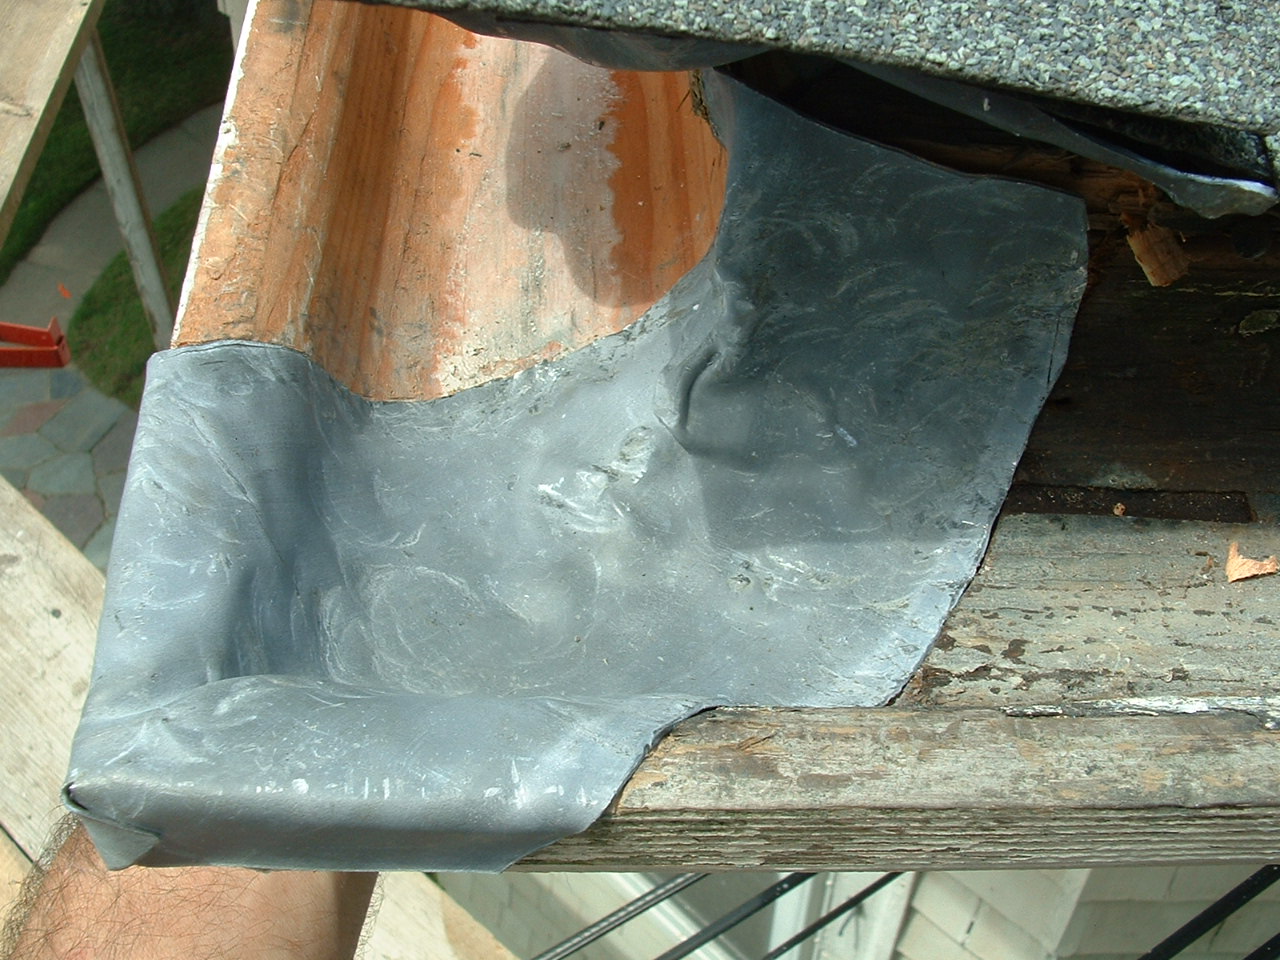
| A new, larger 2" evetube is ready for installation. Note, the soft, un-sound wood below the flange was removed. |
|
| This leader outlet was embedded in 50 yr adhesive caulk to prevent water seeping under the flange that would foster rot.
|
|
| A little scrapping was preformed to remove the soft decayed surface wood |
|
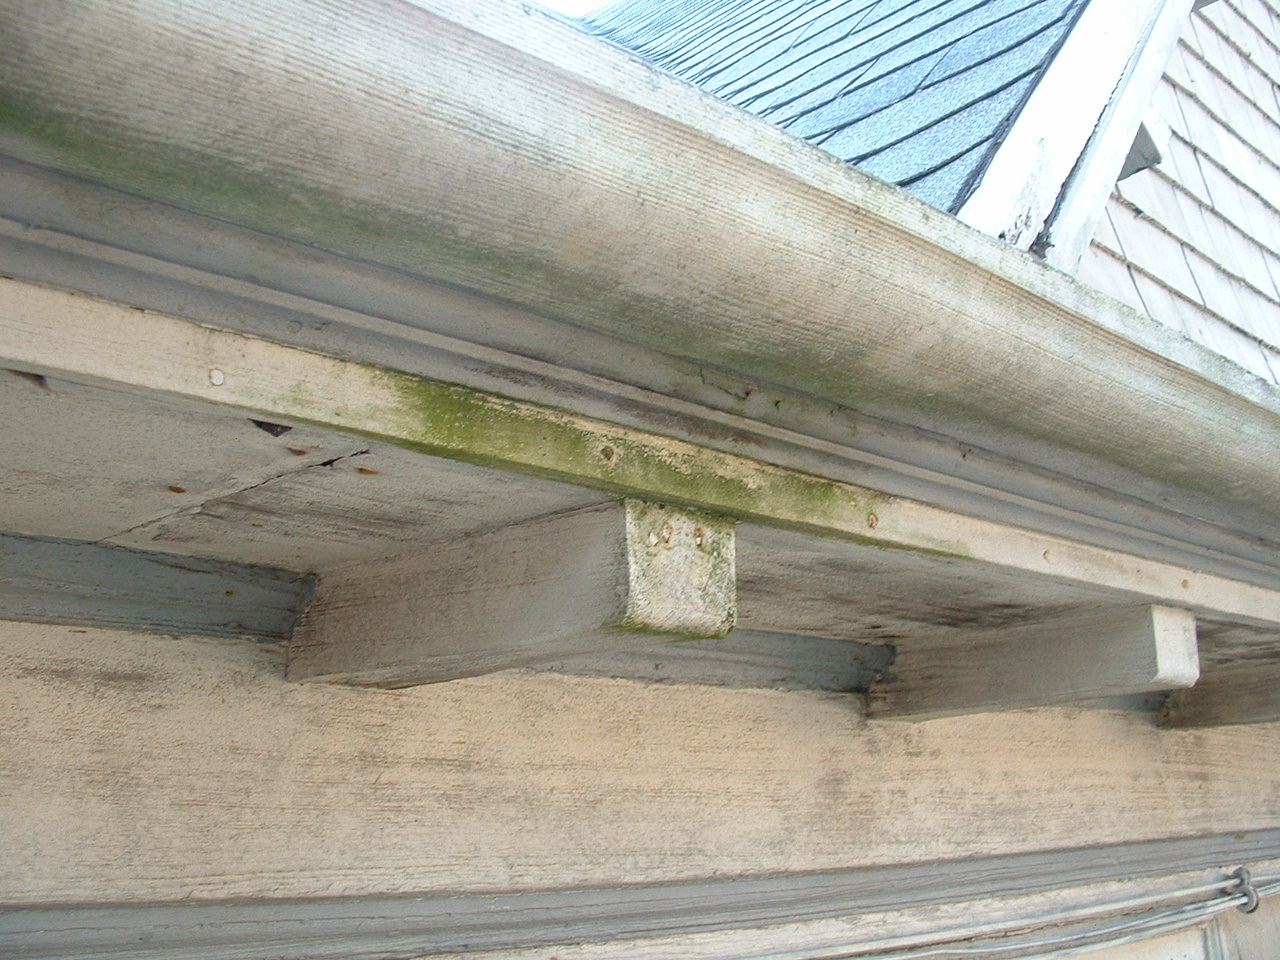
| This green algae growth at the valley tells of repeated overflows.
|
|
|
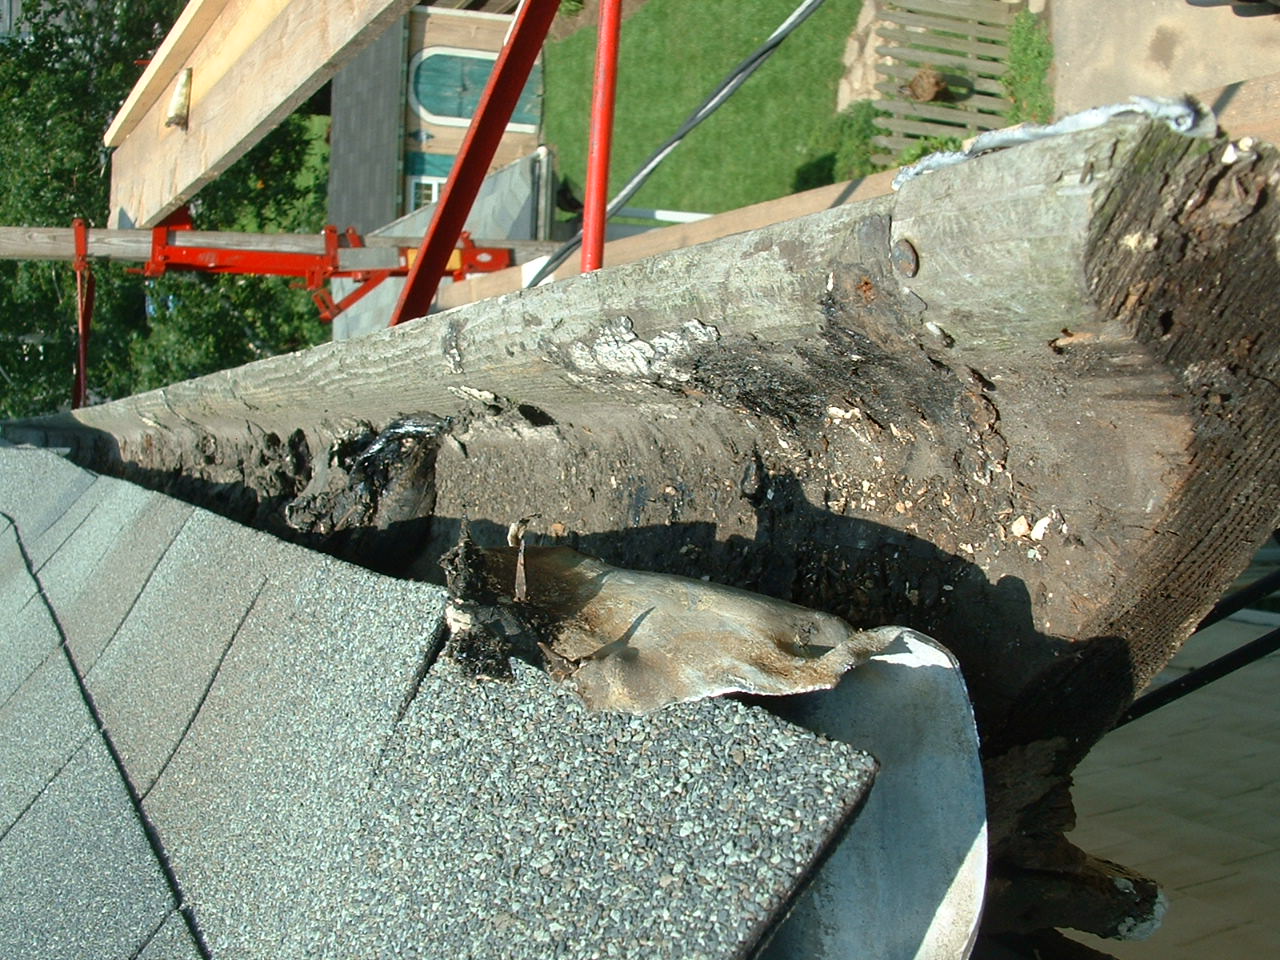
This shot from above where the overflows are occurring.
|
|
|
The same area after the soft decayed wood was scratched out.
|
|
|
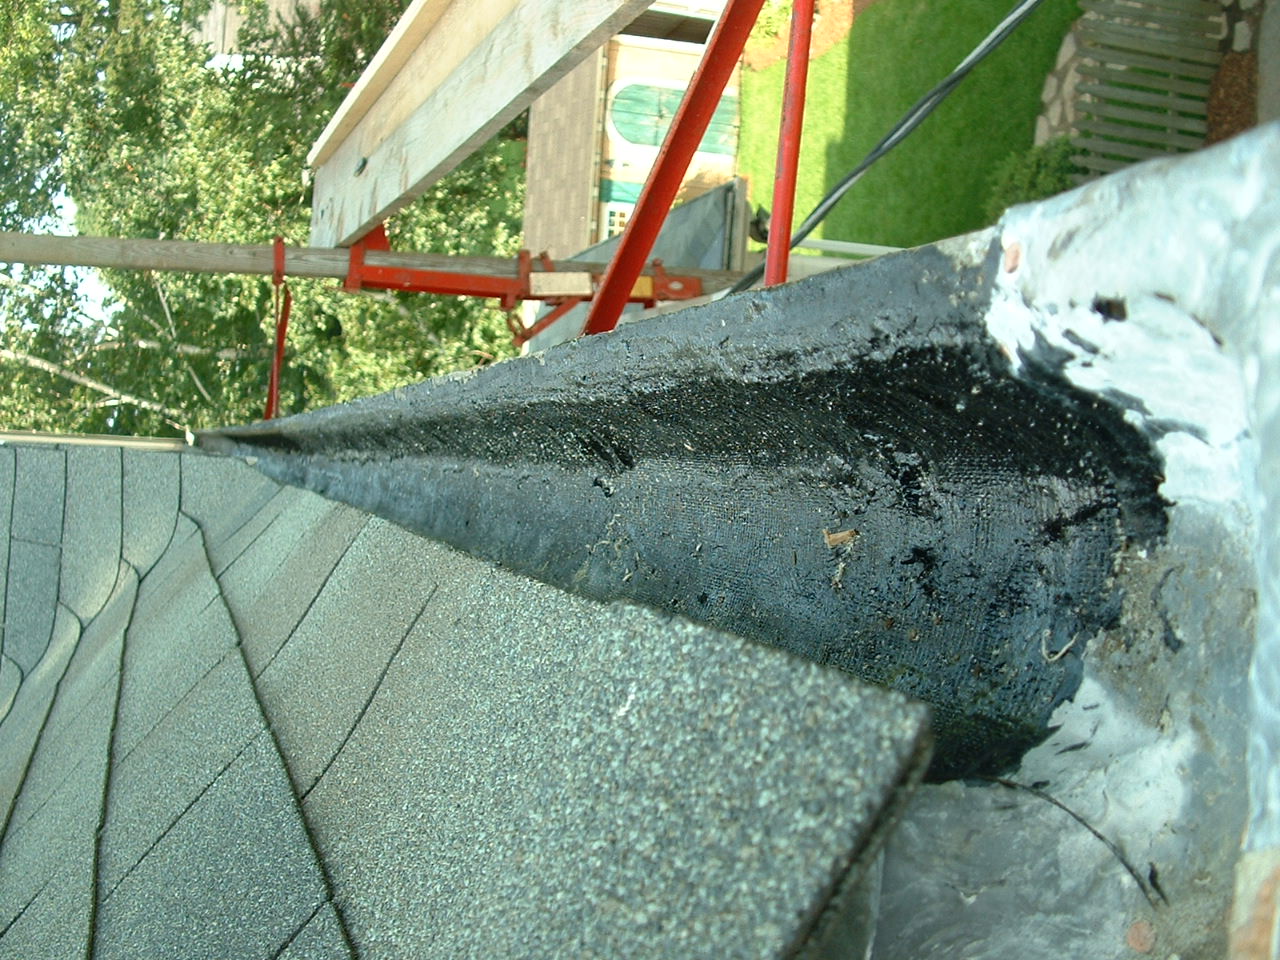
Someone had tarred the first few feet of this gutter (why?). This thick layer of tar impeded the runoff from the south (front).
|
|
|
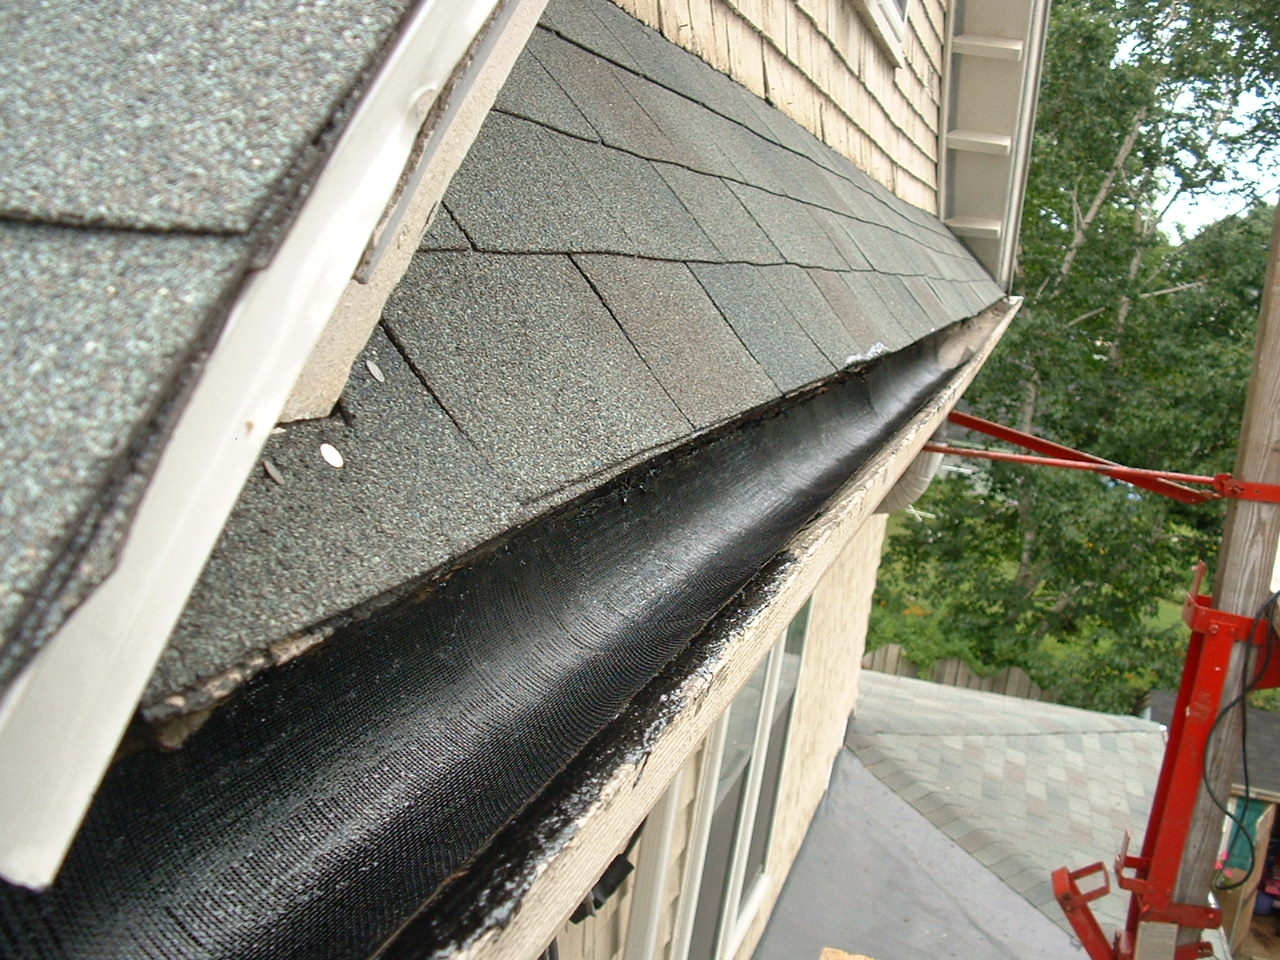
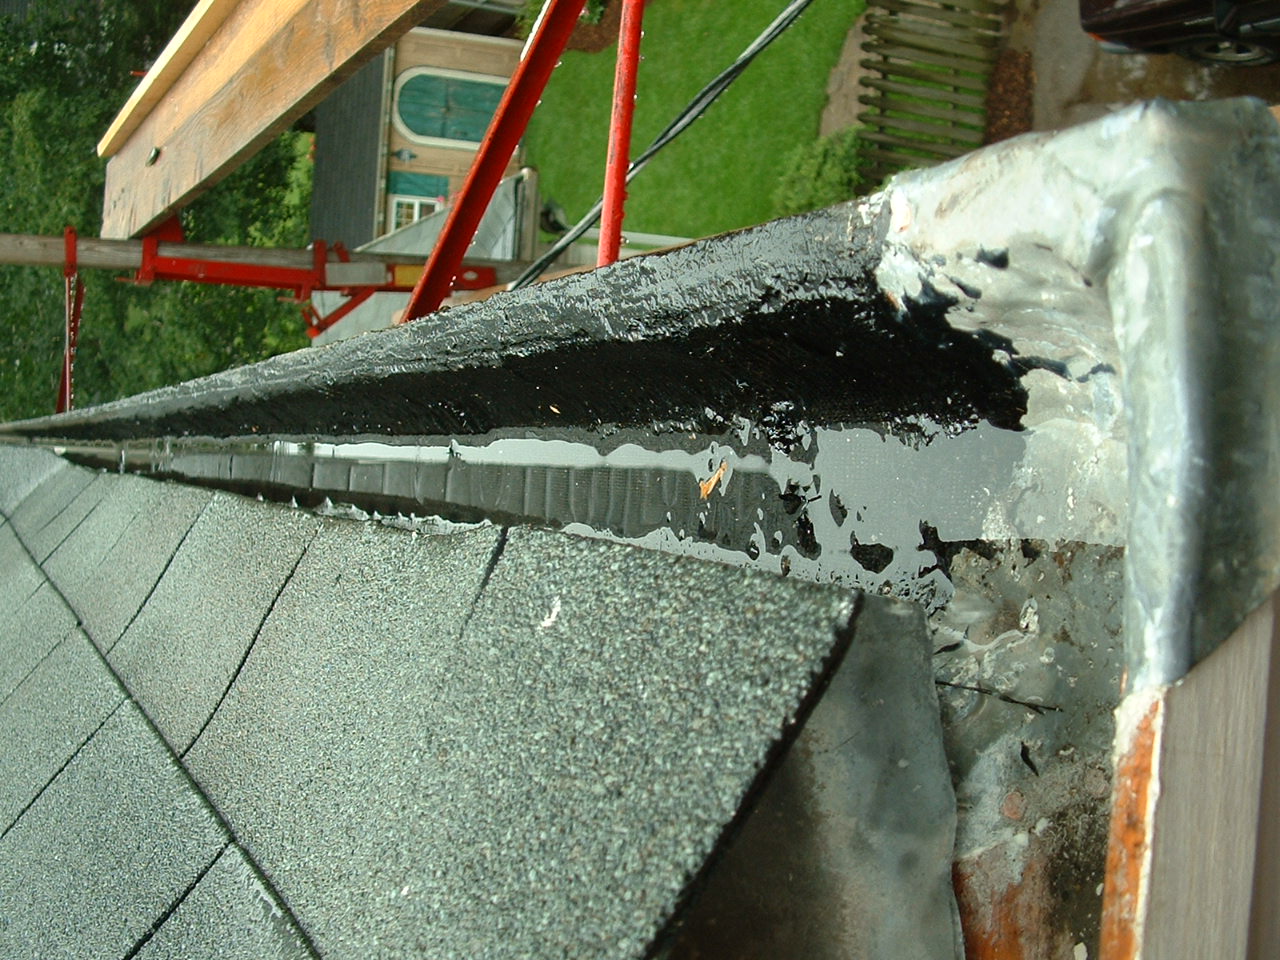
Standing water would now lie in the low areas I created by removing soft wood. To prevent this I lined the gutter with liquid tar in which I embedded a fibreglass mesh and subsequently applied a second coat tar.
|
|
|
|
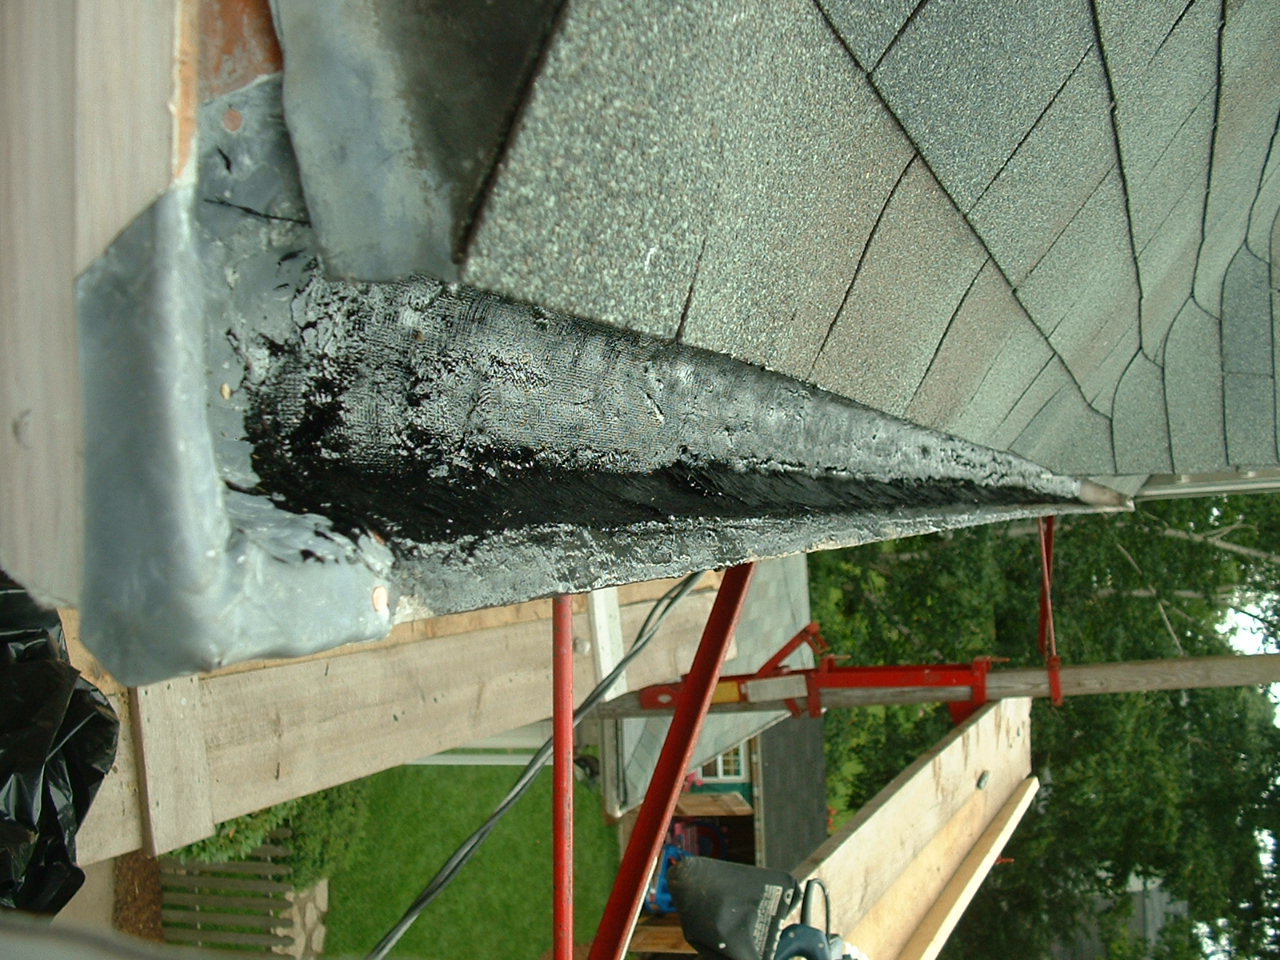
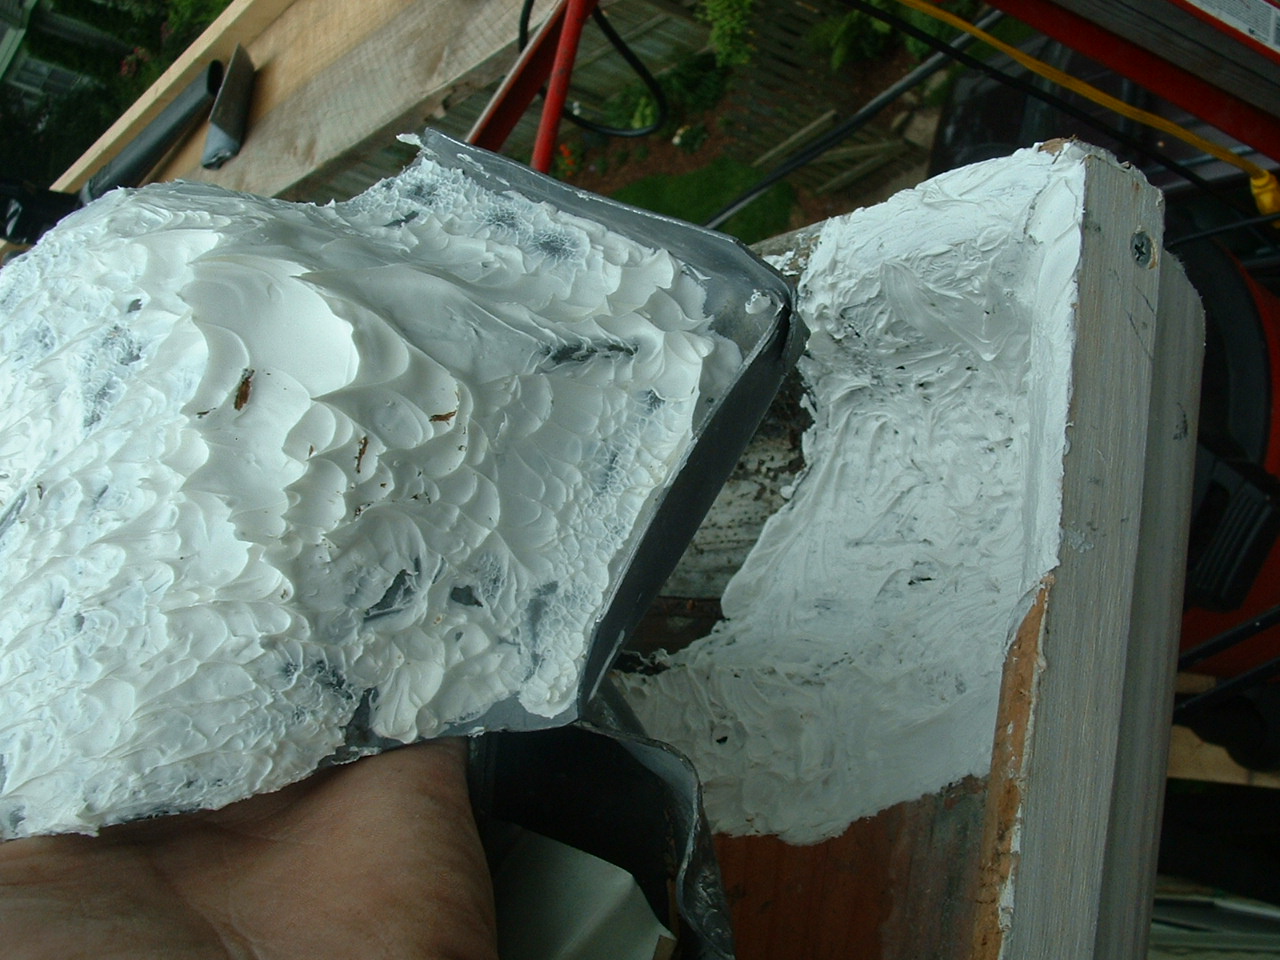
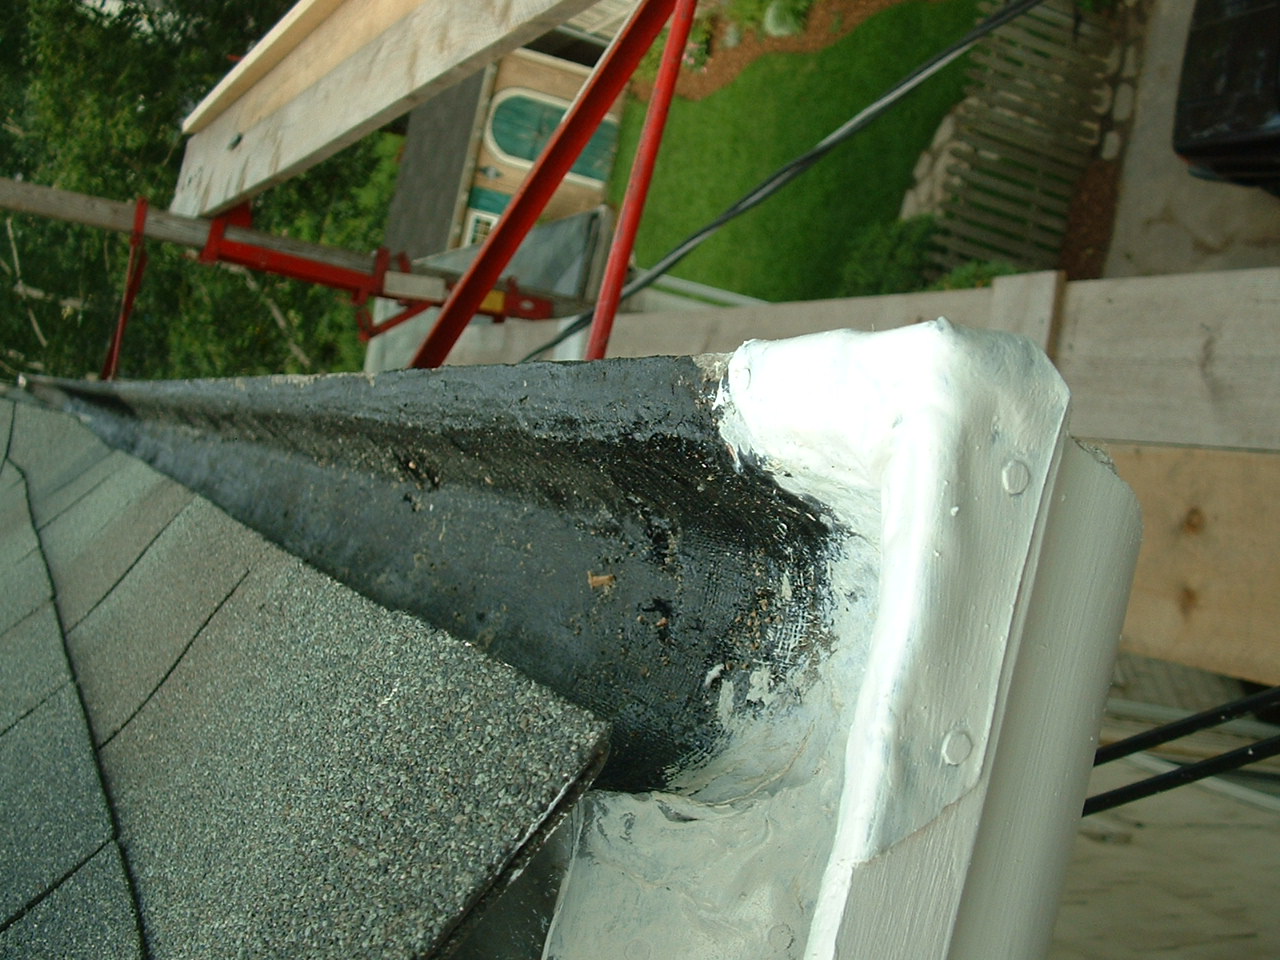
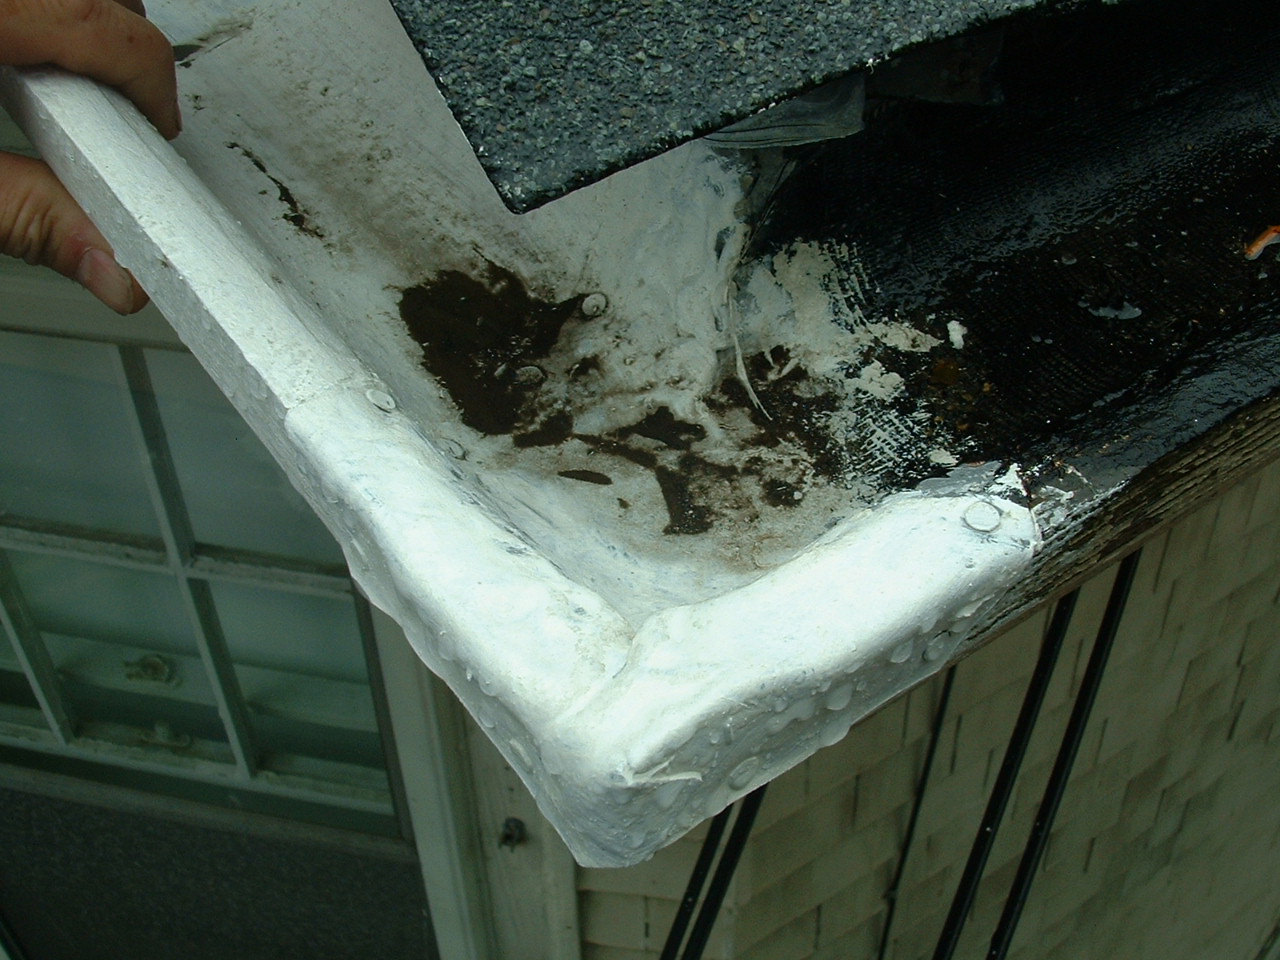
Prior to installing the tar lining, the new front south gutters were installed and this corner leaded. Notice the mortise to flush the lead.
|
|
|
After the lead was formed, both sides of the miter joint were chiseled such that the lead would be flush with the bottom of the wood gutter.
|
|
|
The lead was sealed to the wood with 50 yr advesive caulk leaving no void for water to enter.
|
|
|
|
A shot of the leader outlet area
|
|
|
The tar's solvents have evaporated
|
|
|
|
Rain again - note the minimal standing water. The front south gutter empties nicely into the east side gutter
|
|
| Here the pitch of this 36' one peice gutter to the centrally located 2" leader outlet can be seen
|
|
|
Handling this downpour well.
|
|
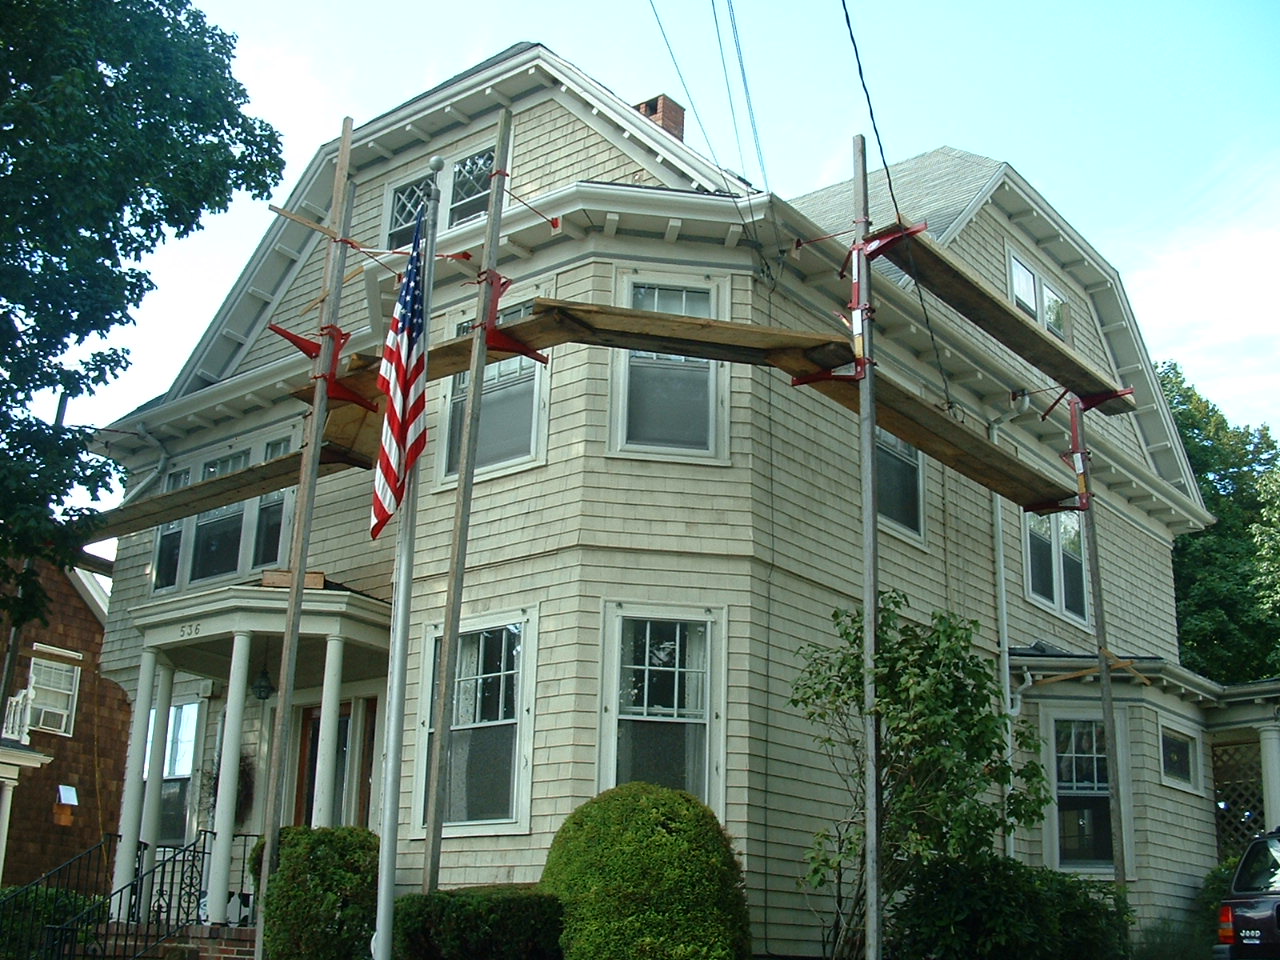
 There are 23 reduced sized photos along with descriptions to view as you scroll down this page. I recommend clicking on any of these photos to see the close up details of the original photos, using your back button to return to this page.