|
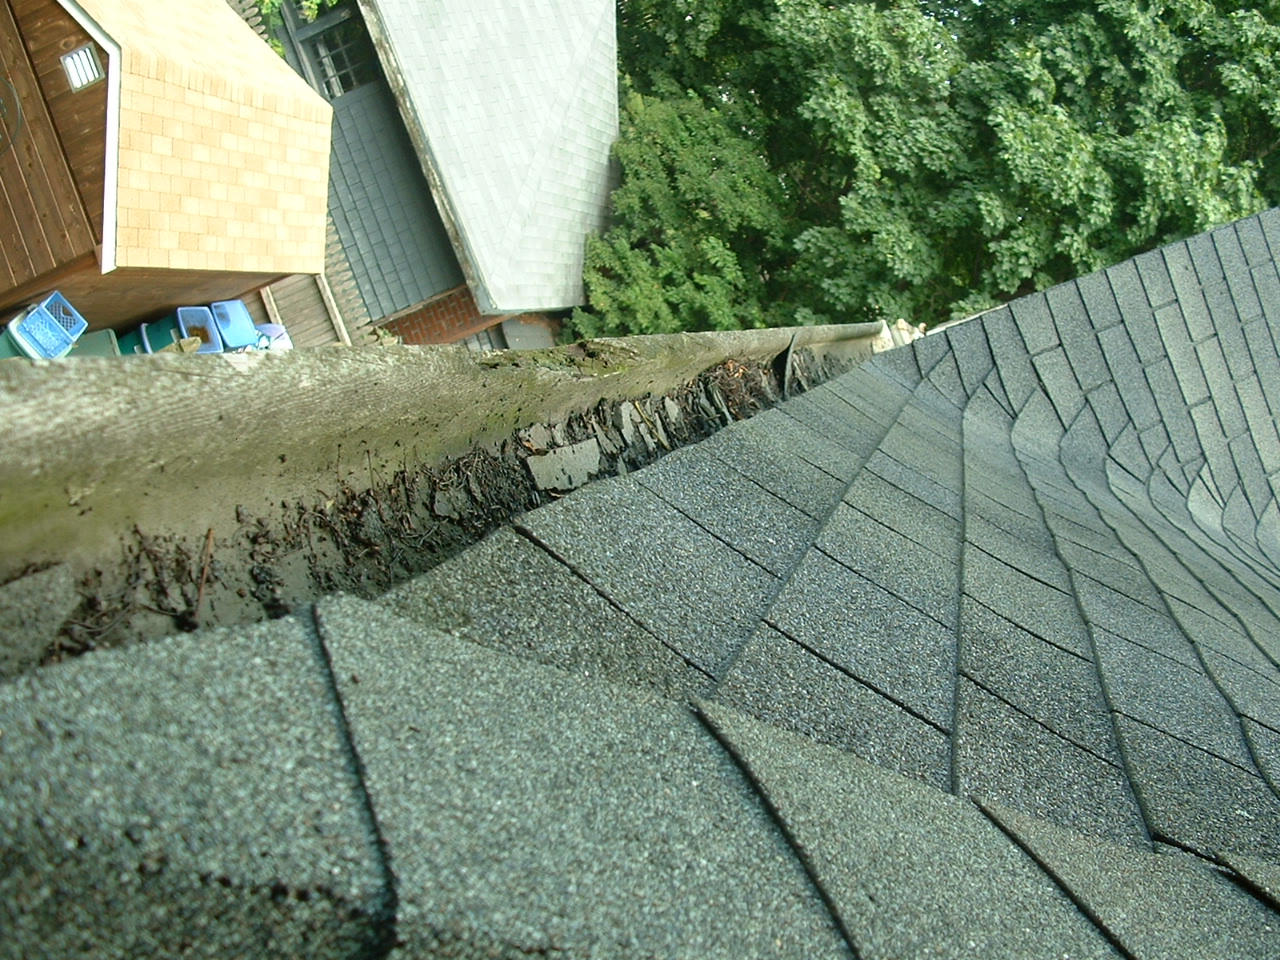
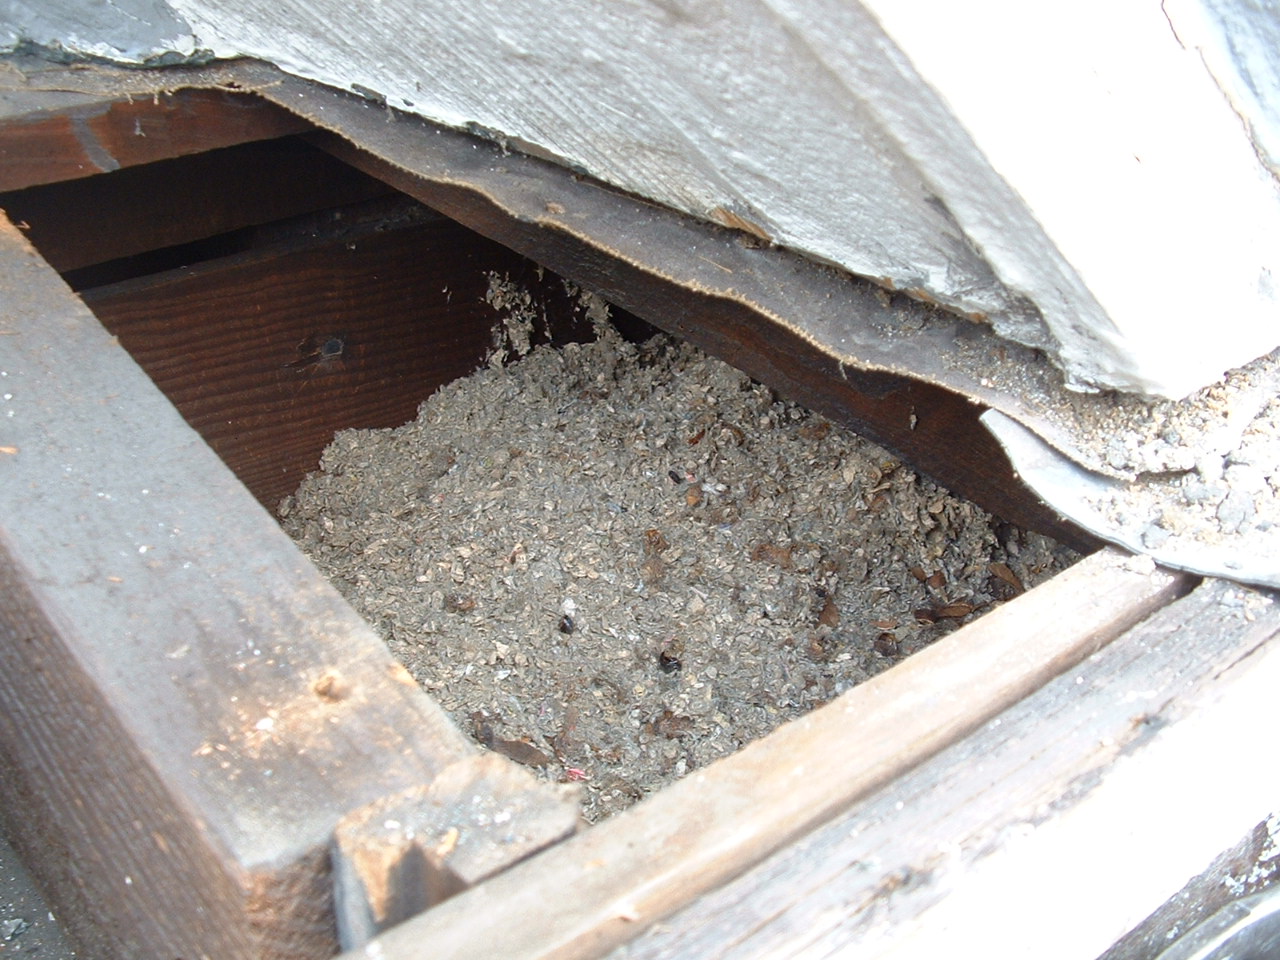
A first look at the inside of the west gutter from the south staging. The roofers left plenty of debris behind when they stripped the old roofing. This stuff has probably been here your years. Some workers just don't care - shameful. |
|
|
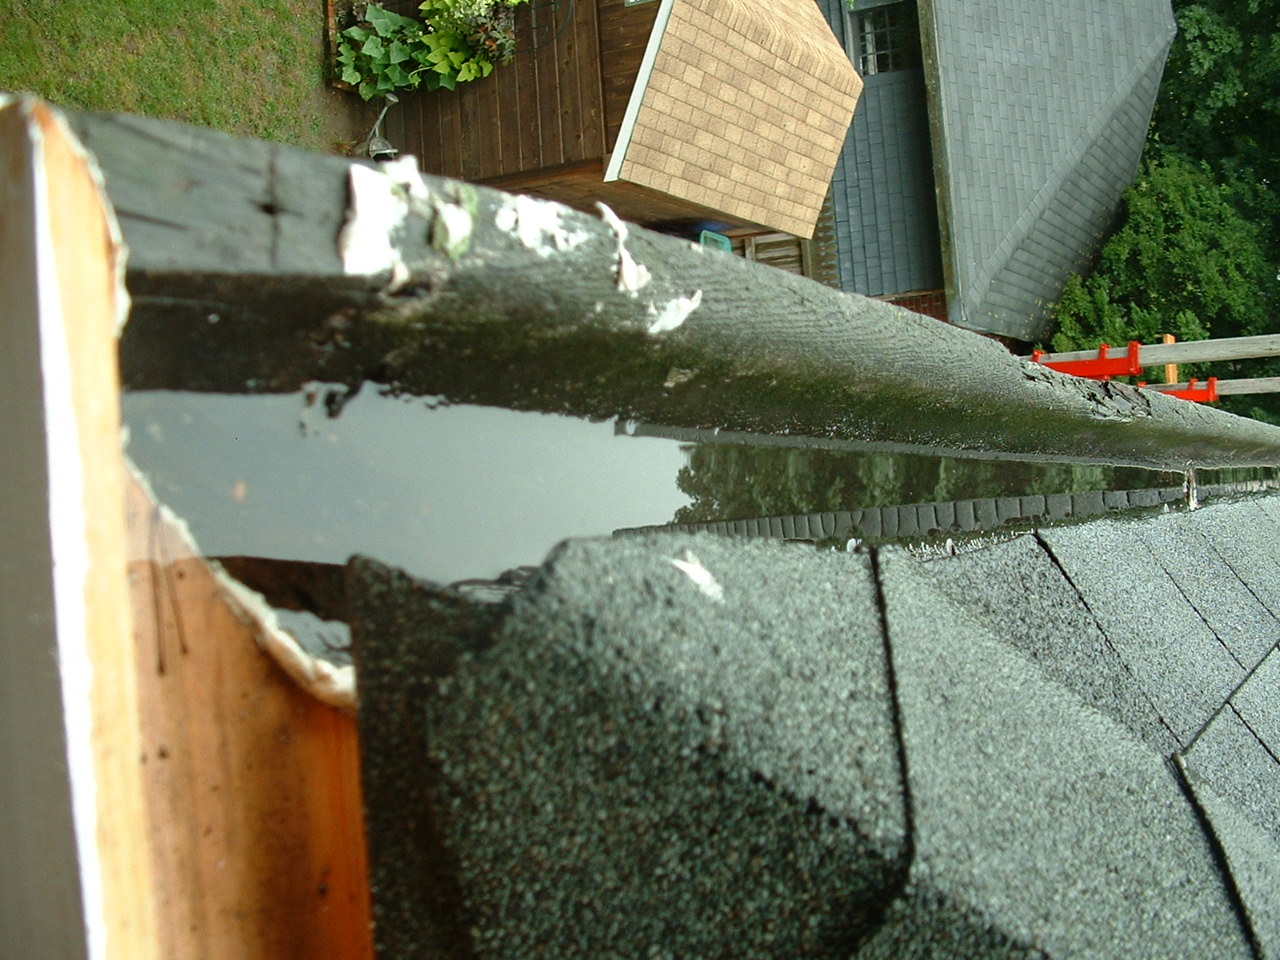
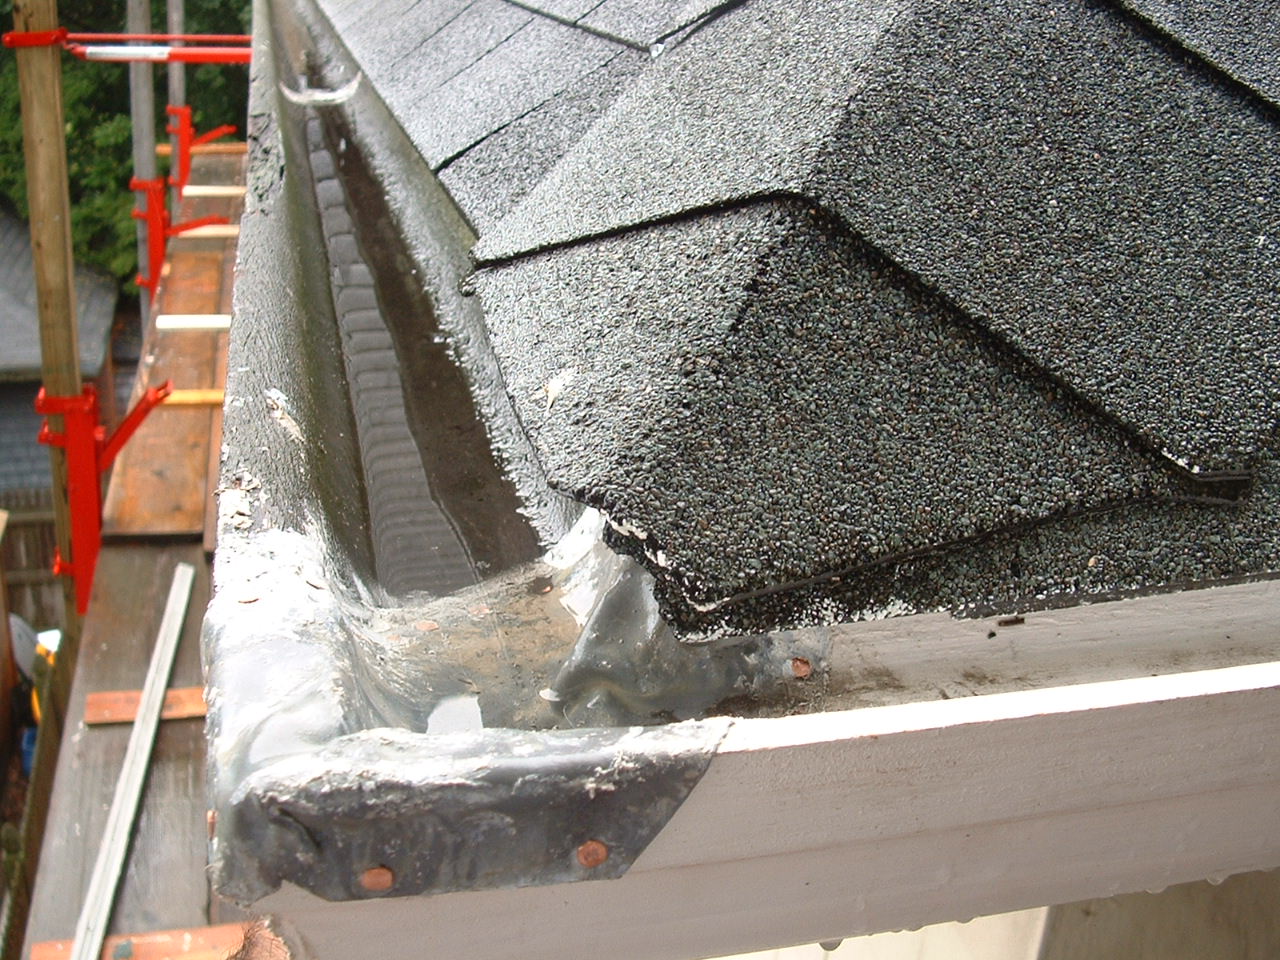
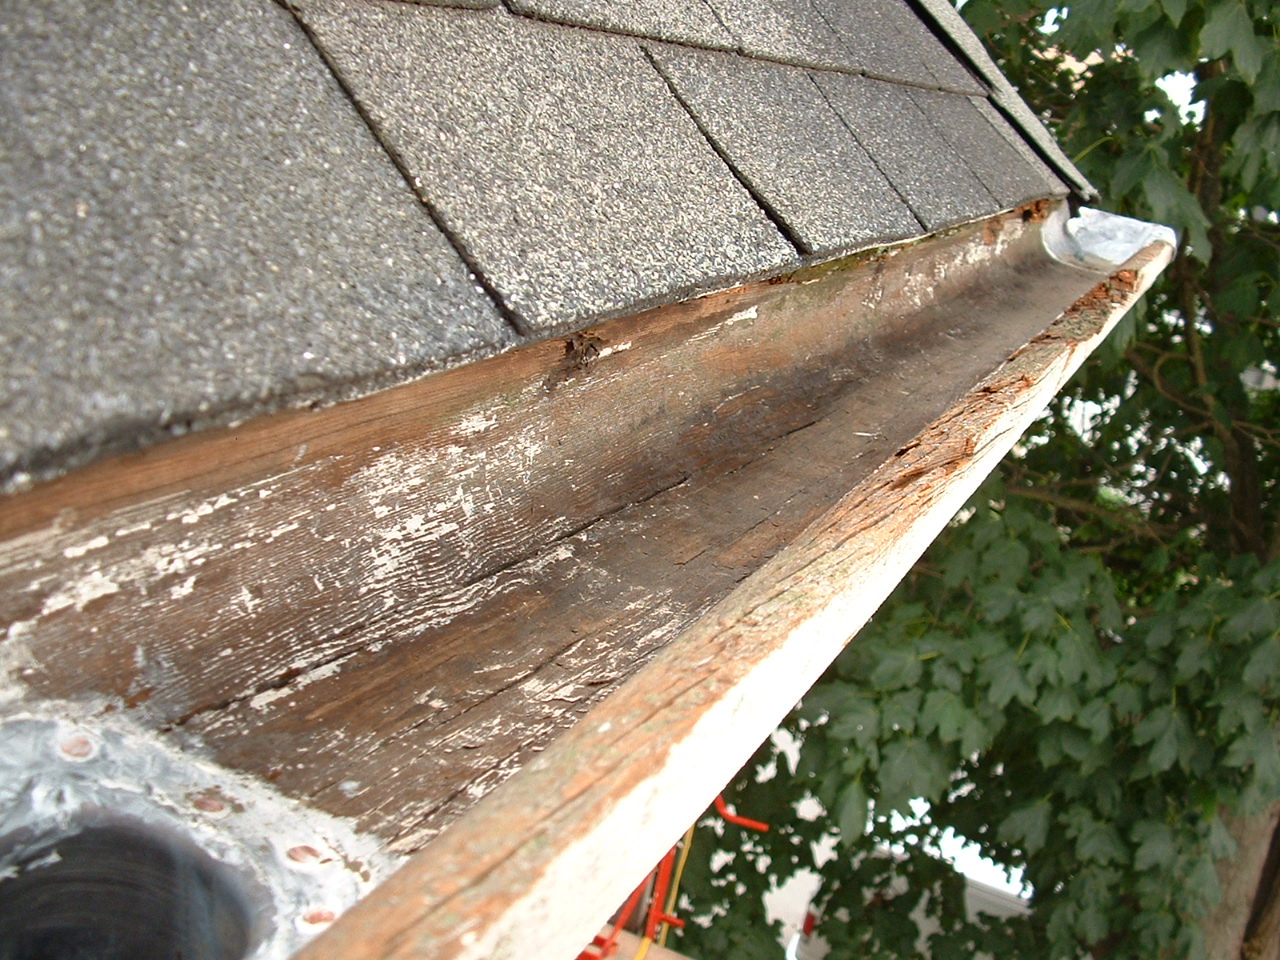
The shingle crumbs and granules were cleaned out. Note this joint with the newly replaced south gutter is sealed tight and is not leaking. The gutter however in not draining and the reason is quite a suprise. |
|
|
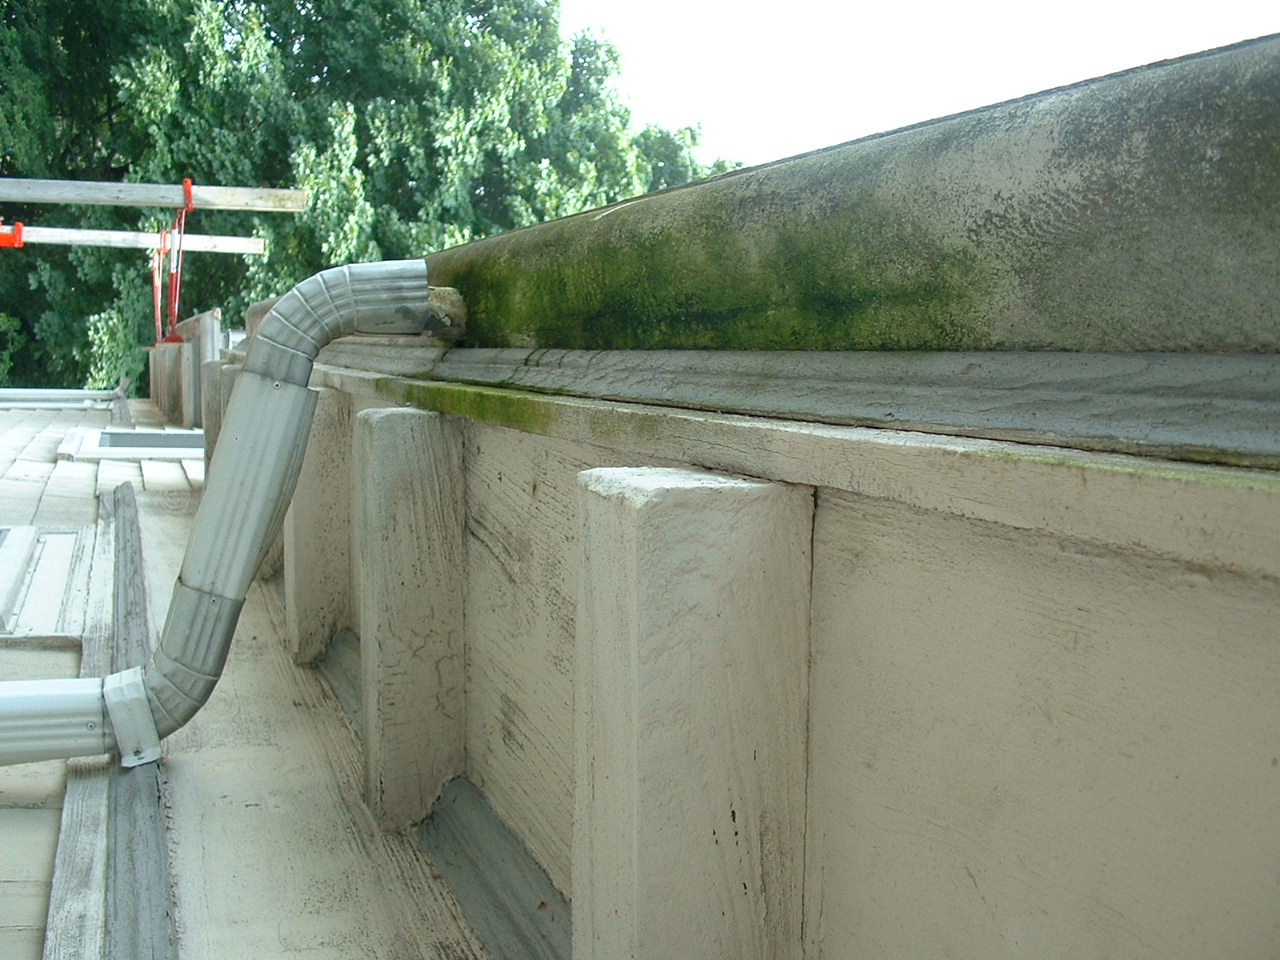
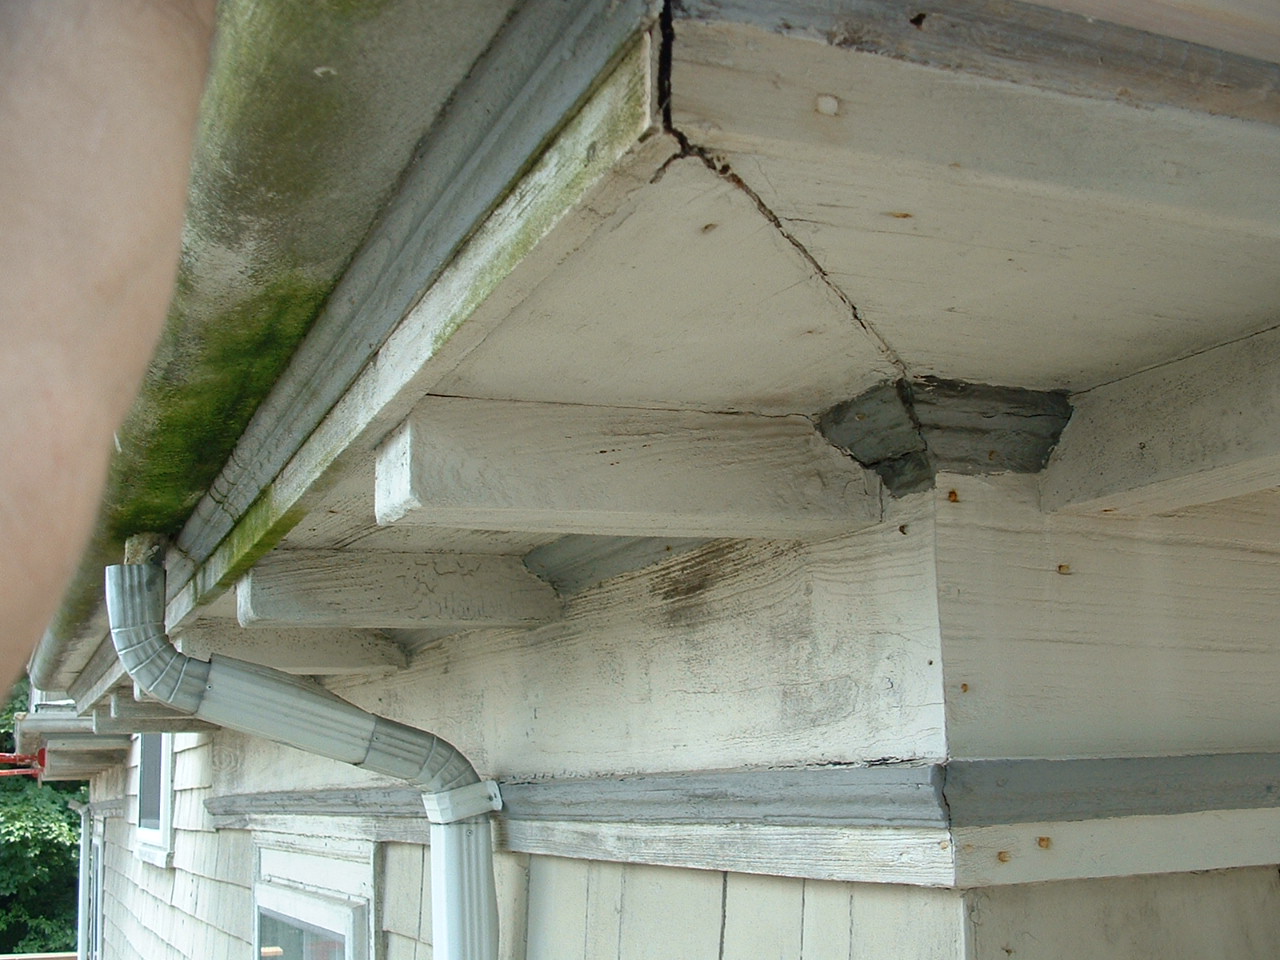
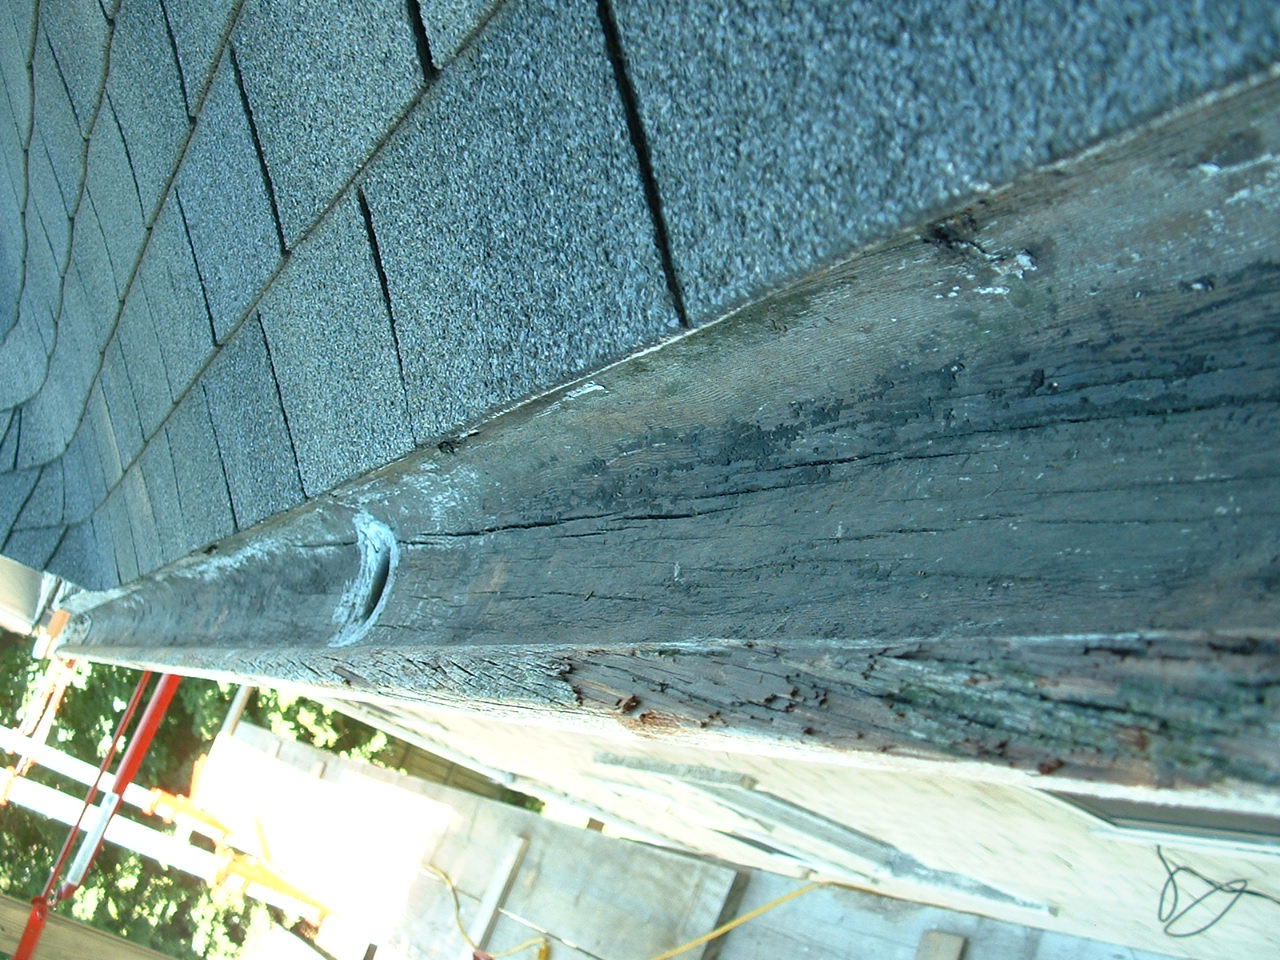
This green algae is evidence of re-occurring overflow. Note that even with the gutter cleaned out (previous photo) this gutter does not appear to be draining. |
|
|
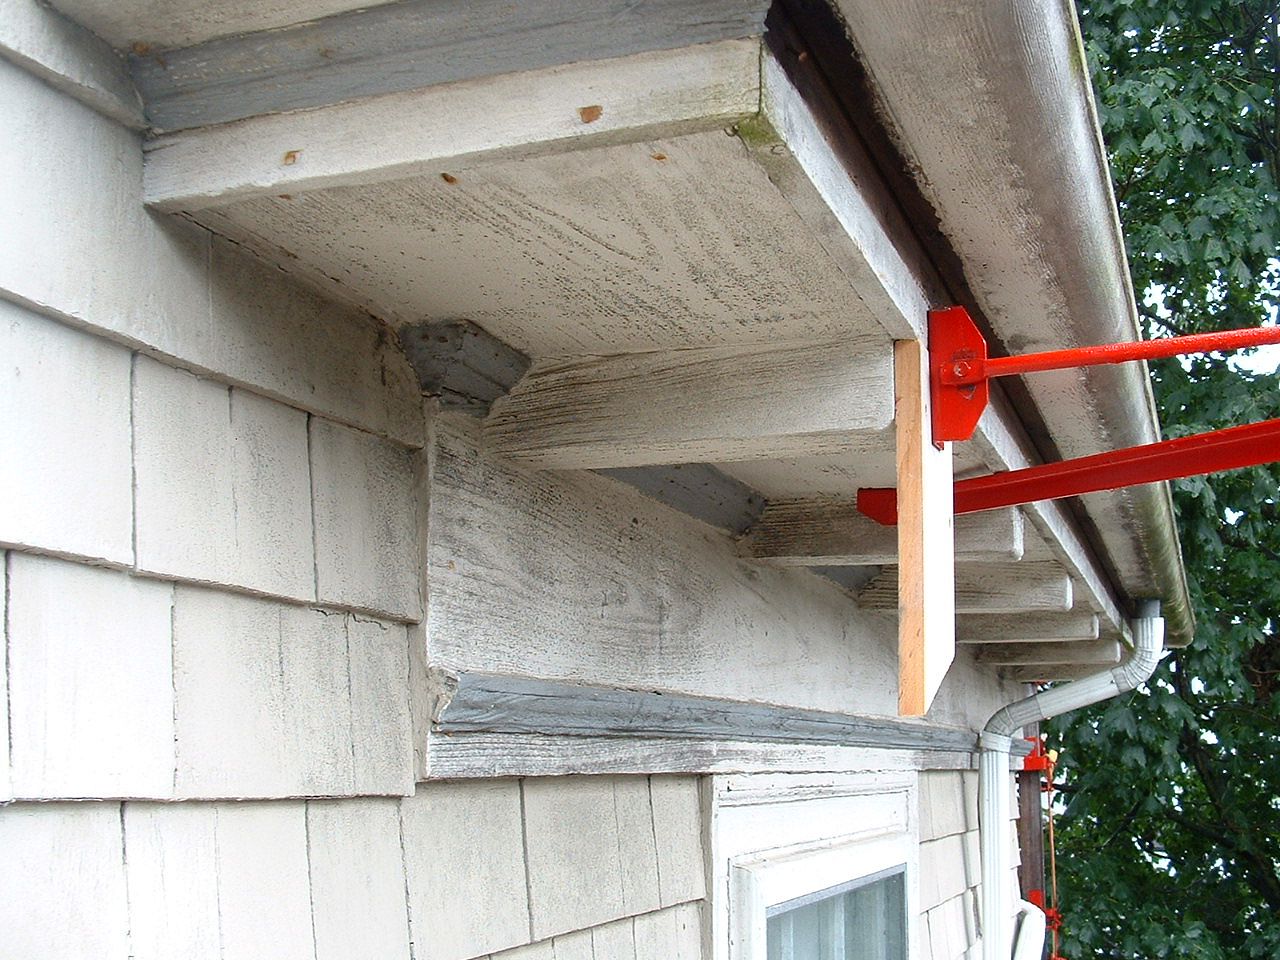
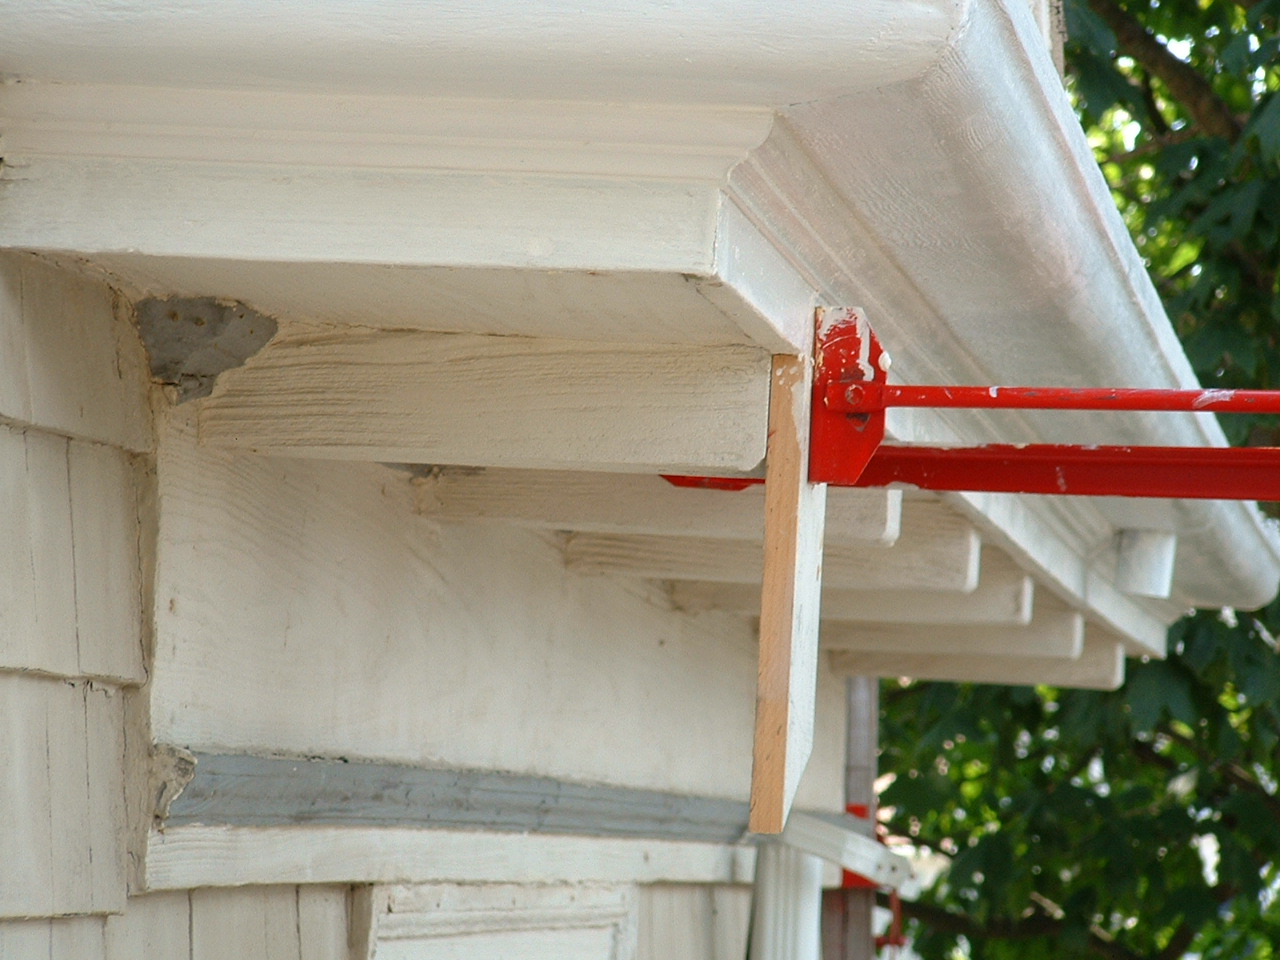
Another shot from below - note the absence of mold on the south eave which was pressure washed with this bleach formulated not to harm plants. |
|
|
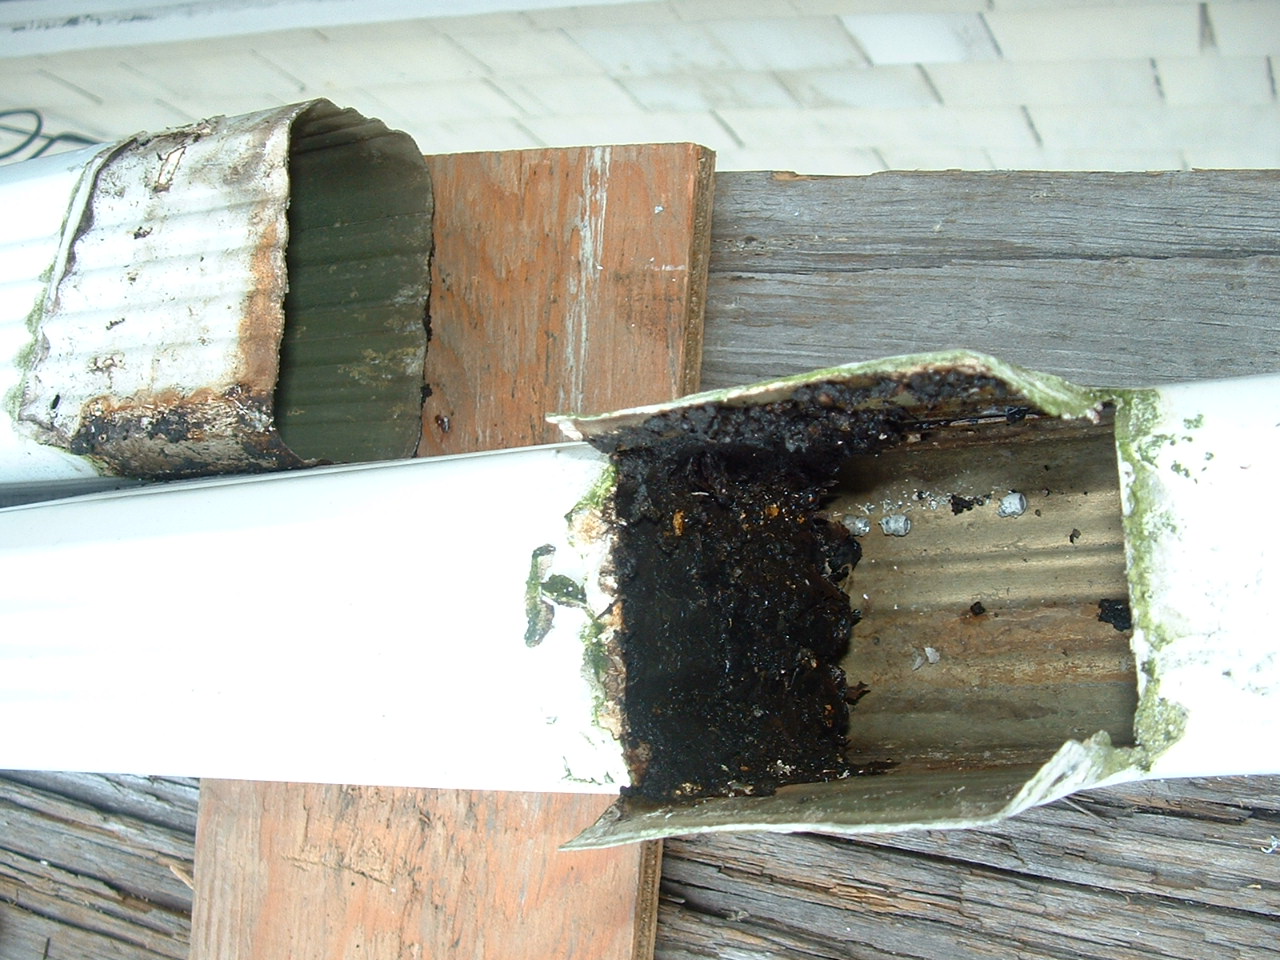
Drilling out the rivets to dismantle the downpipes revealed a Y-joint plugged solid with maple leaves and seeds. This material has probably been collecting since these aluminum downpipes were installed. This splice joint that joined two eave leader outlets looked good from the outside but apparently was made with little thought about function. |
|
|
Here are the debris knocked out. I trimmed the 2" of excess pipe that was blocking the flow and catching debris to a minimal 1/4" at the angle witnessed by the staining. I used short 3/8" stainless steel screws in place of rivets for ease in future cleaning . |
|
|
The next rain reveals there is still standing water but only between the outside corner and the leader outlet. Had this gutter been level instead of pitched it would have completely drained. |
|
|
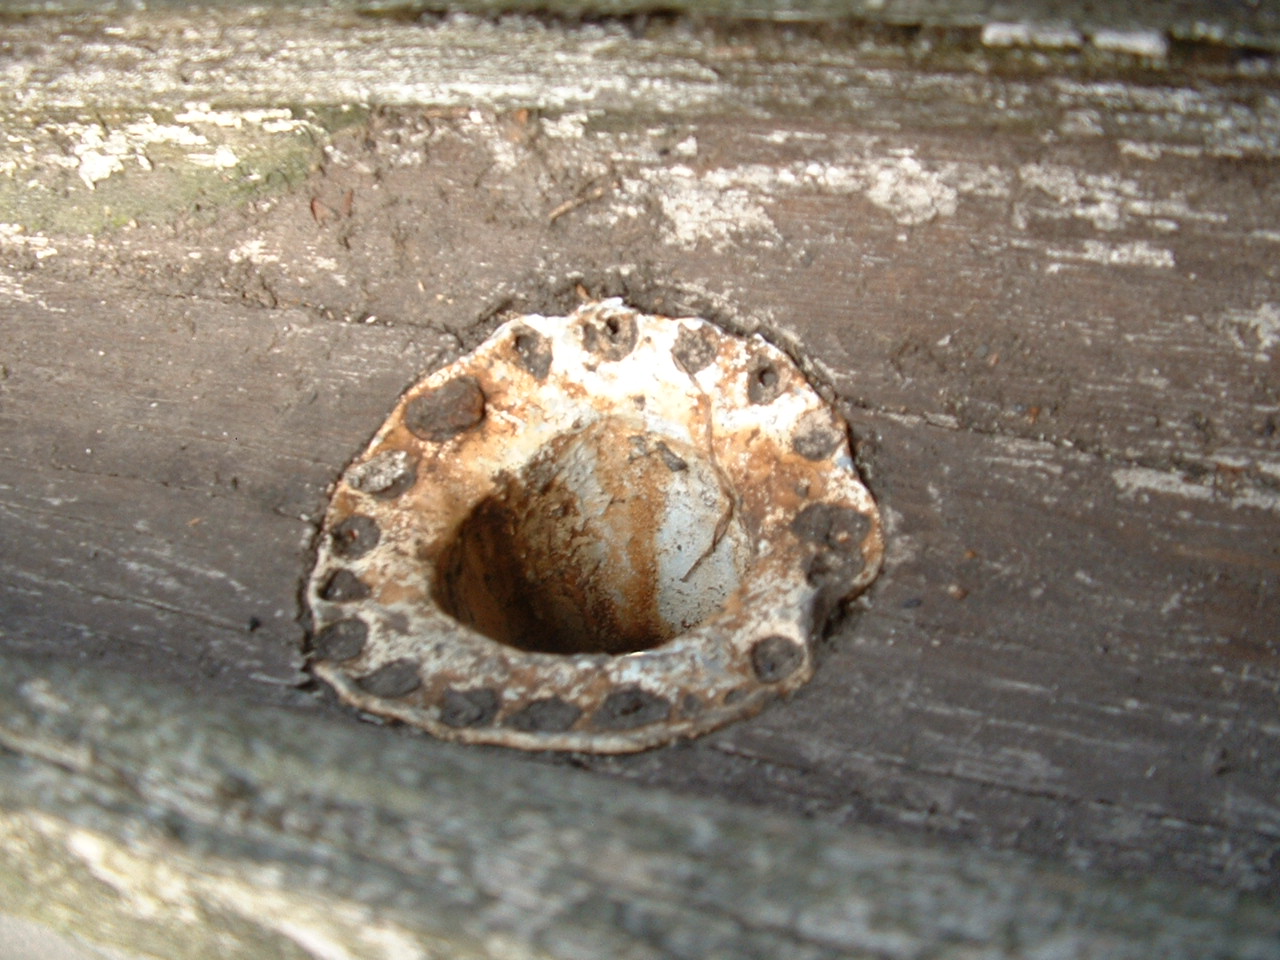
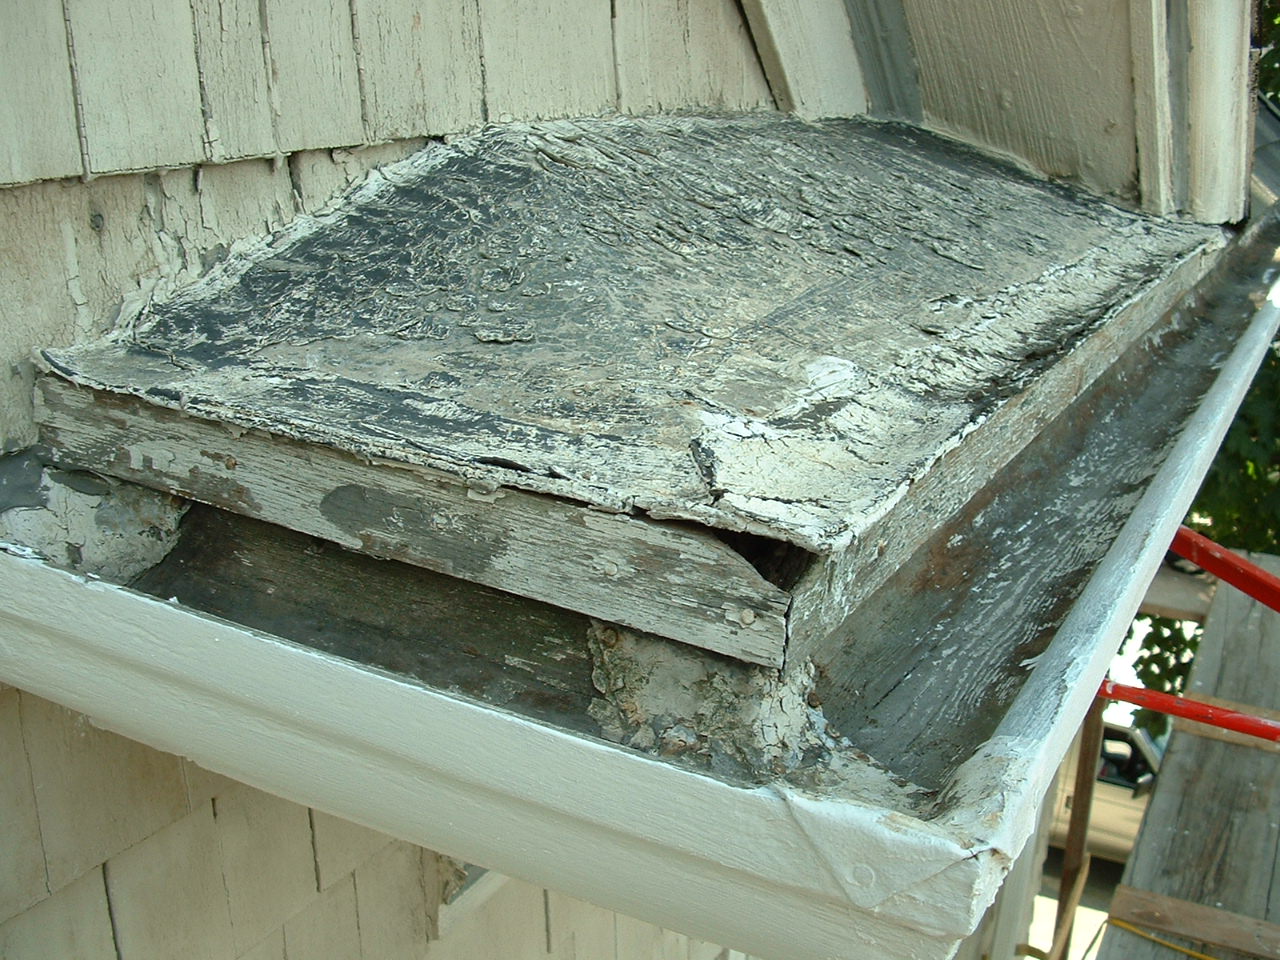
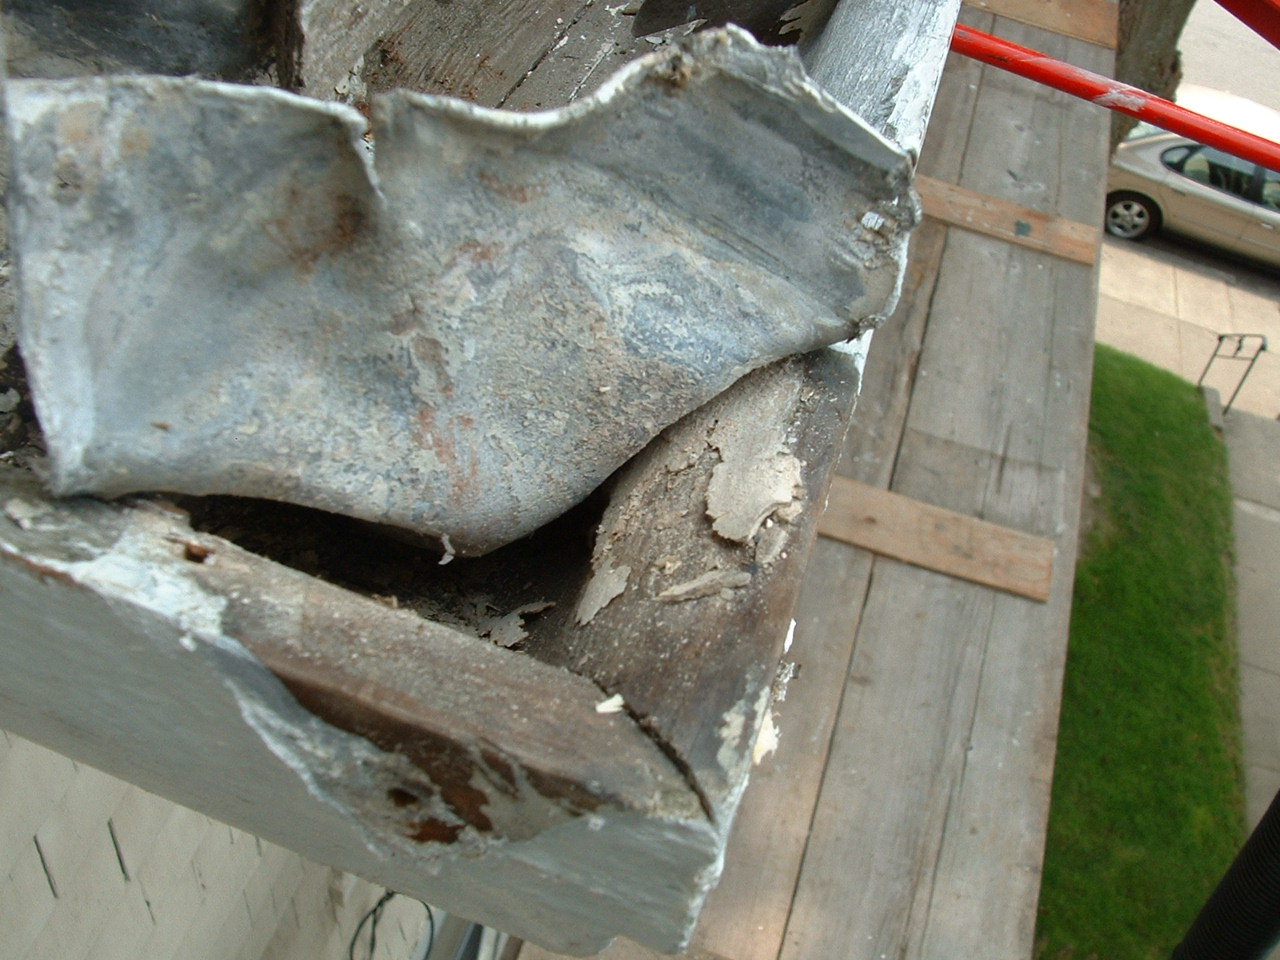
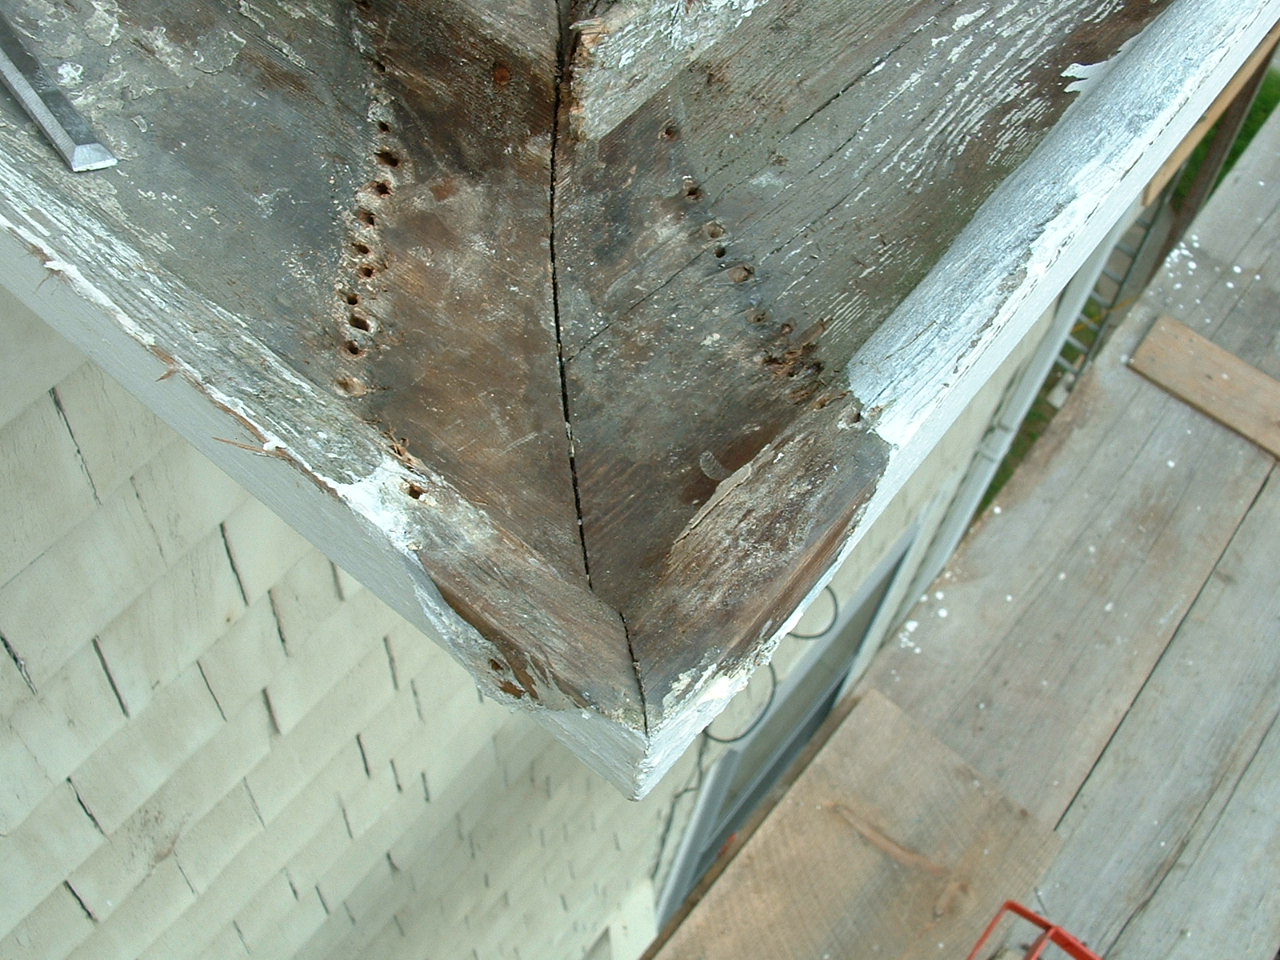
Here is a close up shot of the old 1 3/4" lead leader outlet that was correctly mortised flush. |
|
|
The new larger 2" lead leader outlet has been installed. Although this gutter has some nasty checks, it is in better condition than the sun beaten north section of this west gutter which I feel is a better candidate for replacement with the 13' section salvaged from the shaded area on the front (south) of the house. |
|
|
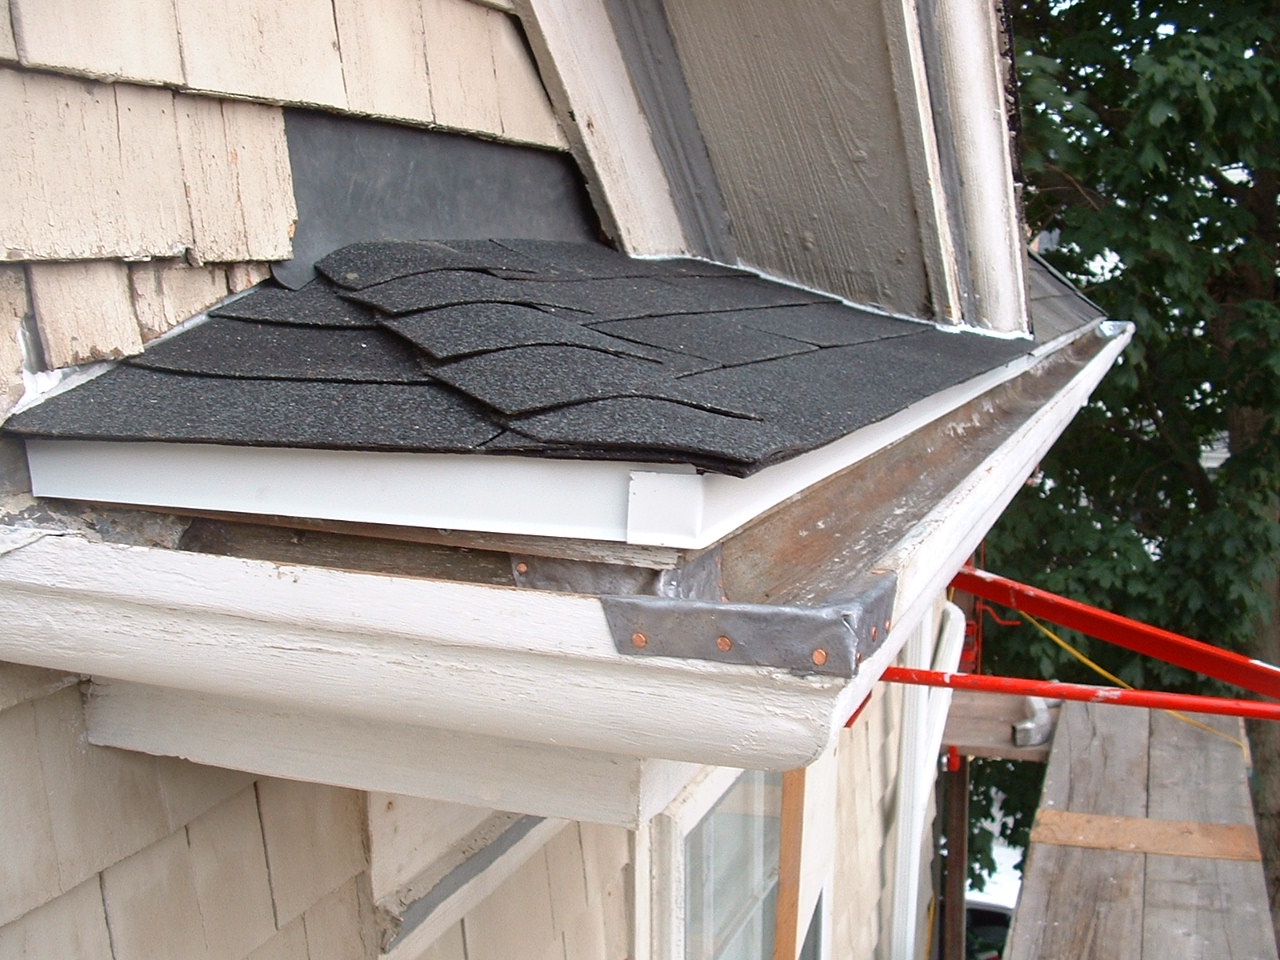
Looking north gives a better look at the checks on the outer lip (click on the photo). I'll tar this later with embedded fiberglass reinforcing mesh to further extend its lifetime. |
|
|
Notice the black mold. Lead, that was once in paint, is toxic to algae and mold. So without lead in the paint, bleach has to be used to kill the fungi. Since today is a wet day its a good time to pressure wash. |
|
|
The results of pressure washing with bleach. Notice a new bed molding has been installed and a coat of Benjamin Moore primer applied to the gutter, molding, and facia. |
|
|
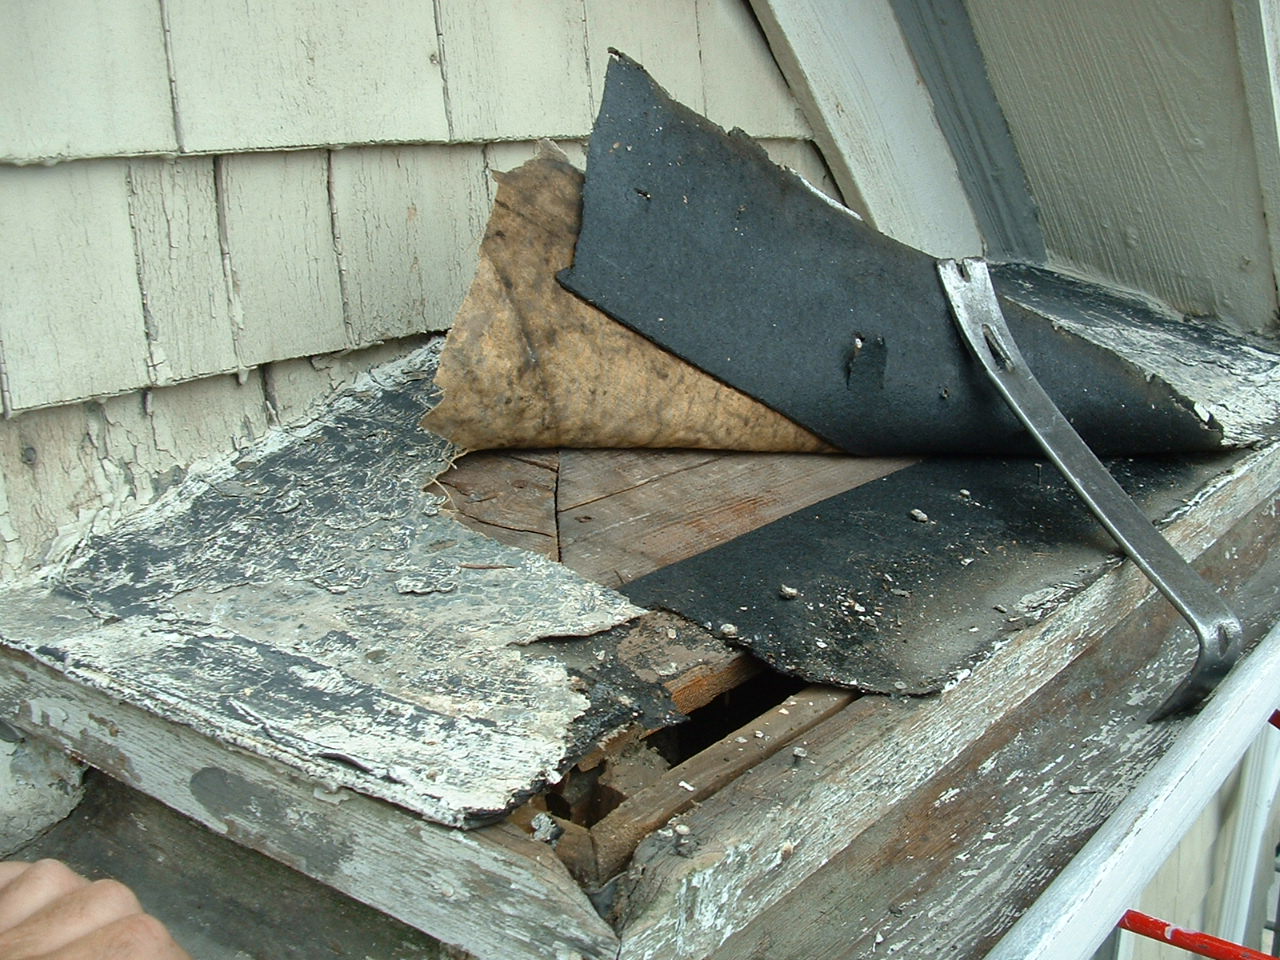
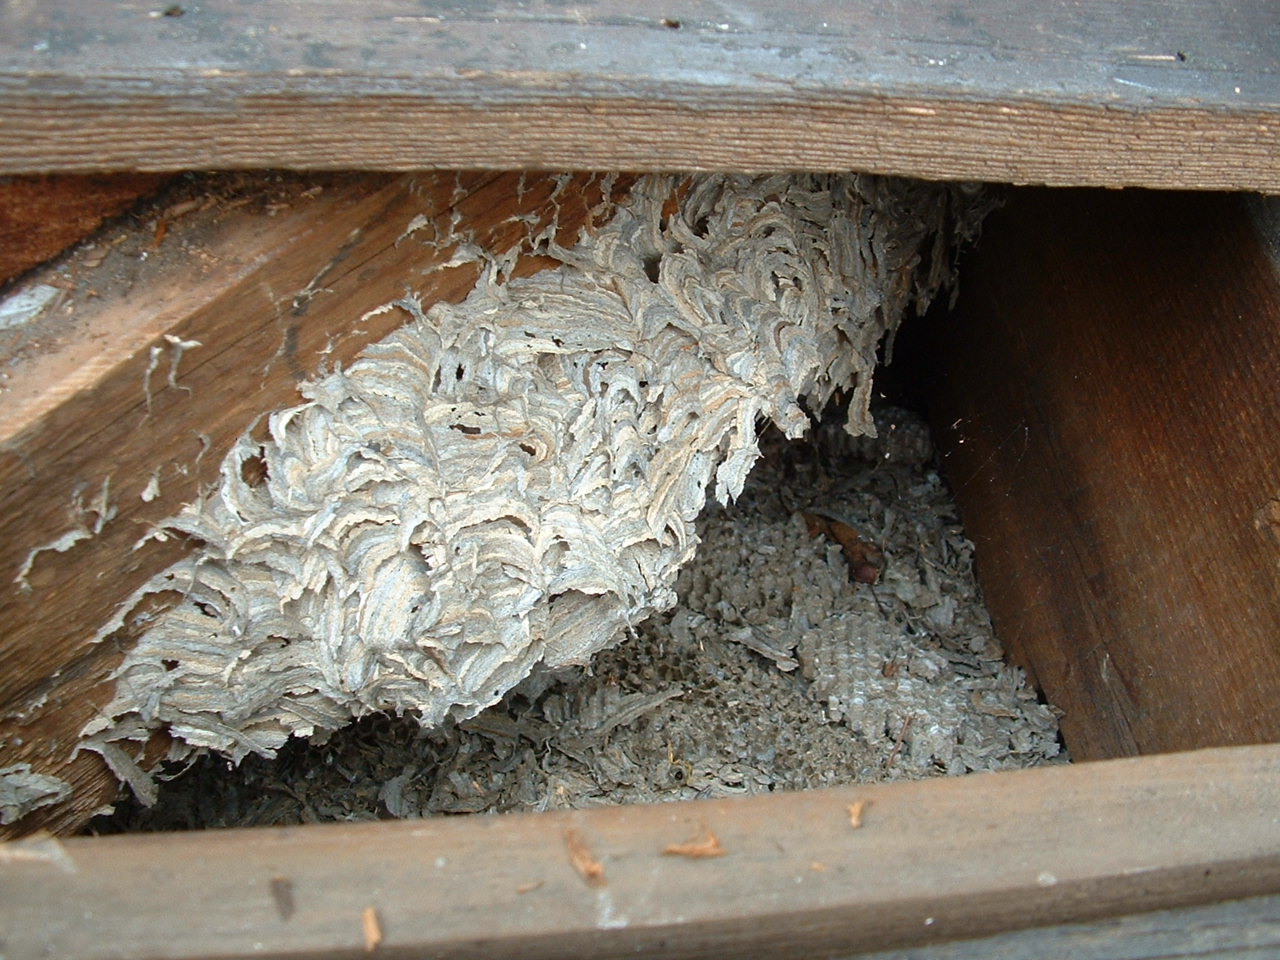
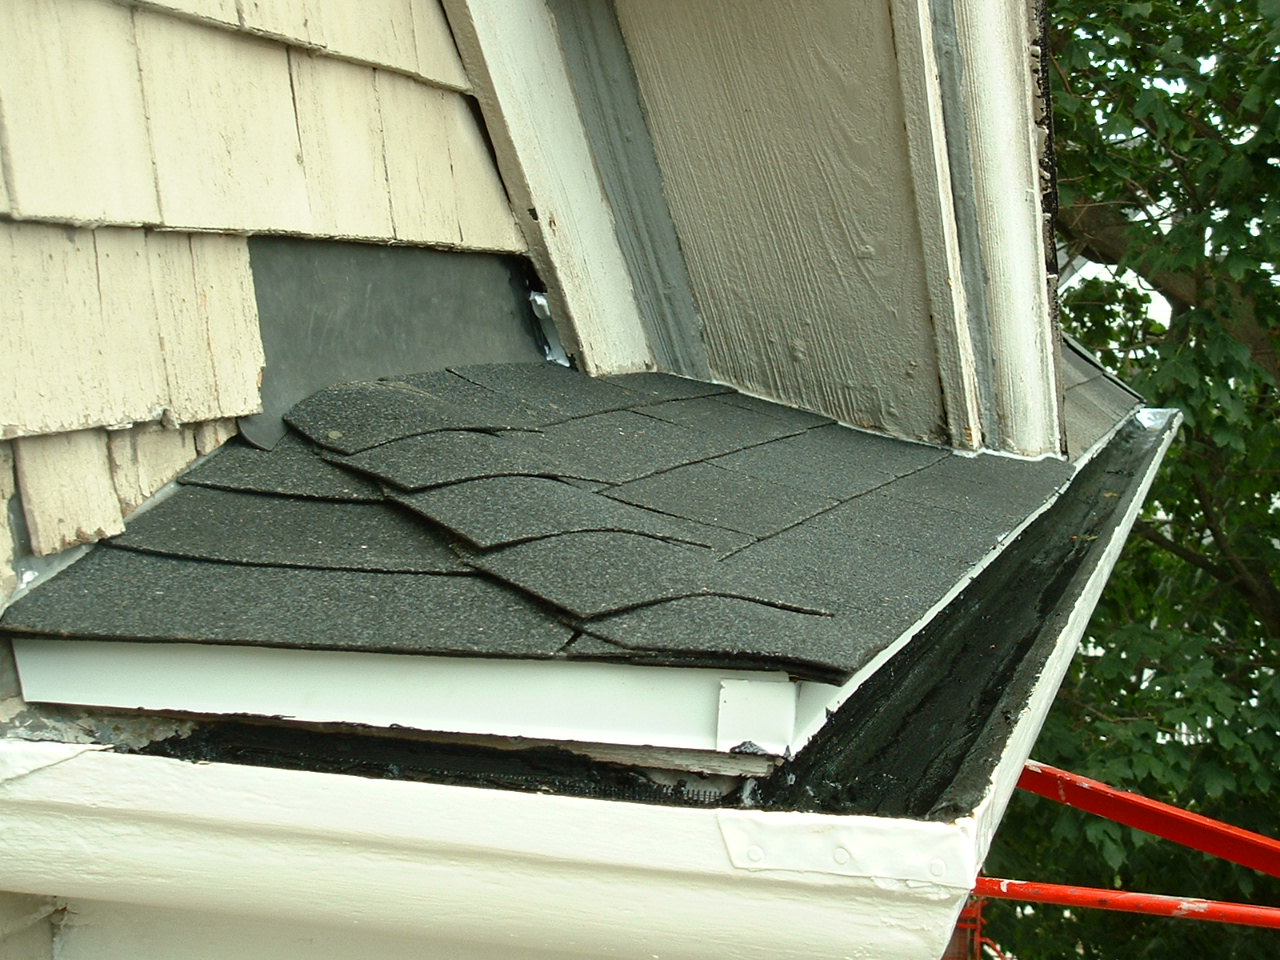
The roofing on this return is original oil cloth. The hole in the corner is the entrance to a bee's nest! |
|
|
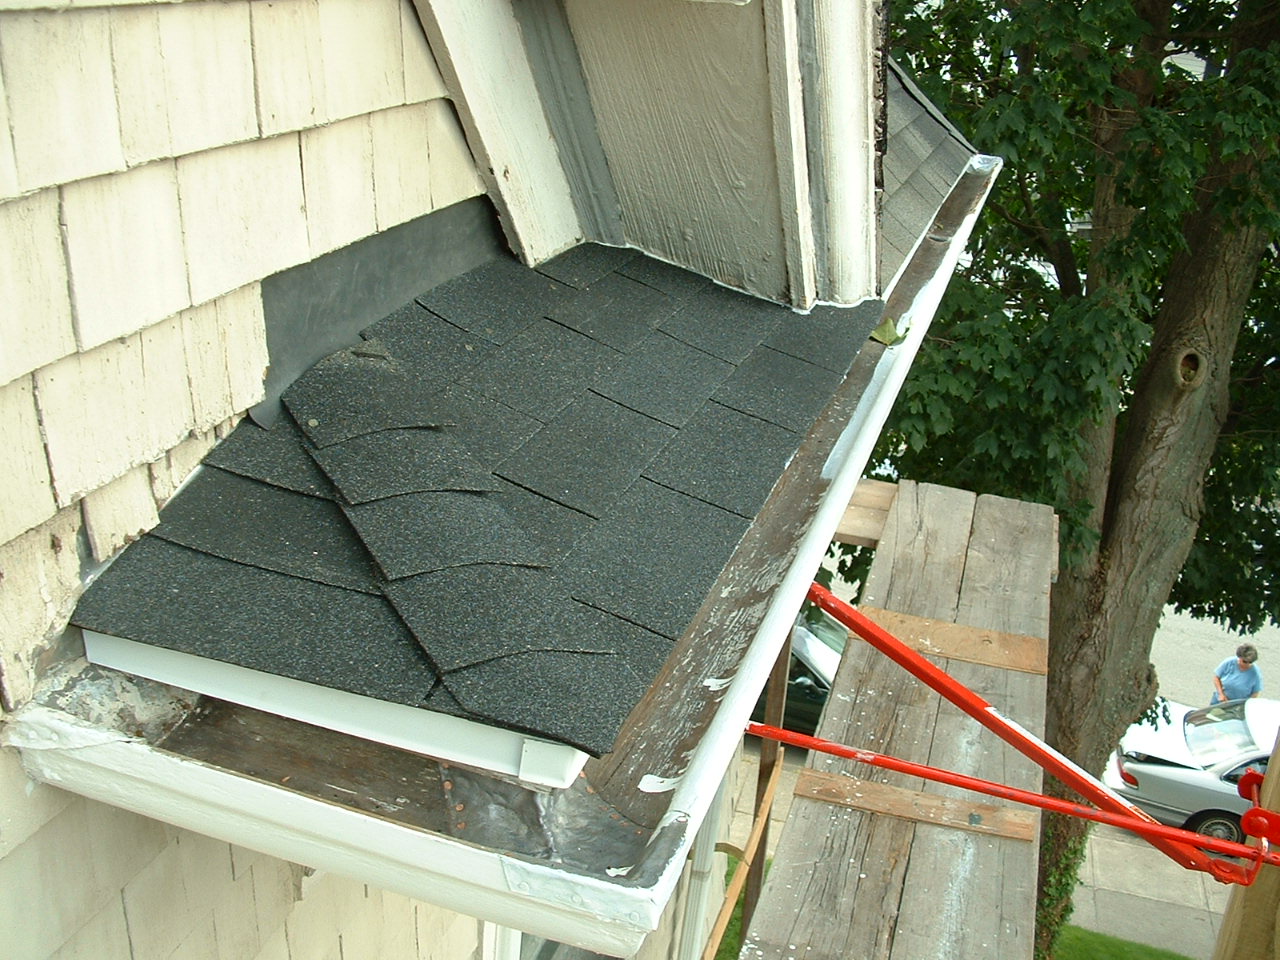
This roofing is nearing the end of its lifespan. It's sister return on the North section of the west gutter is in worse shape and has already been replaced. No sense leaving this one. Note this end of the south section of the west gutter is in relatively good shape. |
|
|
Someone repaired the failed edge by slipping asphalt roll roofing under the oil cloth. |
|
|
I might as well remove the sheathing board and evict the bee's nest.. |
|
|
...and the blown-in insulation, both of which will hold water and hasten any rot if and when there is ever a leak. |
|
|
|
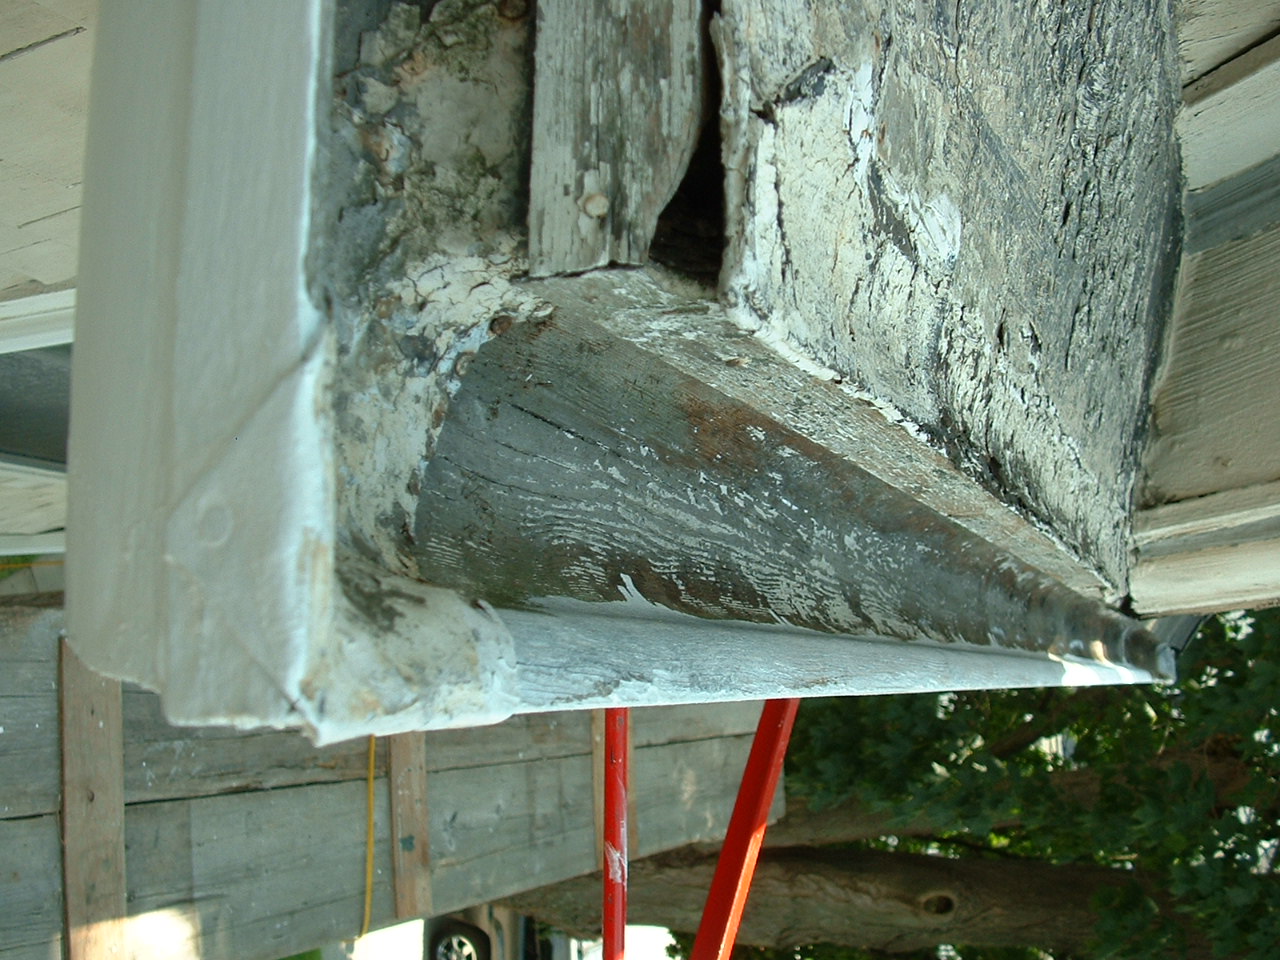
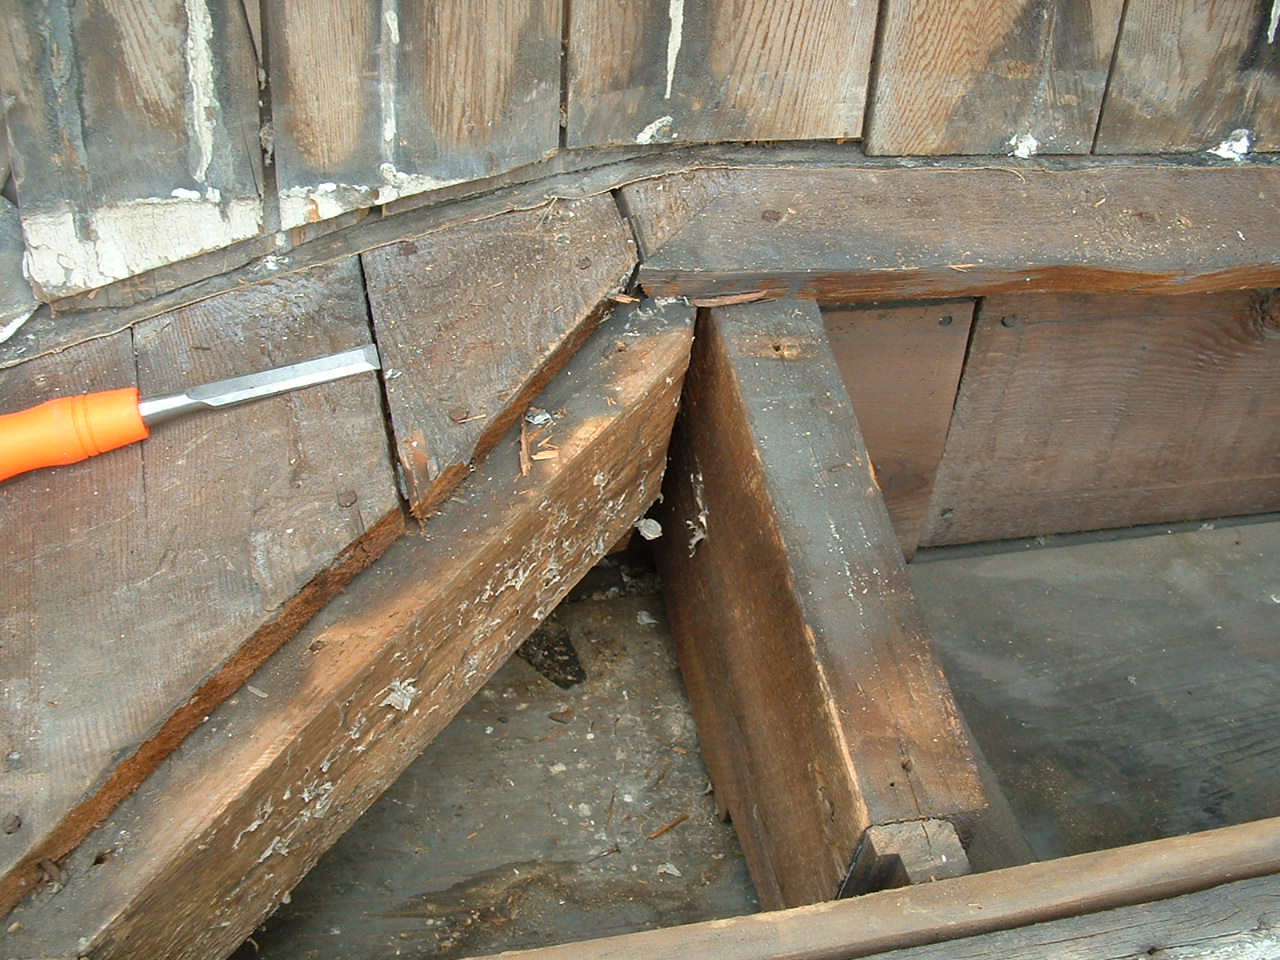
This leaded joint was not mortised. Notice how easy it looks for water to enter underneath. |
|
|
Apparently they set the lead in what appears to be a bed of glazing compound in an effort to seal out water |
|
|
Glazing compound dries out and turns to dust. But that was what was available back when. |
|
|
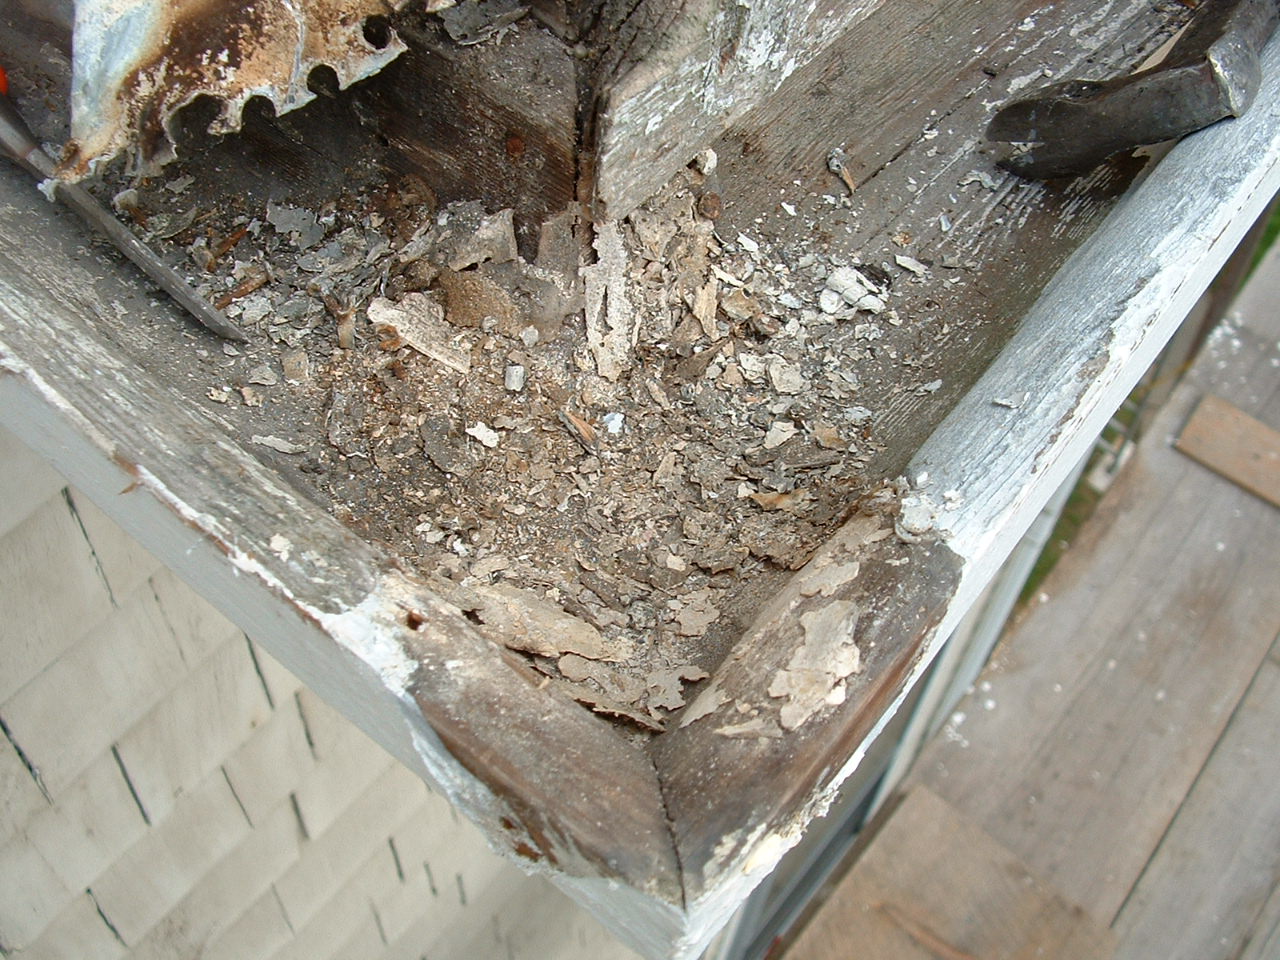
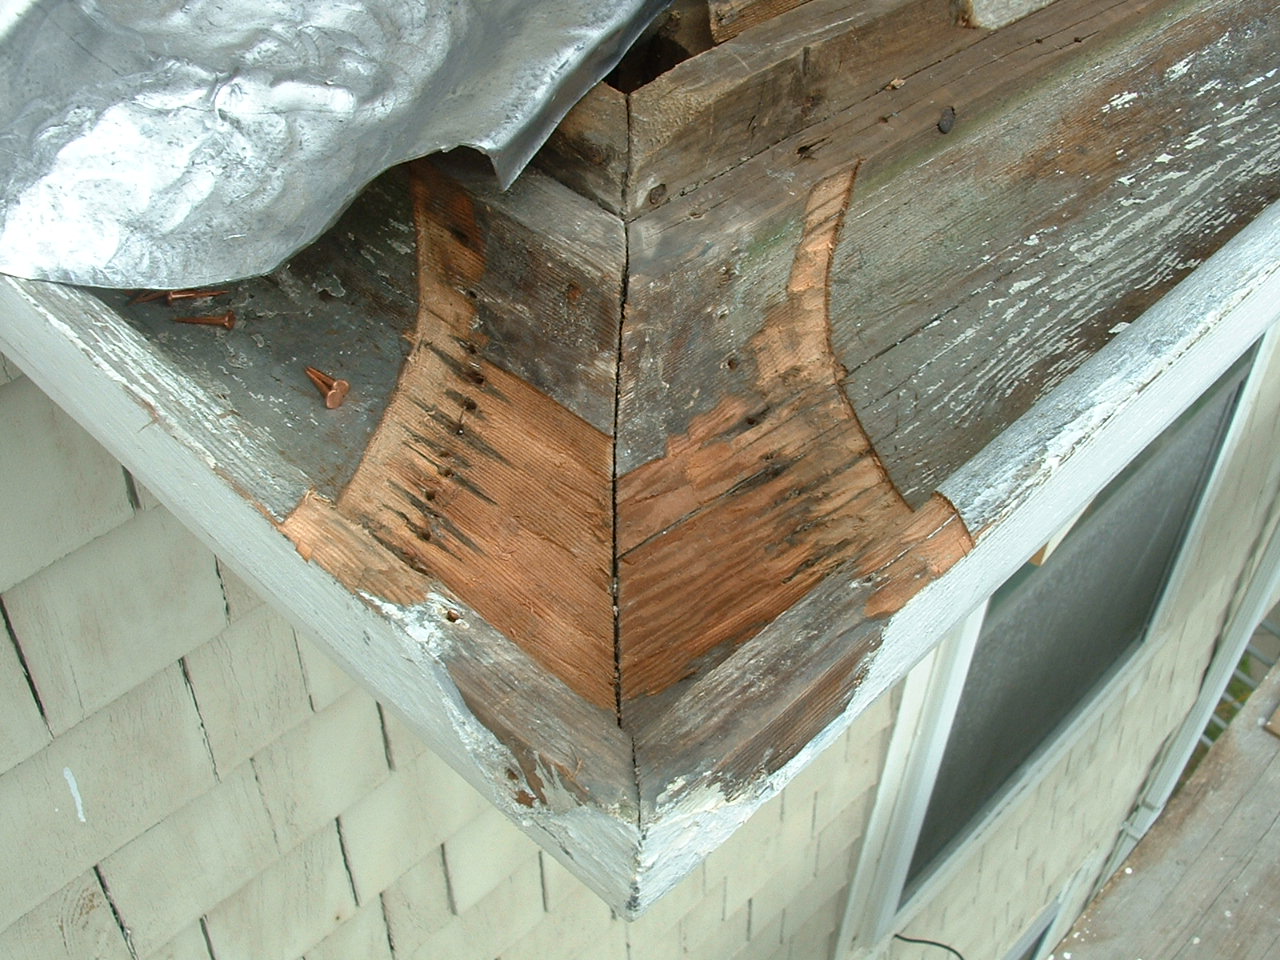
All clean, ready for new. Admittedly the wood under the old lead is in great shape but that is most likely do to minimal water flow here. |
|
|
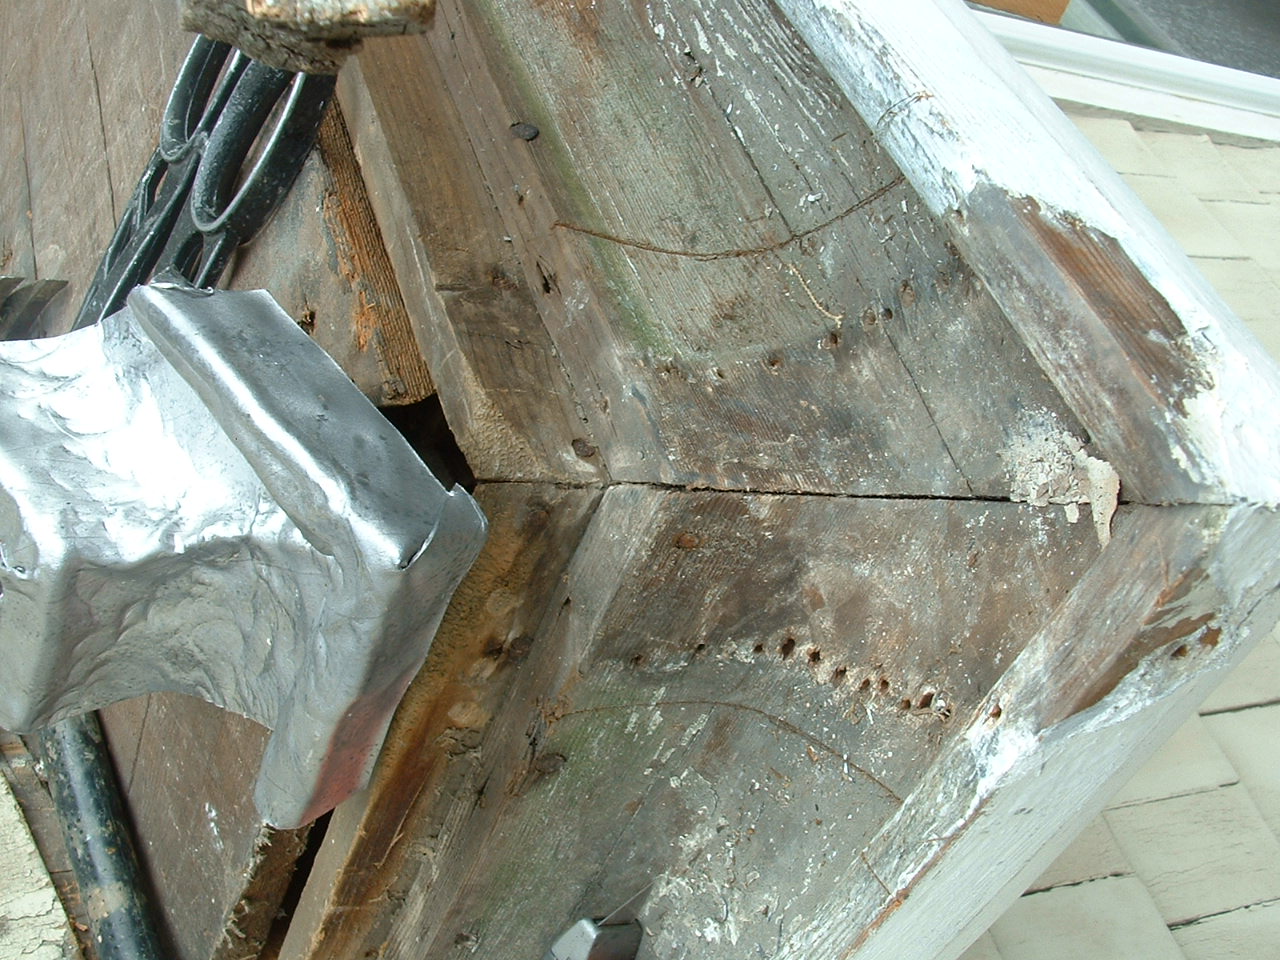
A new lead corner is hammered out and the wood scorn for a tight mortise. |
|
|
|
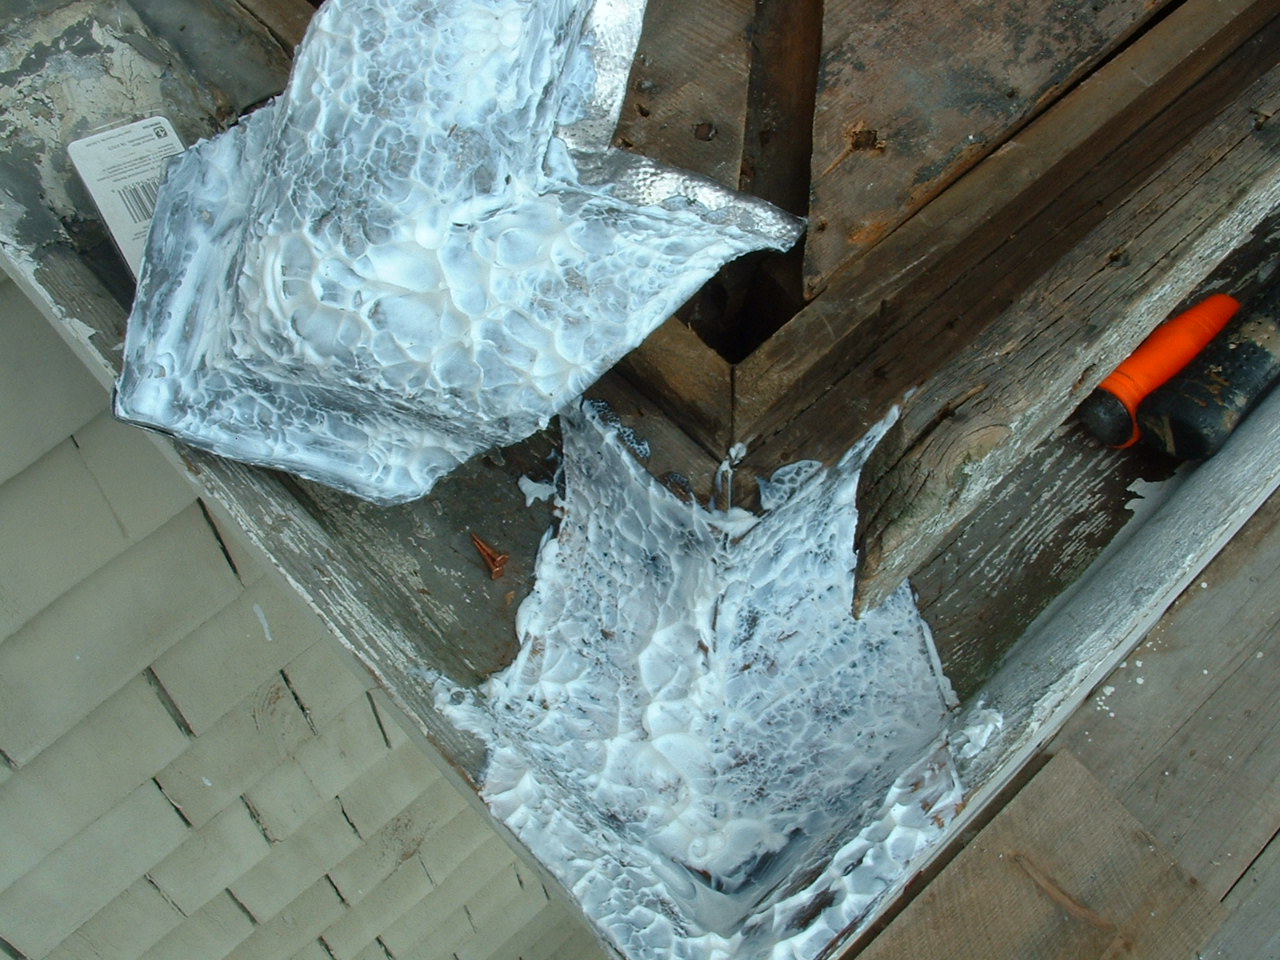
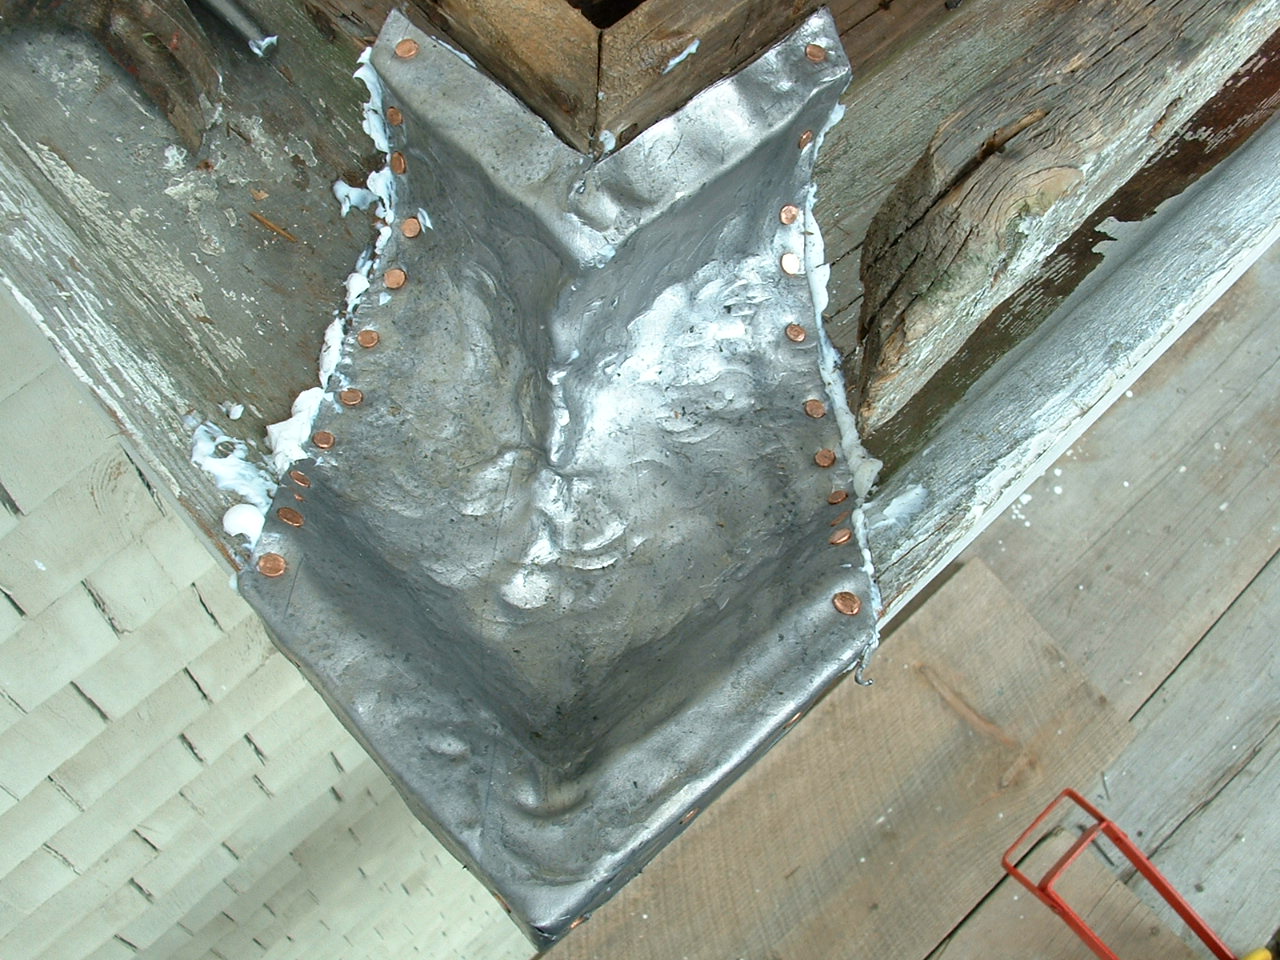
Pressed in a bed of 50yr elastic, adhesive caulk, then pulled out to inspect for complete coverage. |
|
|
The lead is now permanently installed with solid copper tacks. |
|
|
This gap in the sheathing is why the roofing edges on this return failed prematurely |
|
|
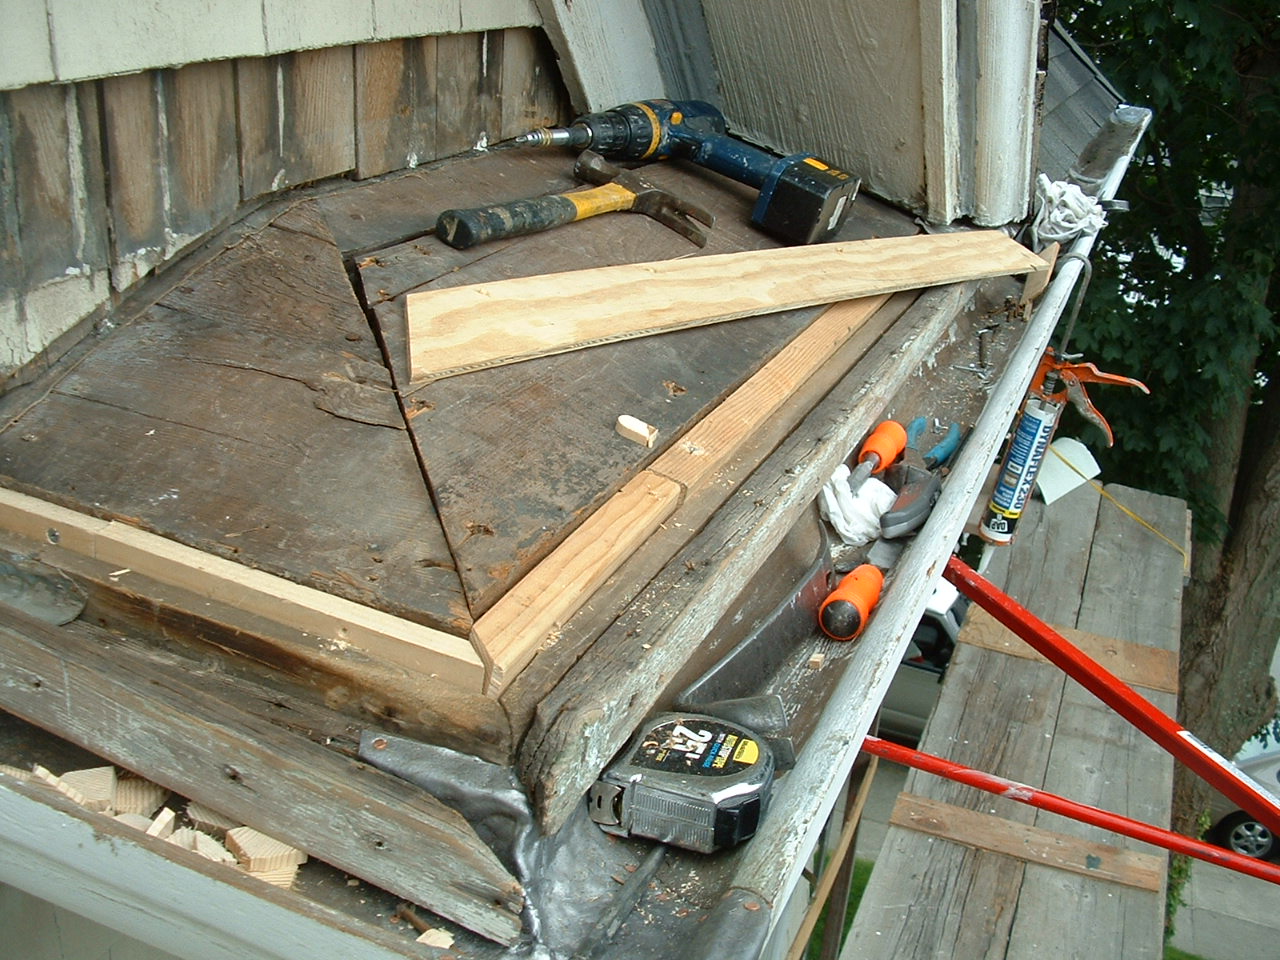
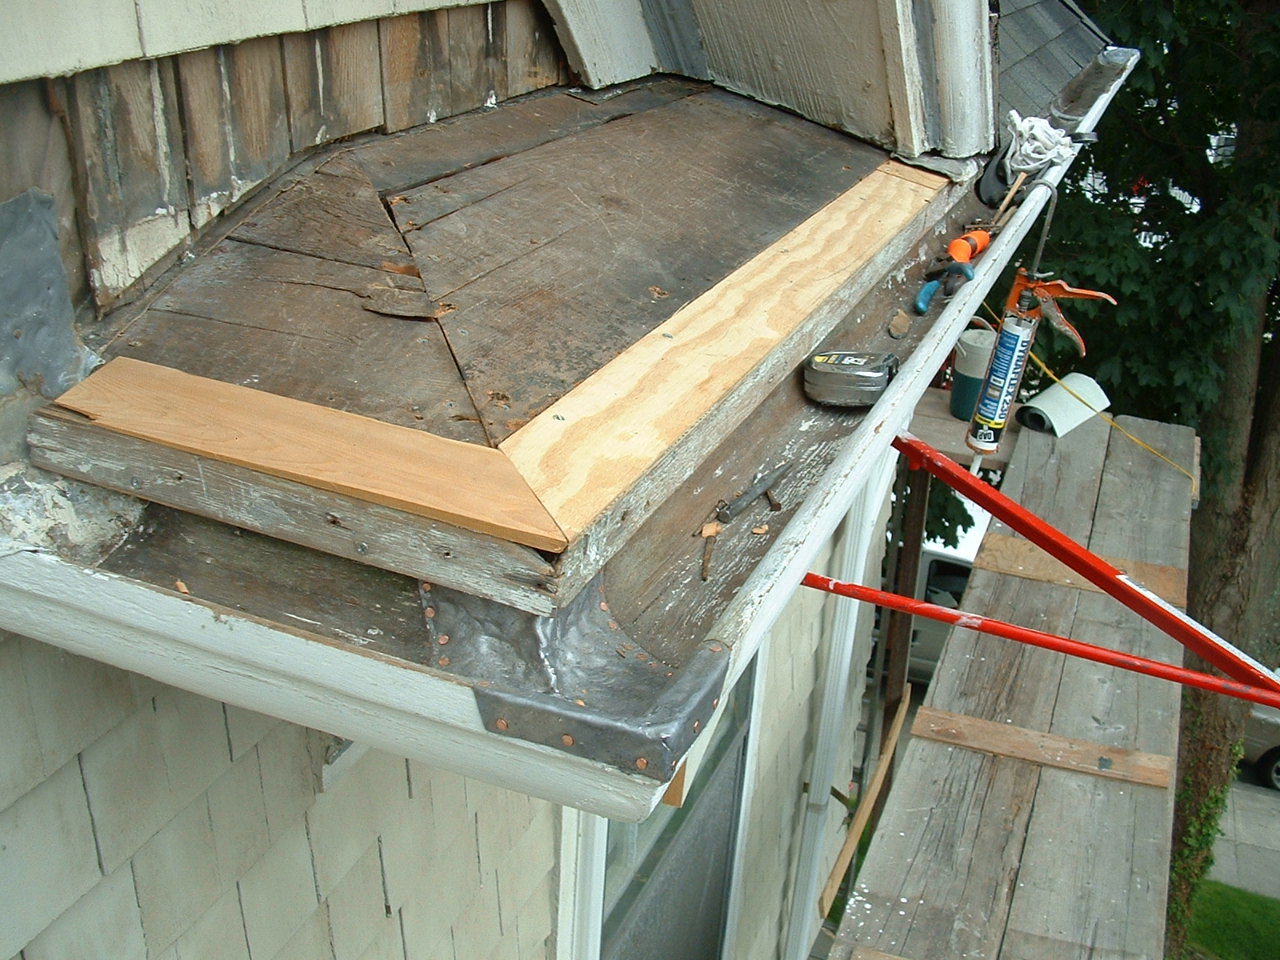
With solid nailer filling the gap, 3/8" plywood will span the gap where the back of the gutter's rabbited cap board had a square edge instead of the proper angle matching the roof's pitch |
|
|
A void free sound roof deck ready for roofing. |
|
|
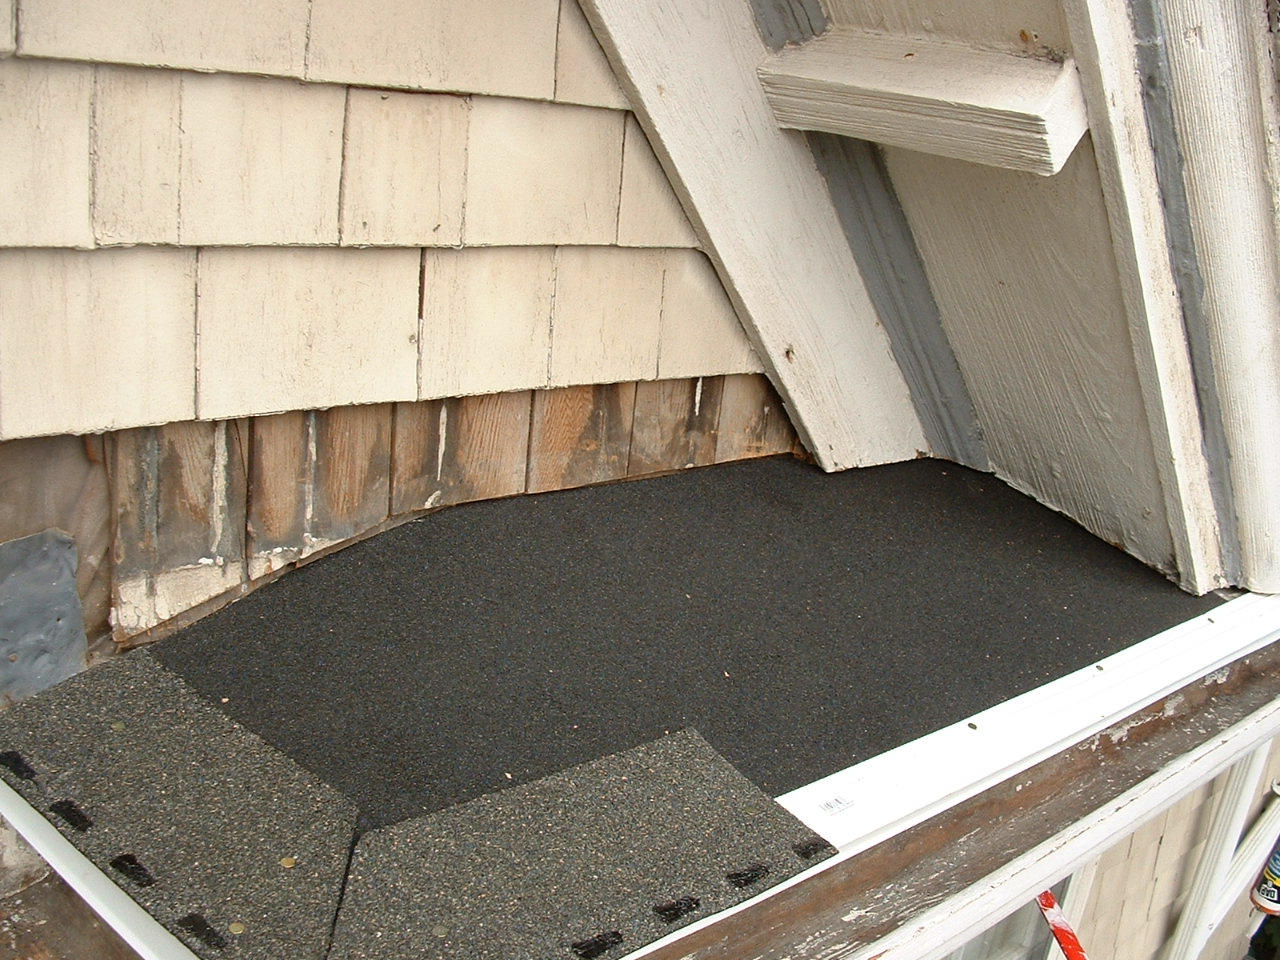
First a layer of water and ice membrane is applied. Then metal drip edge and shingle starter with its self sealing edge which prevents wind lift. It seals to both the metal drip edge and to overlaying shingles. |
|
|
The roofing shingles were step flashed. |
|
|
At the ridge rubber flashing was slipped up under the shingles. |
|
|
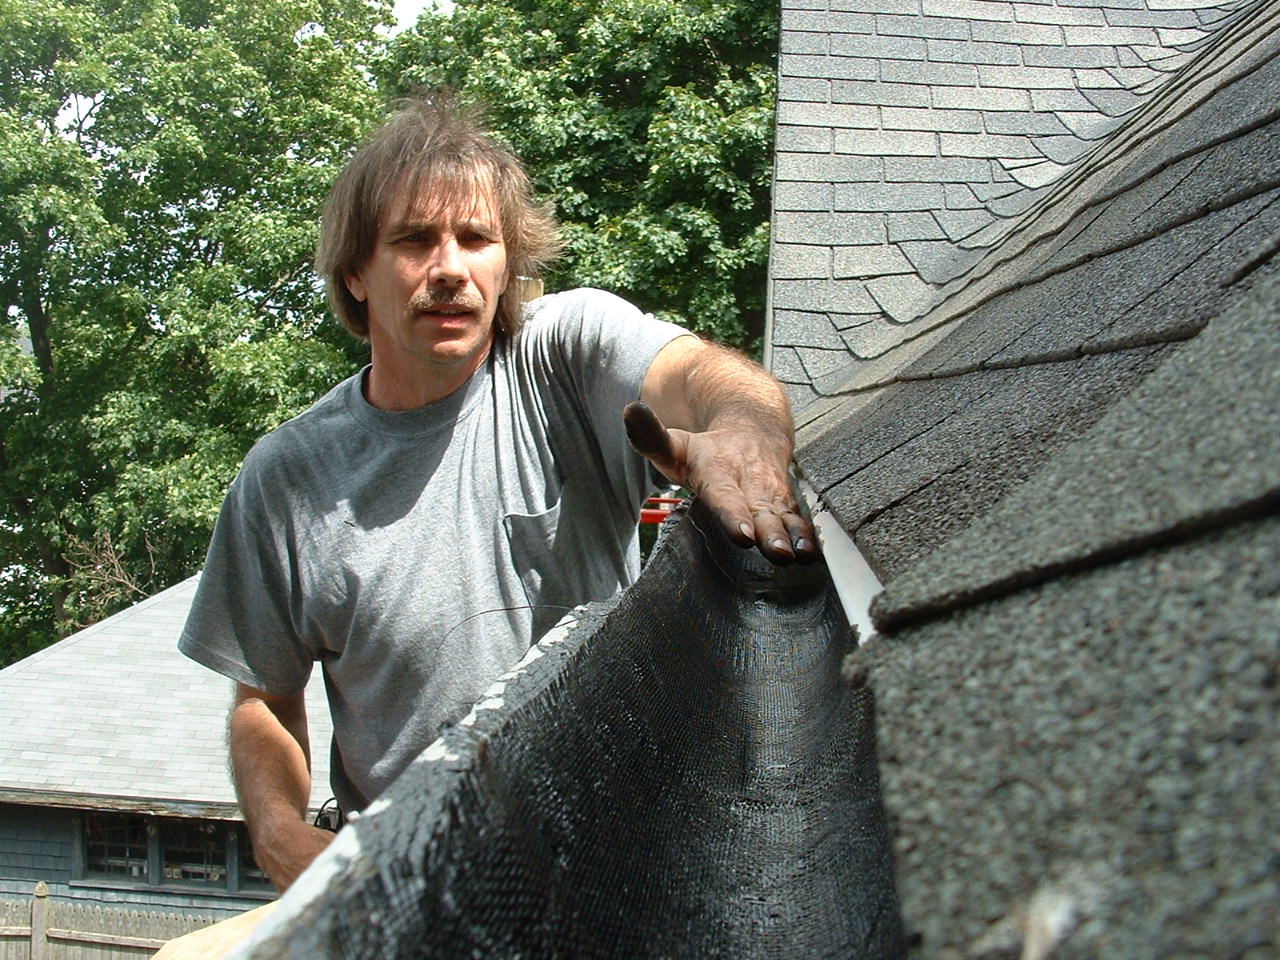
To seal the checks in this gutter I worked liquid tar onto the wood and then embedded a fiberglass mesh to prevent cracking. |
|
|
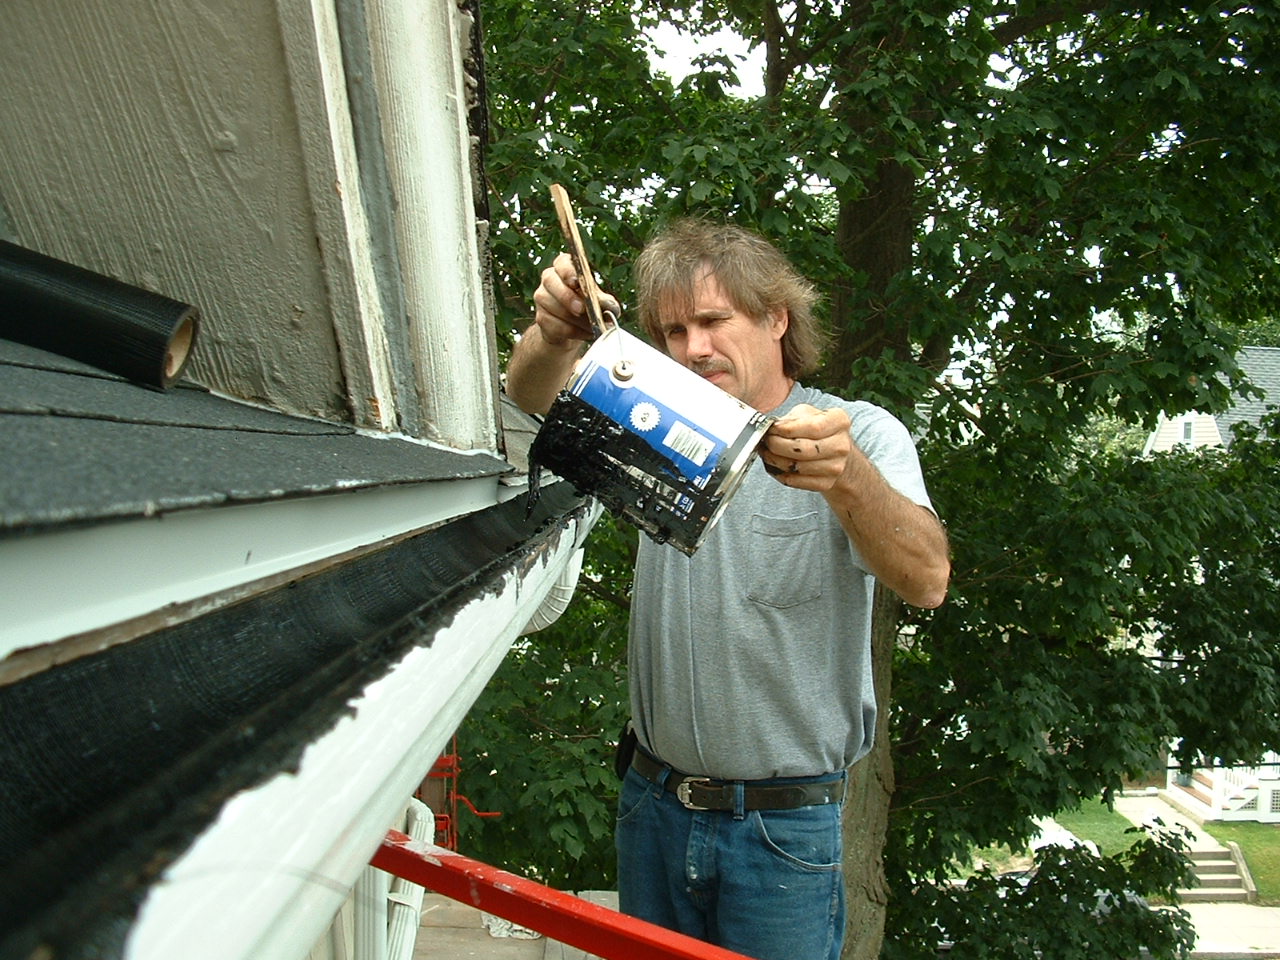
I then covered the mesh with more liquid tar. By tomorrow the tar will have set forming a pliable water impervious liner |
|
|
Marc is changing out all the discolored (grayed) downspout elbows and installing hidden holders - all with friendly screws instead of permanent rivets |
|
|
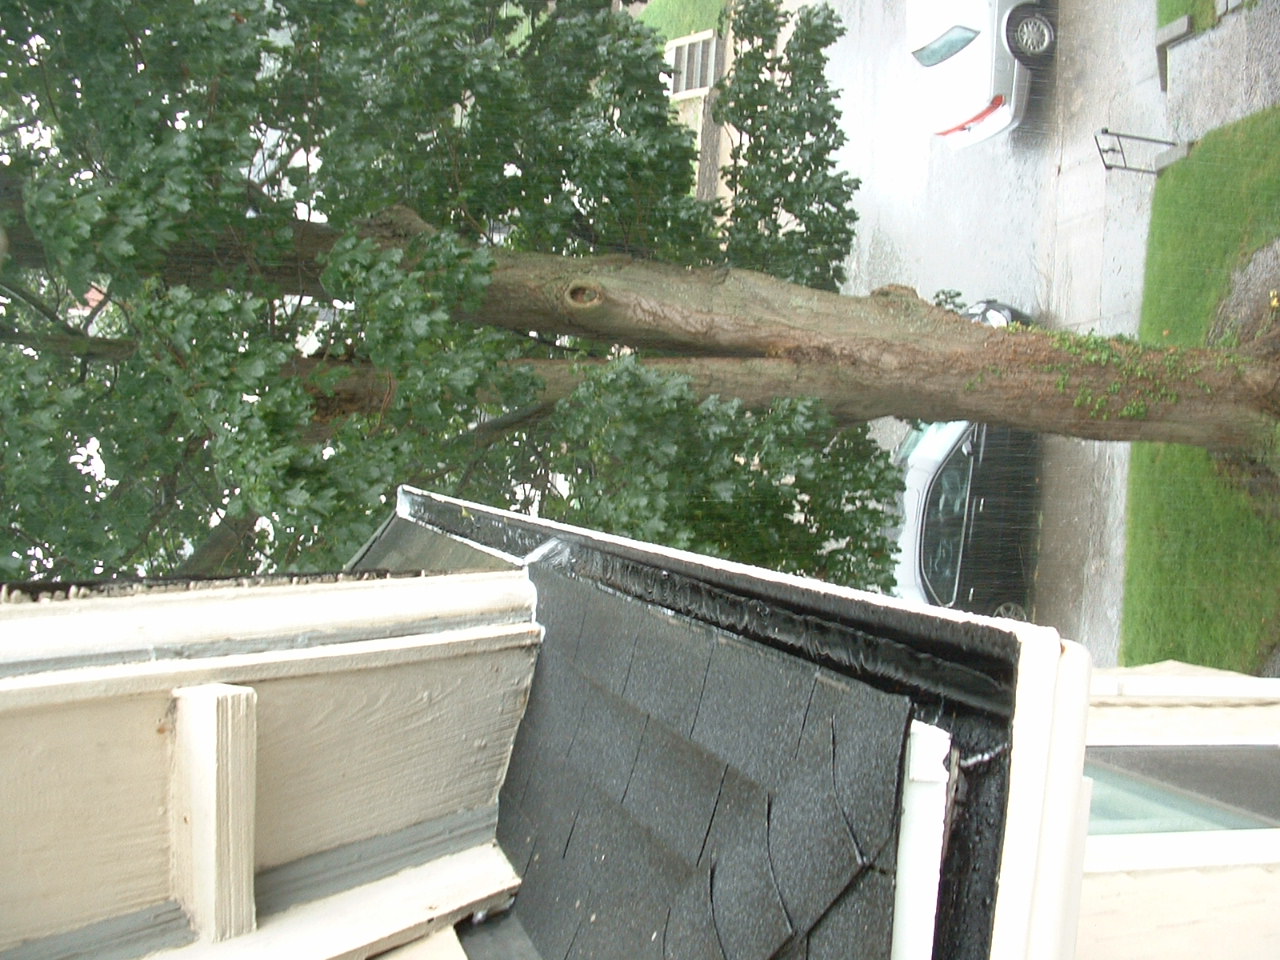
This wood gutter is now permanently protected from water and sun damage. Even if the leaves and seeds from the towering maple tree in this photo eventually clog the leader outlet (and the gutter therefore overflows) this wooden gutter will last as long as its aluminum counterpart. |
|
|
After a coat of finish paint this repair is complete. |
|
|
This gutter is doing its job once again in a pouring rain. please click on this photo to really see this gutter handling a summer downpour. |
|