01
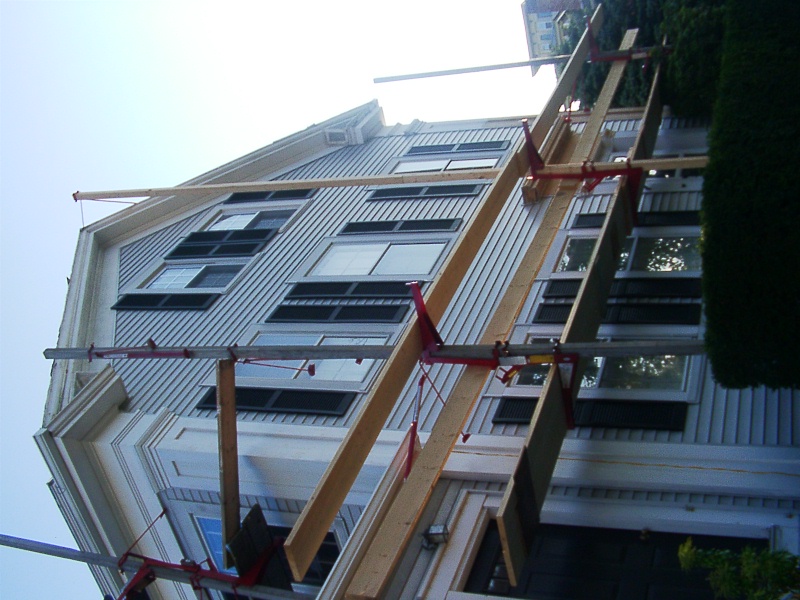
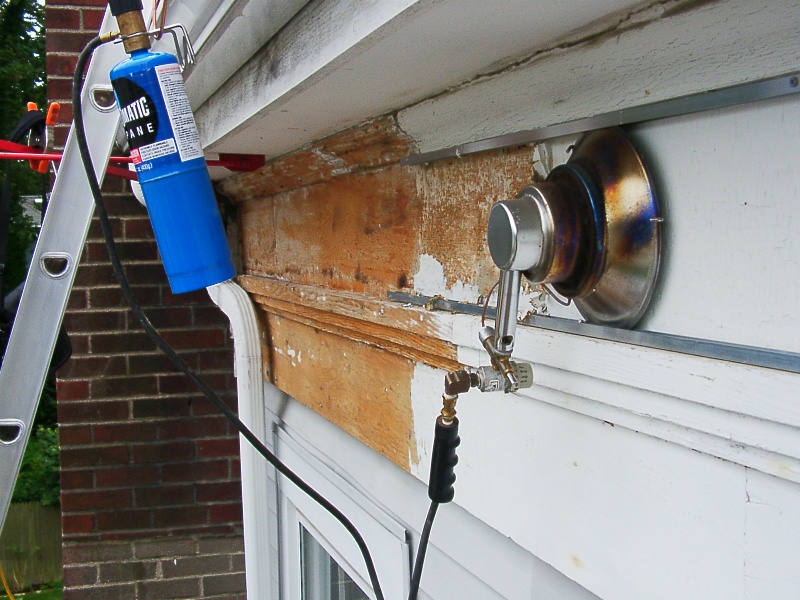
The eaves of this house are 22' above the ground and stagging is a must. I'm just getting started here. Since the square foot to be stripped is so great I thought rigging a propane heater to small propane cylinder would help speed the process. |
|
02
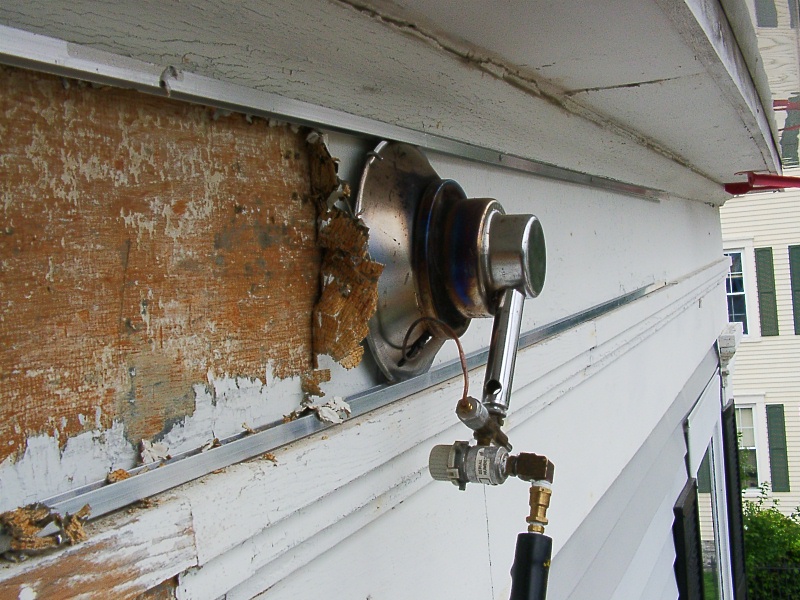
I works great but gets tiresome to hold so I screwed an aluminum channel to hold it. This way I would just move it to a new area while I quickly pushed off the softened paint. Look how nice all the paint layers lift at once. |
|
03
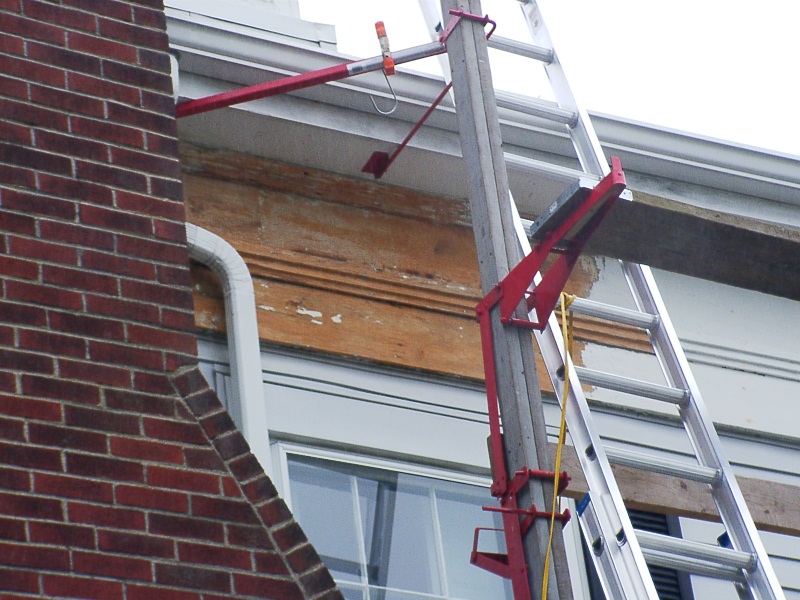
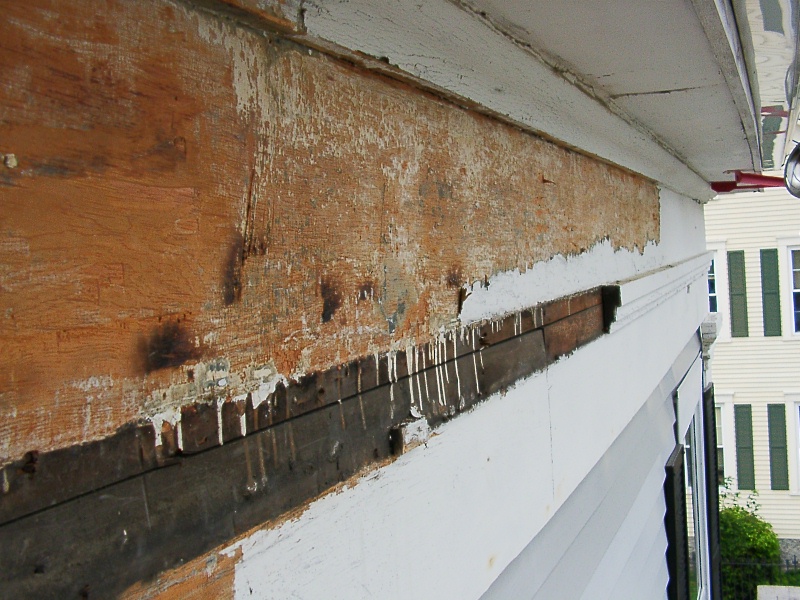
It's working beautiful except I'm realizing I need to use a separate hand held torch for the areas the heating unit is not getting to. Also, if the heater is over any bare wood it will burn so I can't use it for smaller areas. |
|
04
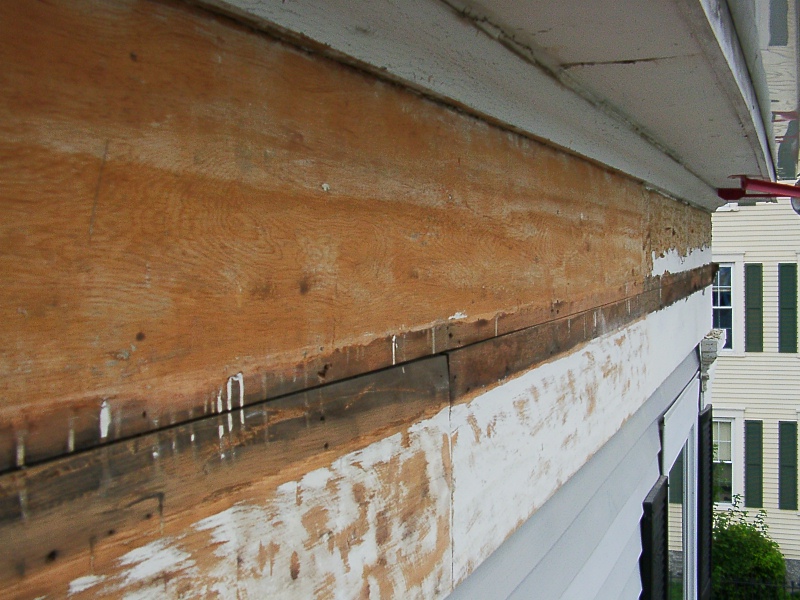
A this point I'm done with the contraption. The moldings are going to come off too. This way I didn't have to worry about burning the bare wood right next it. And I can work on the moldings at bench top height. |
|
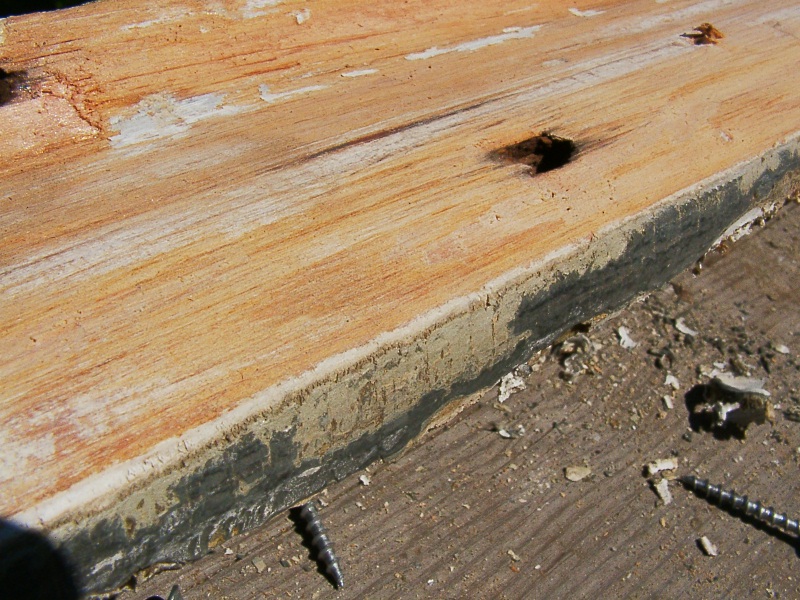
05
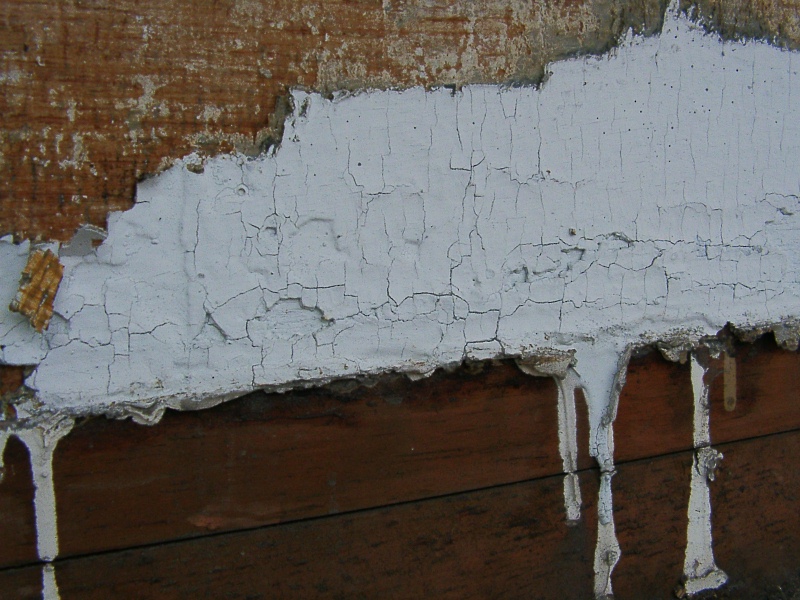
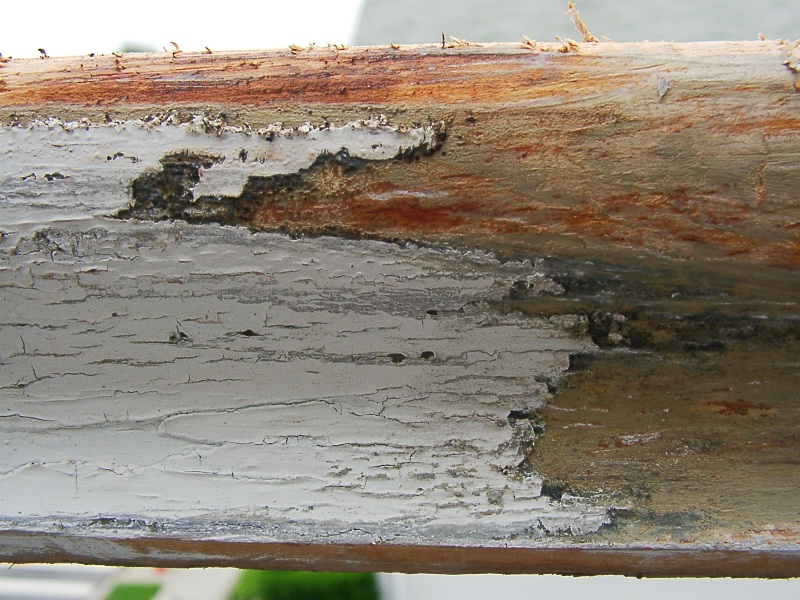
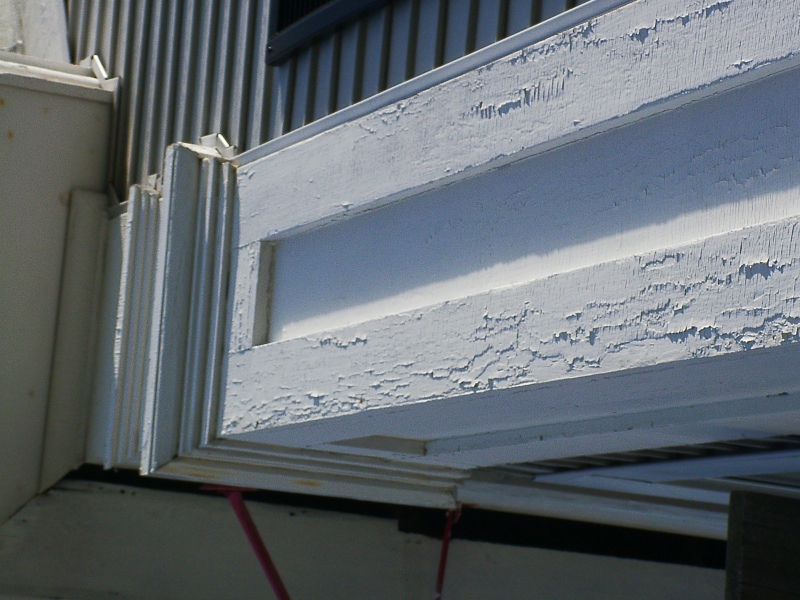
Here's a close-up of the old paint before being removed. I'll replace the moldings with stainless steel ring shanked nails. This will eliminate possible rust stains which can be found in many places.
|
|
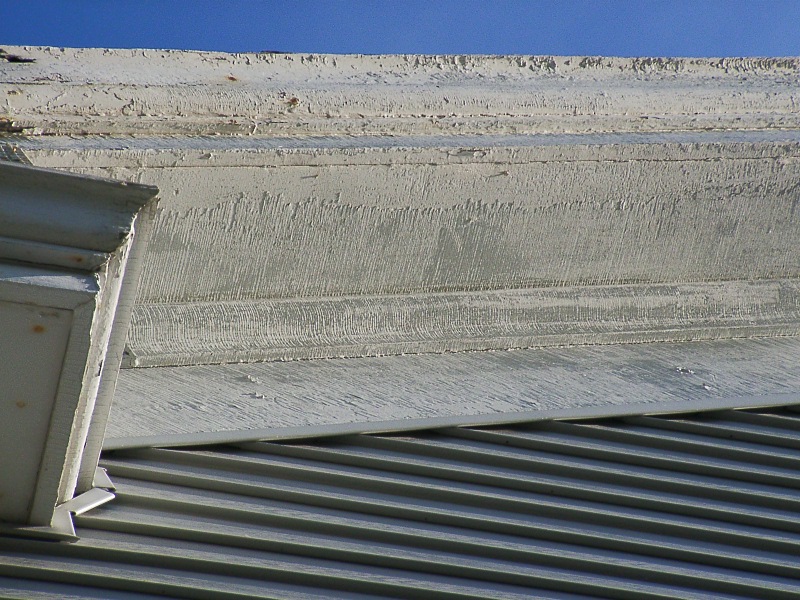
06
Someone had "swirled" the paint off on the bottom frieze board on a prior paint job. This paint was too thin to heat as the wood would burn before the paint would melt. |
|
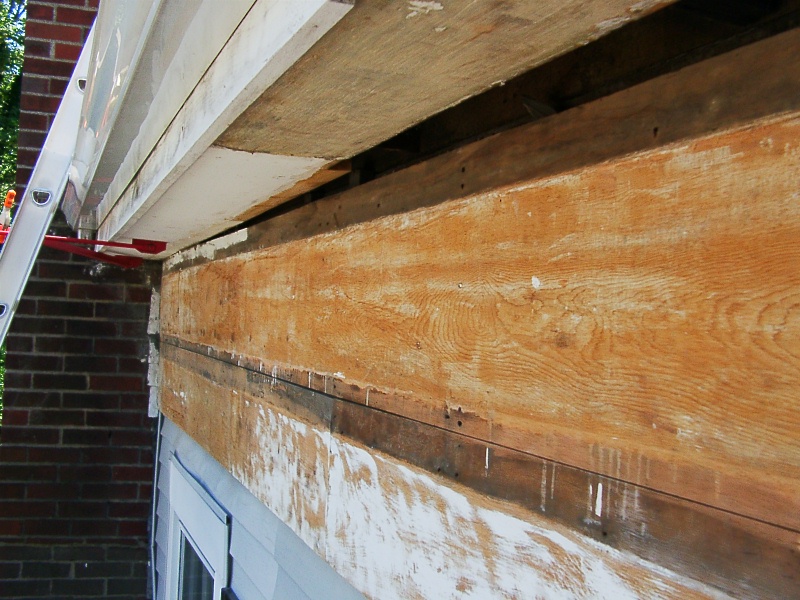
07
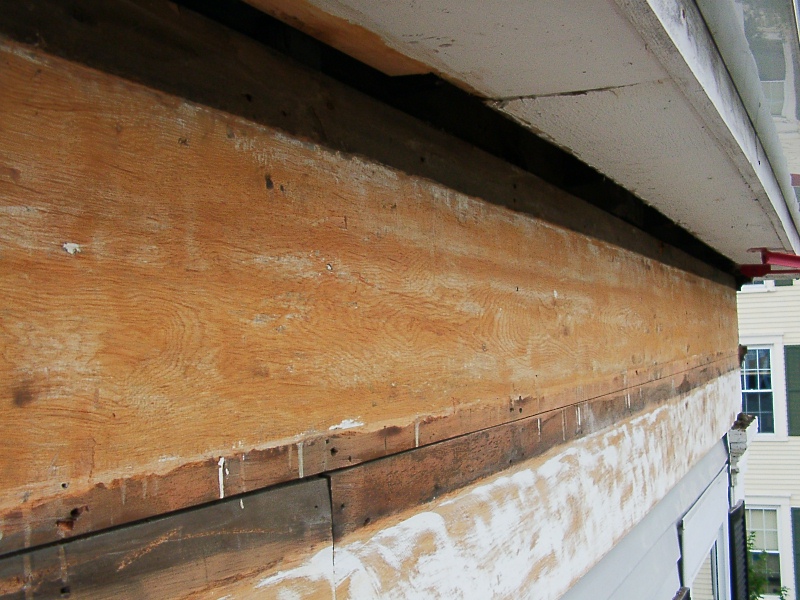
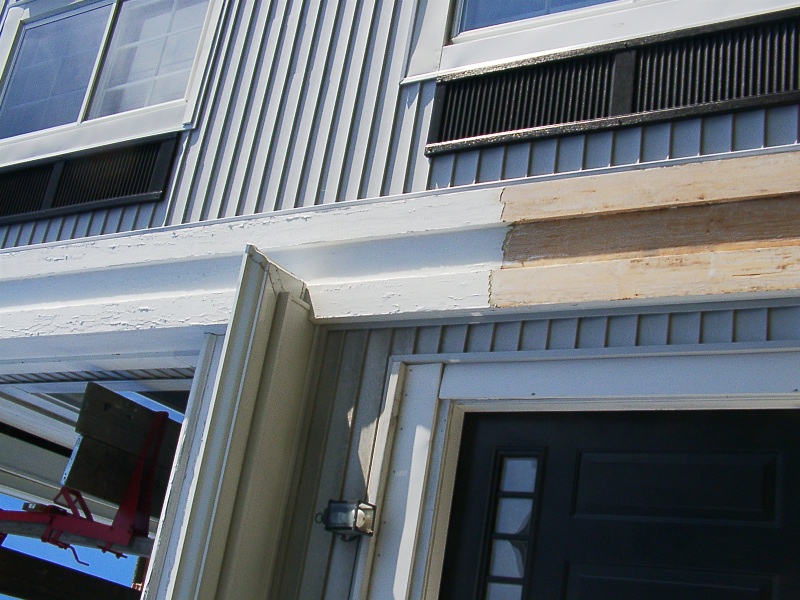
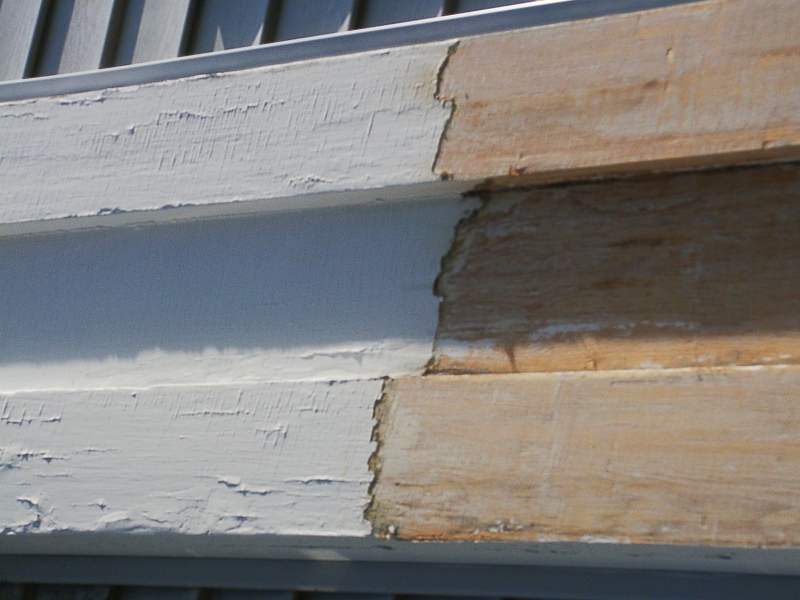
Looking north, here are the frieze boards stripped, belt sanded and random orbital sanded.
|
|
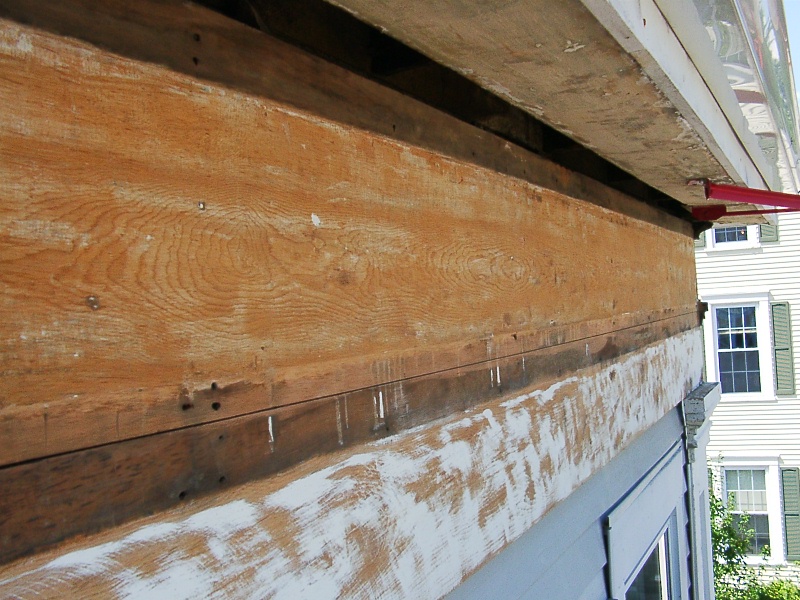
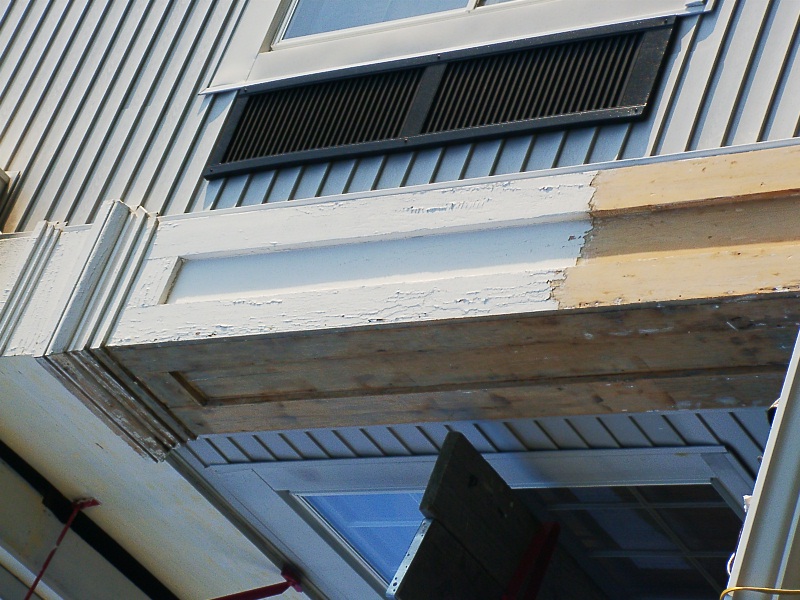
08
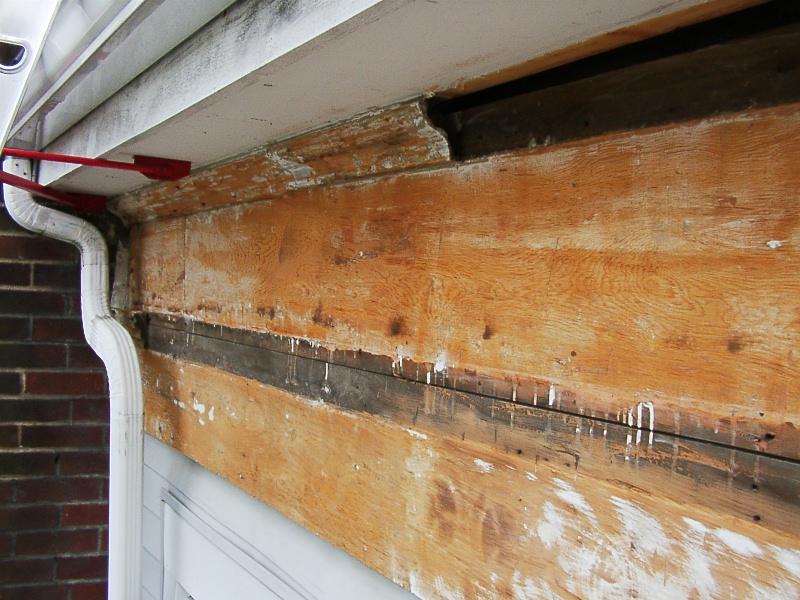
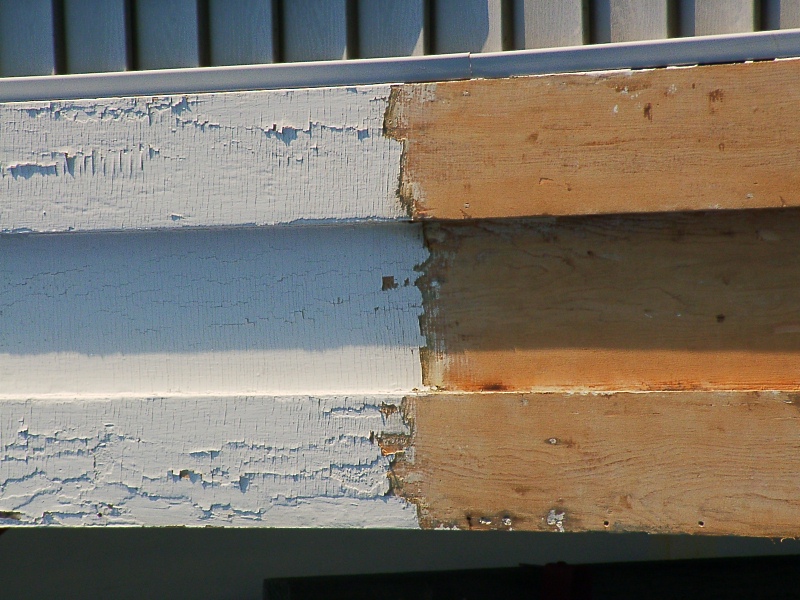
Looking South. Notice the black mold on the facia board just below the aluminum gutter. |
|
09
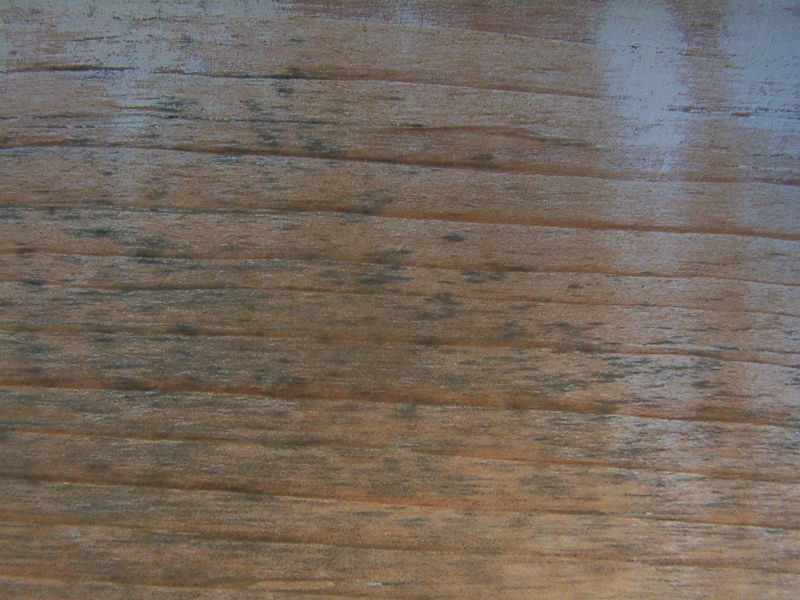
This photo shows that the mold is in the wood (after sanding the paint off). This is not the orignal fascia board and it never had lead paint on it which is toxic to mold. This "last job" paint I'm removing does not have a protective hard shell finish of an oil based enamel. Its rather like air dried spay paint. |
|
10
This paint is tenacious. It also looks like it was green, then black at one time. I found these other than white colors only on the eave moldings. |
|
11
Here the eave molding is stripped and sanded. This nice rounded edge is hidden as it tucks up to the soffit. It was filled with excess gloobs of (white) paint which I removed. |
|
12
Oh how I hate to see painted swirl marks. This is the most popular method for removing paint because its fast, but its damages the wood. Luckily these swirl marks are not deep and are too high up to notice. |
|
13
Here you can see the soffit has been stripped too. Notice the end board not stripped. This is a relatively new board replaced by someone else for some reason with only one paint job on it. I see no reason to strip this. |
|
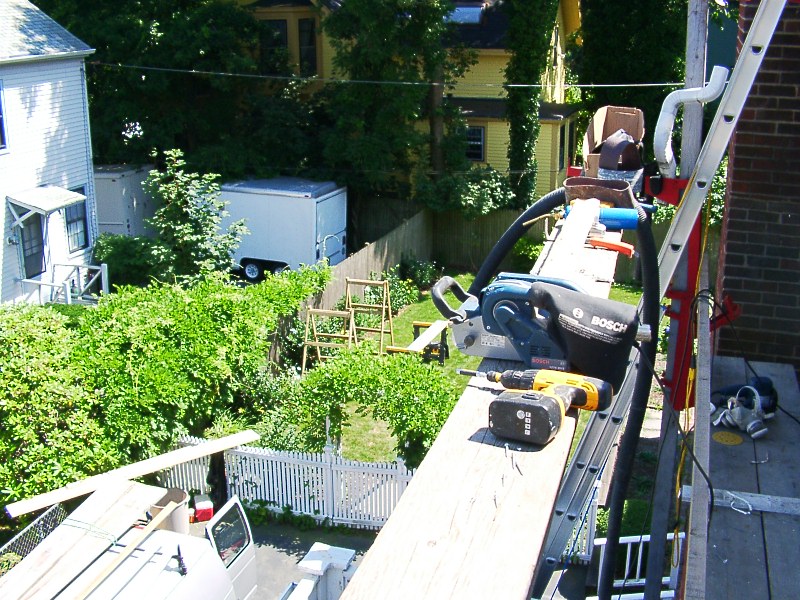
14
This was my work bench. It also served as a safety bar and a tool bench that kept my walking area clear. This type of work could never be done from a ladder. |
|
15
Now to strip the NE corner boards. |
|
16
A closer look shows the knife marks are still visible on the righthand board from its original milling. |
|
17
Right now the sun is at a perfect angle to highlight the awlful condition of the paint. |
|
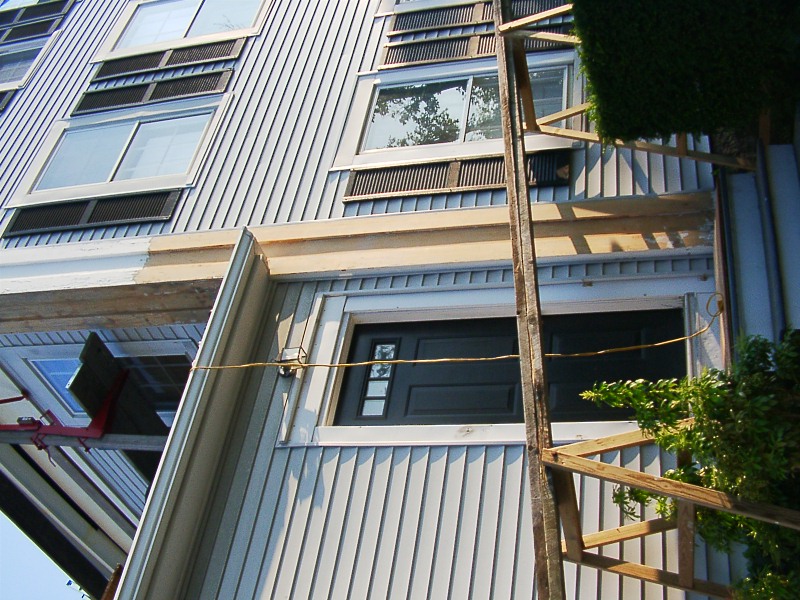
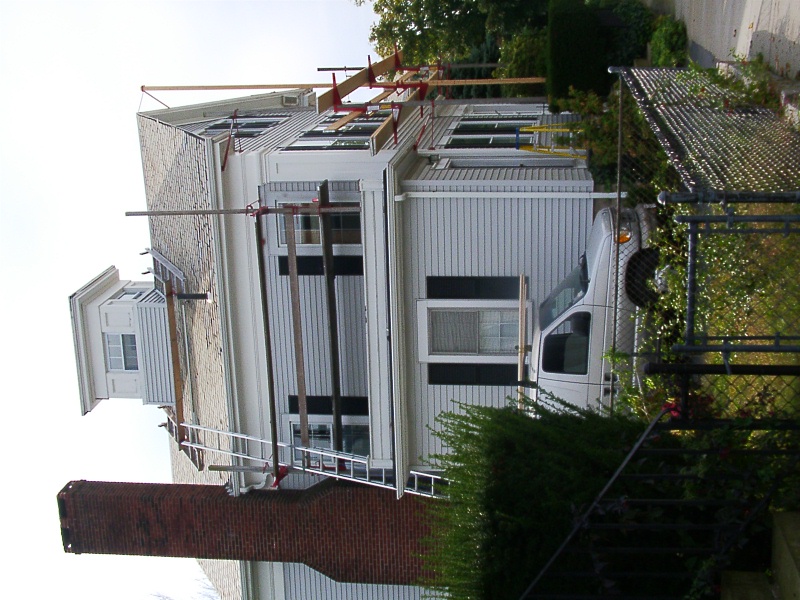
18
This is the side that faces the street. Once finished it will look beautiful instead of being an eye sore. |
|
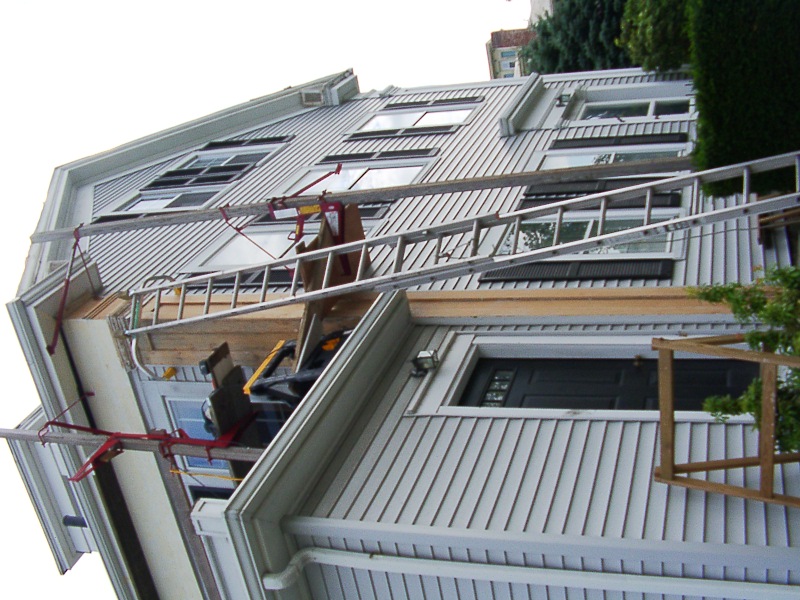
19
This is a stagging idea I came up with many years ago that gives height adjustability, stability, and the ability to straddle bushes. I have 5' and 7' versions and they fold up for easy storage. |
|
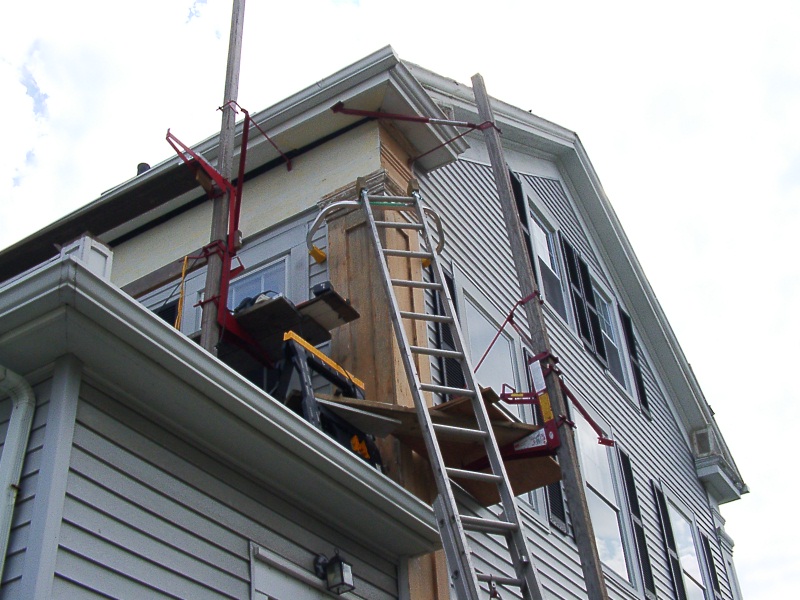
20
I'm going to need more stagging to access this higher area. |
|
|
22
All stripped to the top of this NE eave. |
|
23
This corner laddder stablizer was a gread invention. |
|
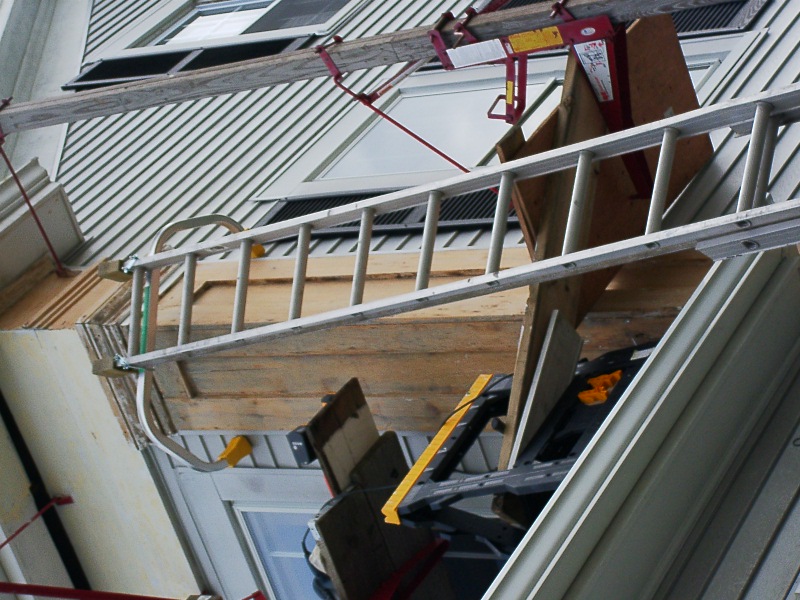
24
This is a 24' ladder completely extended resting on a stair step with a slight twist! . |
|
25
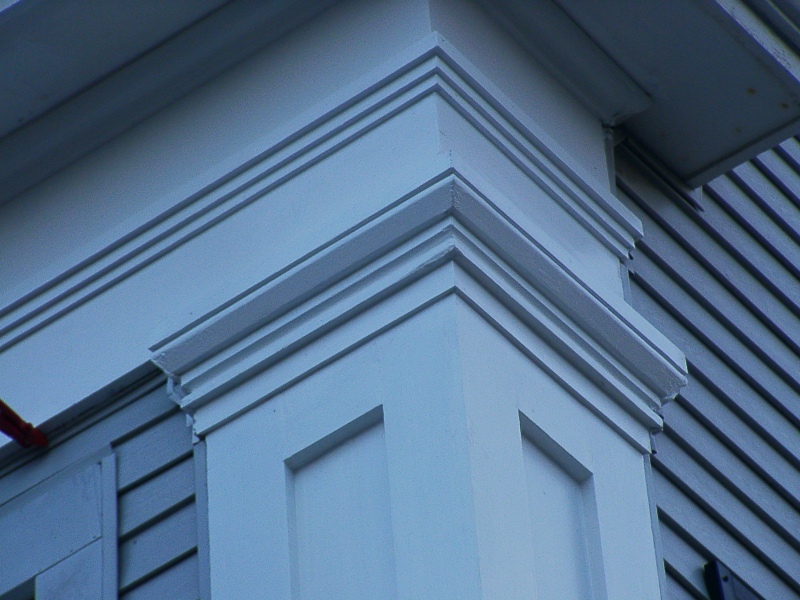
The painting is now complete. I go into more detail on my painting technique and the materials I used on the NW corner boards webpage. |
|
26
Looking good bright and white! Notice the new stagging that will get me up to the high gable trim boards and moldings. |
|
 There are 26 reduced sized photos along with descriptions to view as you scroll down this page. Click on any of these photos to see the close up details from the original photographs. Use your back button to return to this page.
