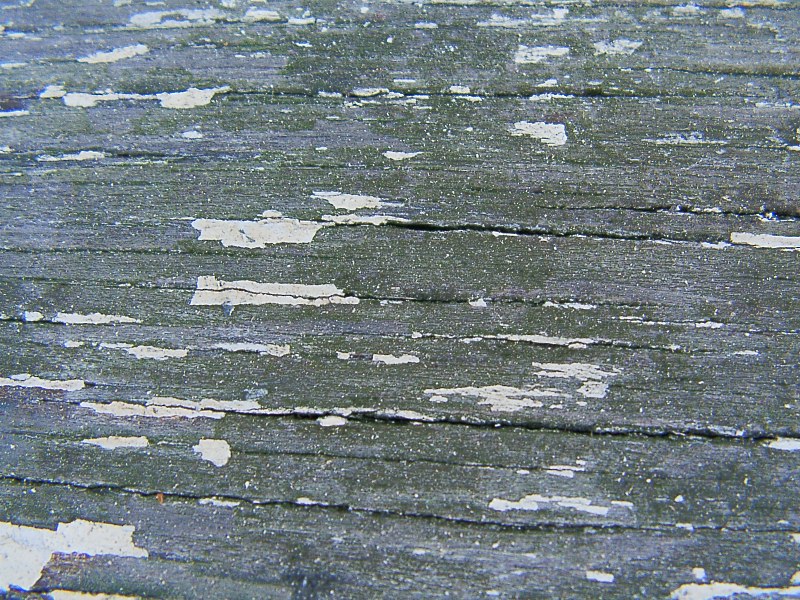
01
The original paint has been recoated too many times and needs complete removal. |
|
02
A propane tourch softens the paint and allows for easy scrapping. I used a tarp below to catch the crusty lead based paint chips. There is very little dust using this method. |
|
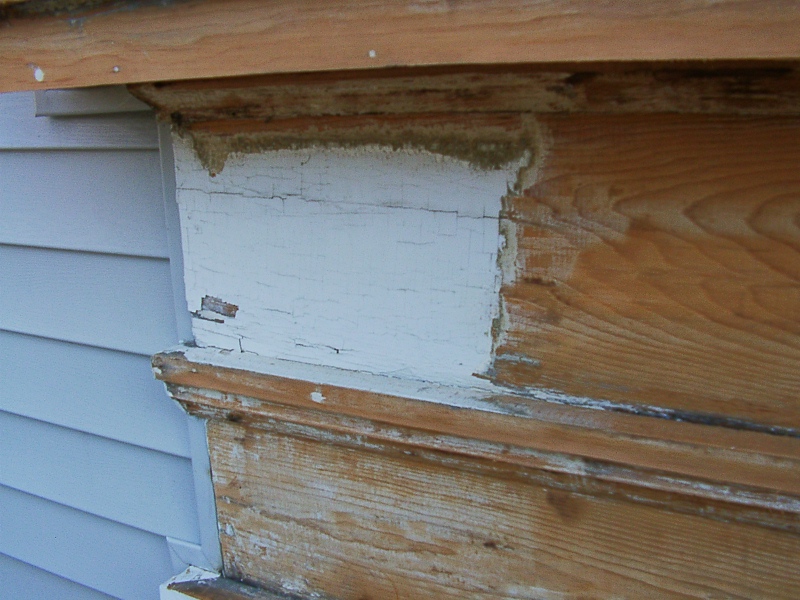
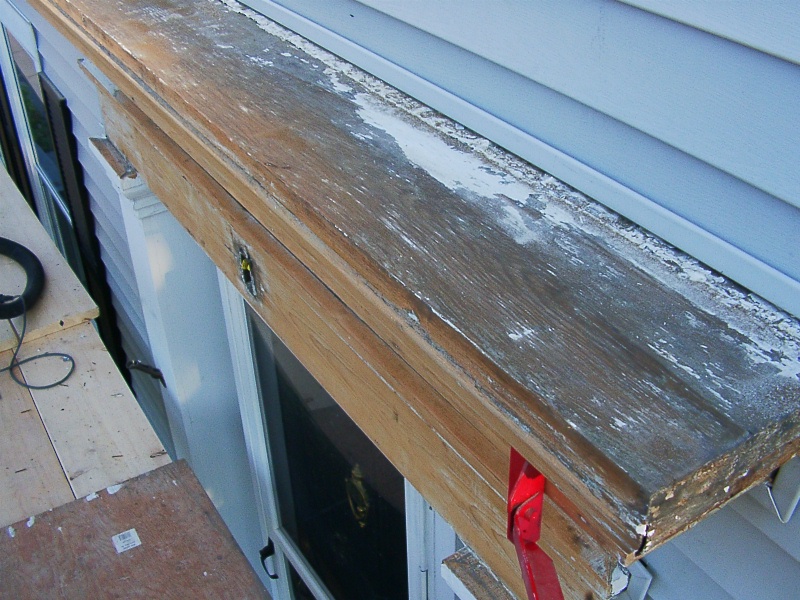
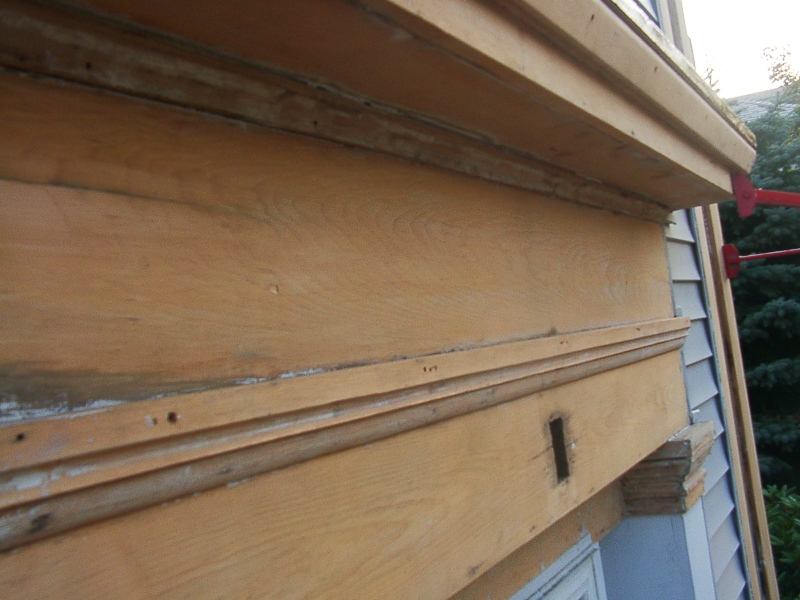
03
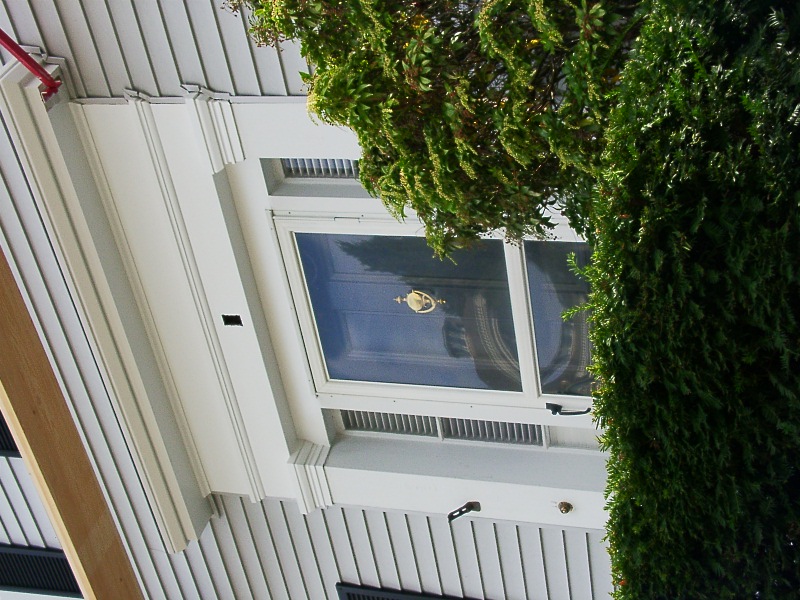
Greyed wood reveals where water has been getting under the paint |
|
04
Extreme care must be used with open flame near cracks and gaps as air infiltration may draw the flame in and ignite the wood. |
|
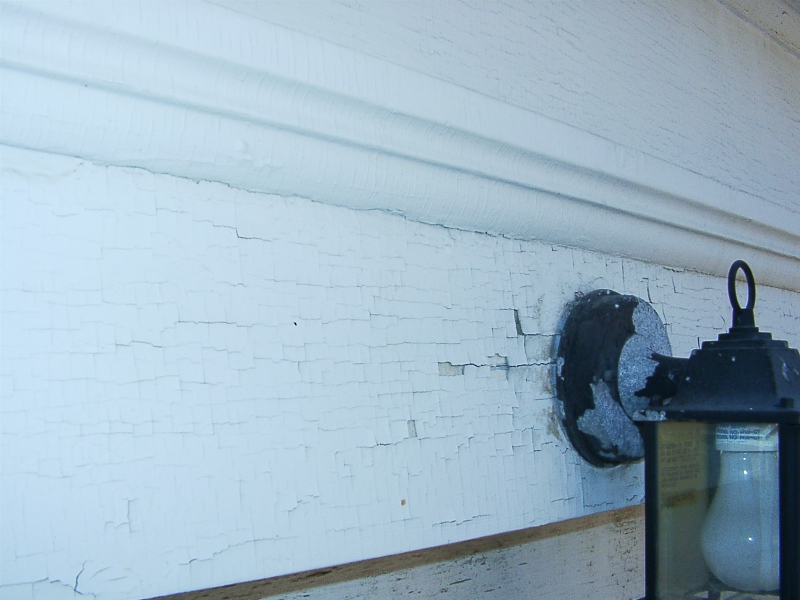
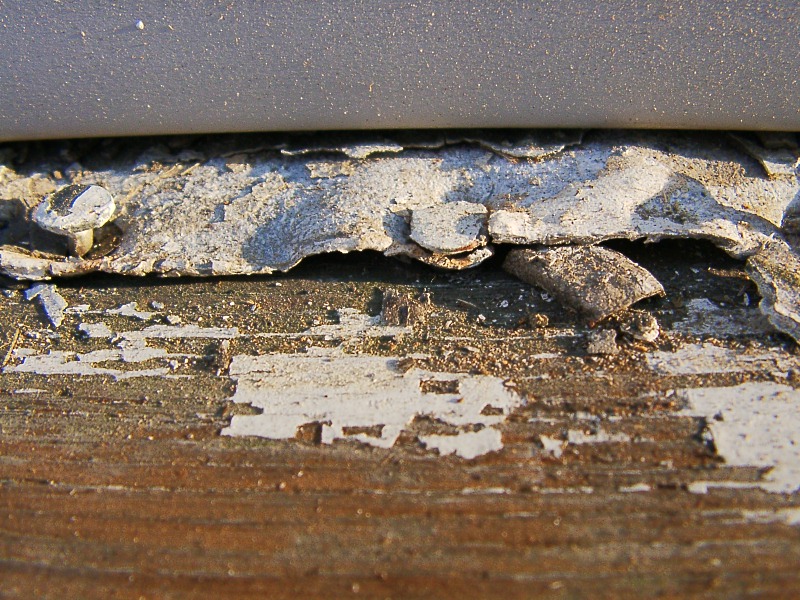
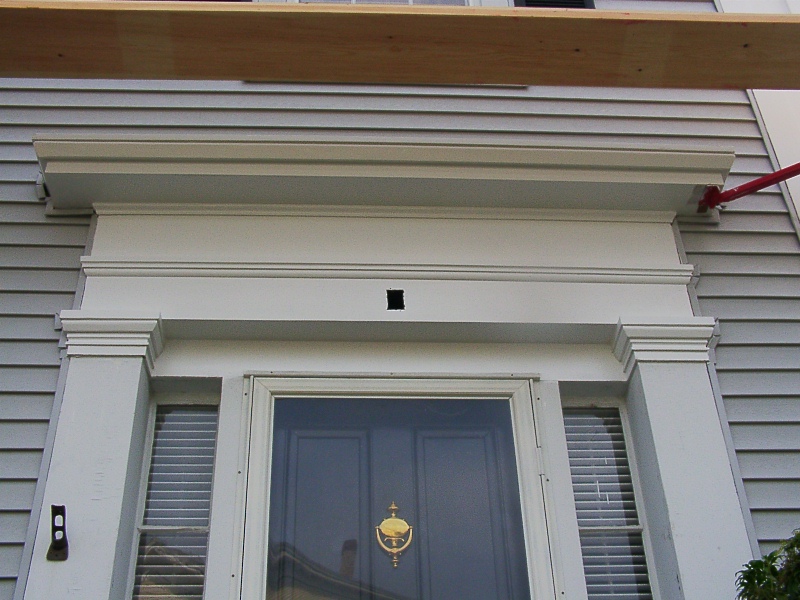
05
This is the top of the doorway's lead flashing. Missing paint has caused many wet-dry cycles which pushed out the tacks and allowed the lead to lift. |
|
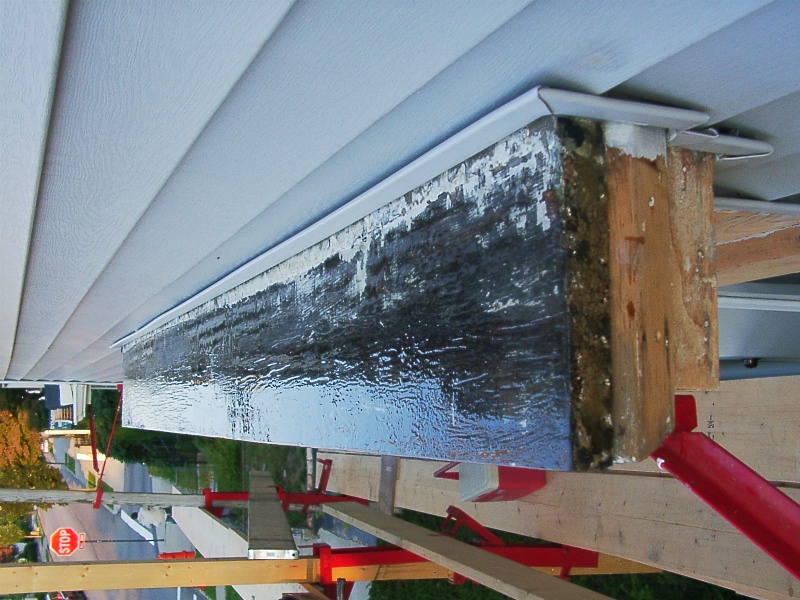
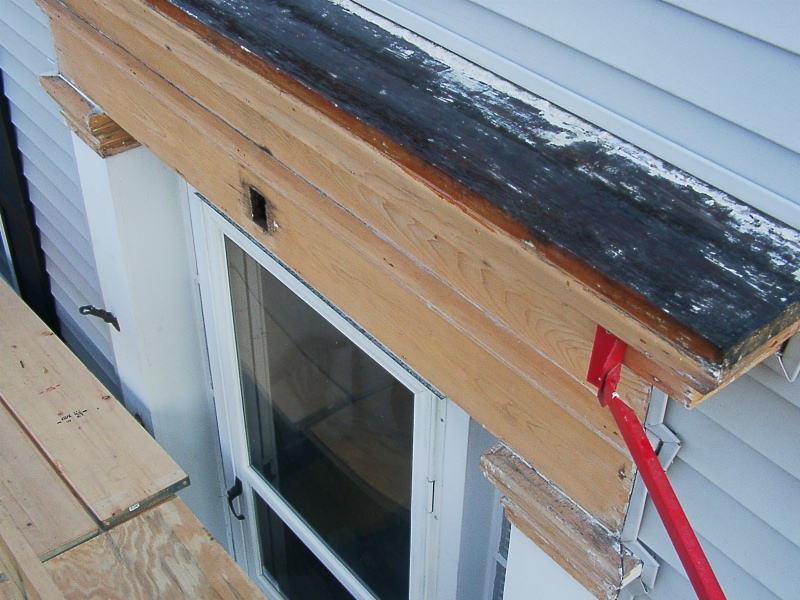
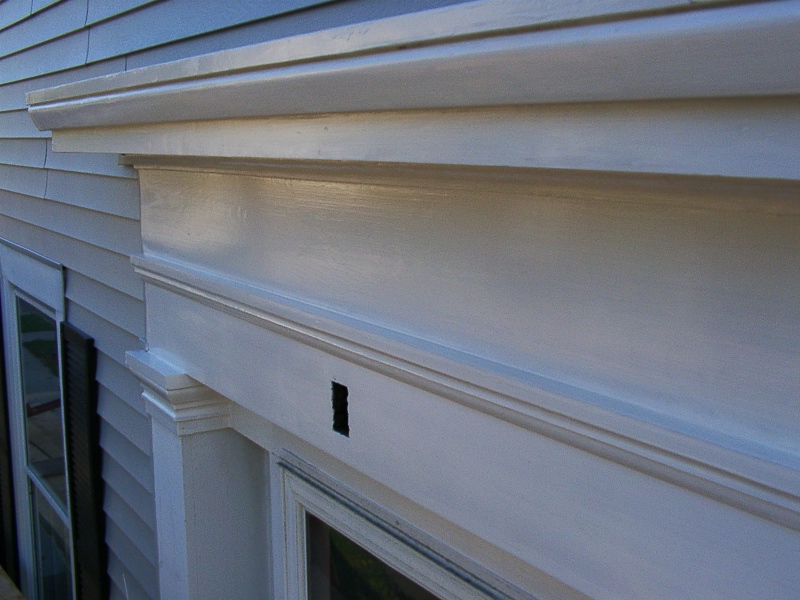
06
Very little paint has remained on this flat surface. The entire top was greyed (oxidized) and cracked (from excessive wetting and drying). If this doorway were on the south side of the house, the violent sun would have caused far more damage. |
|
07
I removed the old paint chips with a hand scrapper (no heat) and then belt sanded to remove all loose material. New paint will crack at all the existing wood cracks so I mixed epoxy filling and sealing the entire surface. |
|
08
This wood will never get wet again. |
|
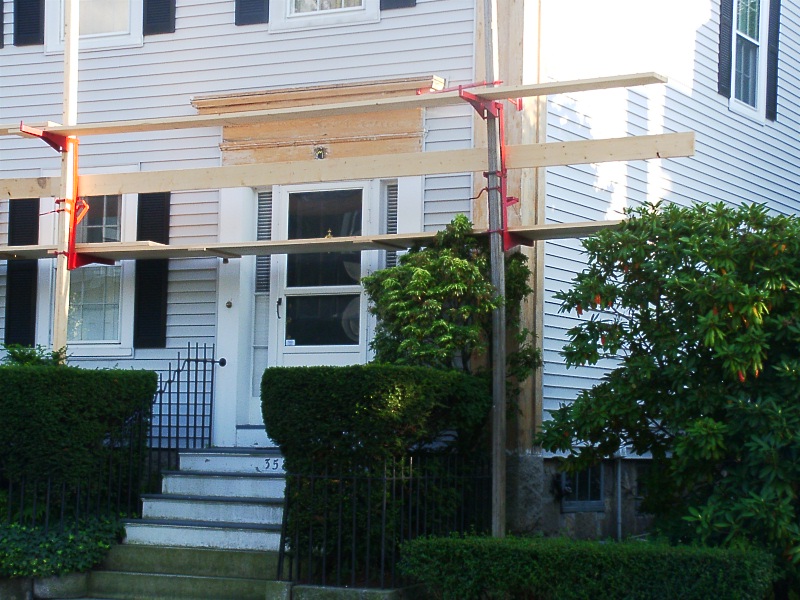
09
This staging is overkill for this door, but when I'm finished here I'll need get to way higher. |
|
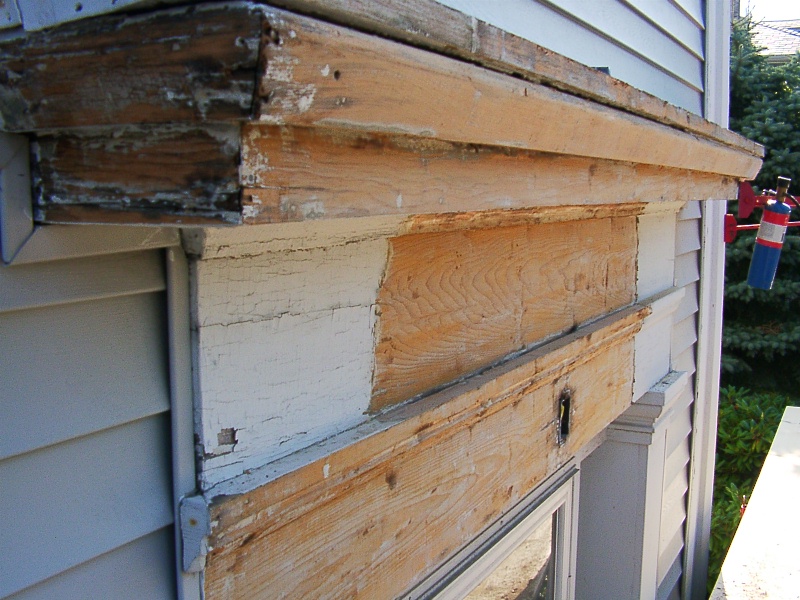
10
You can see here that I've been working on the Northwest corner boards as well. I go into more detail on the painting process I employ on the NW corner boards webpage |
|
11
This is the result after some belt sanding, random orbital sanding, and hand sanding of the moldings. These boards are soft old growth pine. |
|
12
Srapping the hard paint without softening it first with heat gouges the soft wood, especially the moldings that require sharp pointed scrappers. |
|
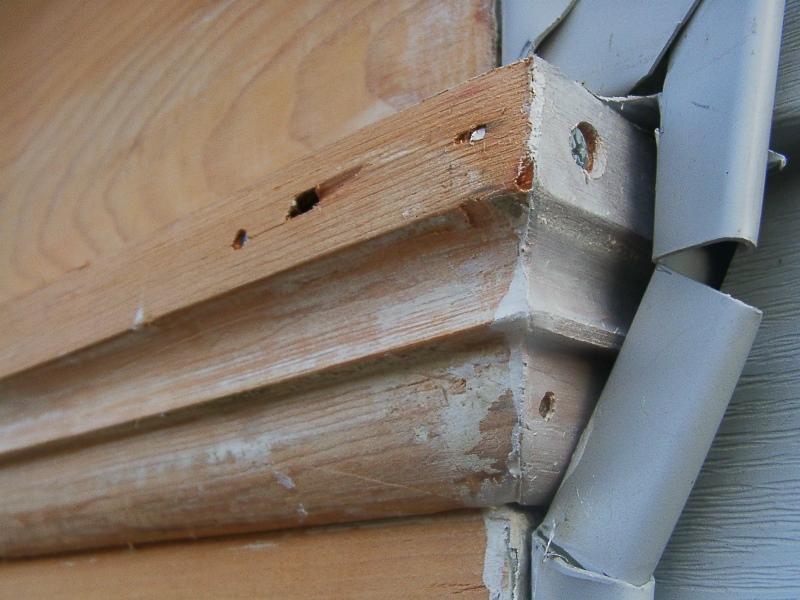
13
With all the paint removed and everything sanded it was time re-nail with stainless steel ring shanked nails for solid holding power. All old and new nails were set with a hand punch. |
|
14
I needed to make new returns for this molding as the old were missing and split. |
|
|
16
a light hand sanding of the primer coat (with the snadpaper backed with duct tape for longevity and wrapped around a block of wood to give a true flat surface) revealed where additional filler was needed. a 2nd coat of primer and a coat of finish have been applied. |
|
17
The finish paint is still wet in this shot |
|
18
A second final coat of finish paint has now been applied. |
|
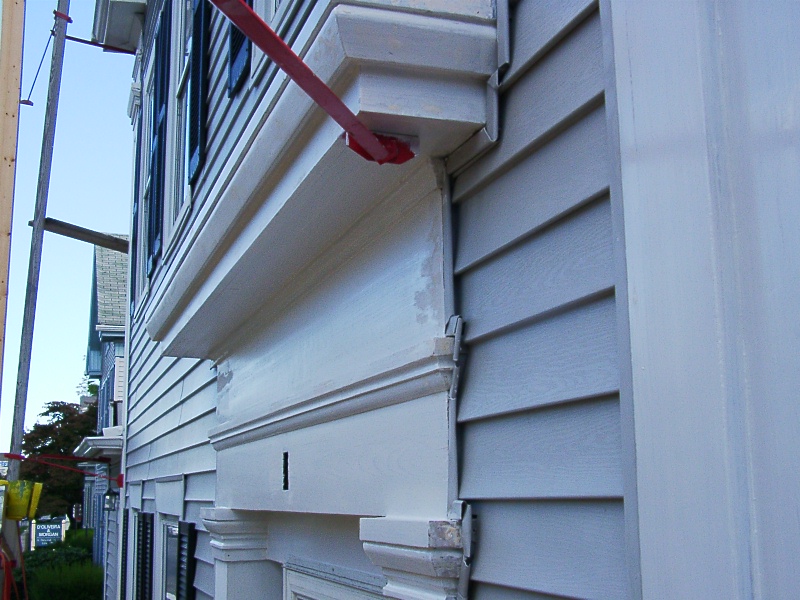
19
This is as good as this doorway has looked in 140 years. This glossy oil based paint will wash easily and give a "fresh" painted look for many, many years. |
|
|

Since 1983
back
 There are 20 reduced sized photos along with descriptions to view as you scroll down this page. Click on any of these photos to see the close up details from the original photographs. Use your back button to return to this page.