

 |
Part I |
Part II |
Part III you are here |
| Now we can see what the end result will look like. The painting will pull everything together.. |
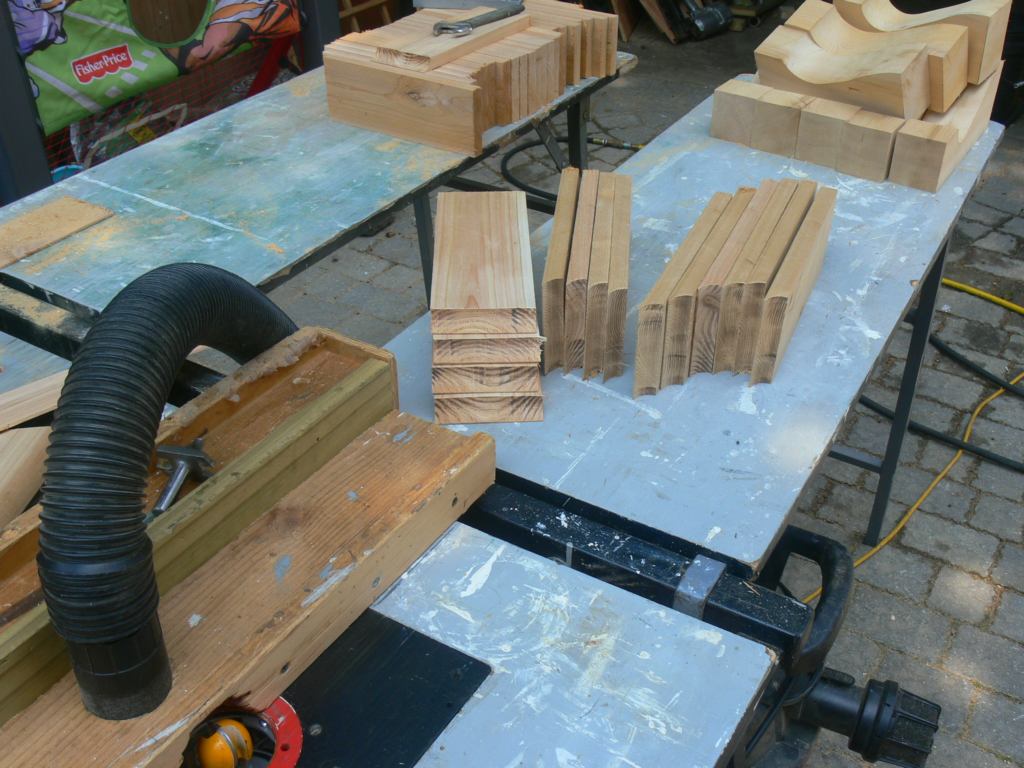
| Coping the ends. |
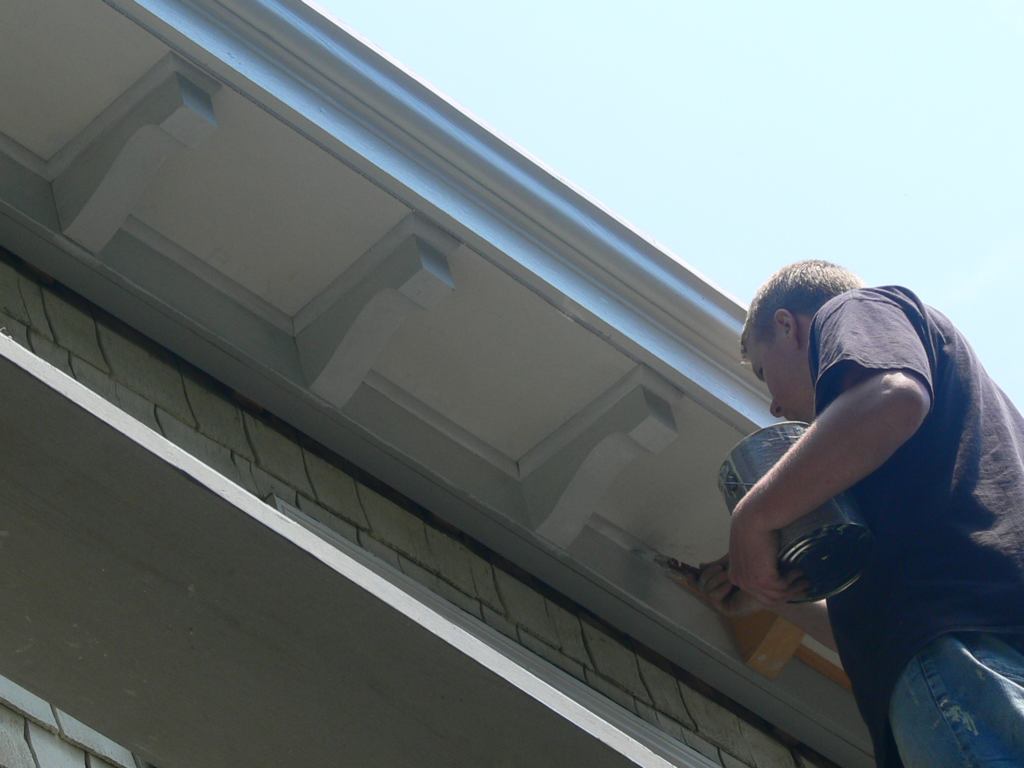
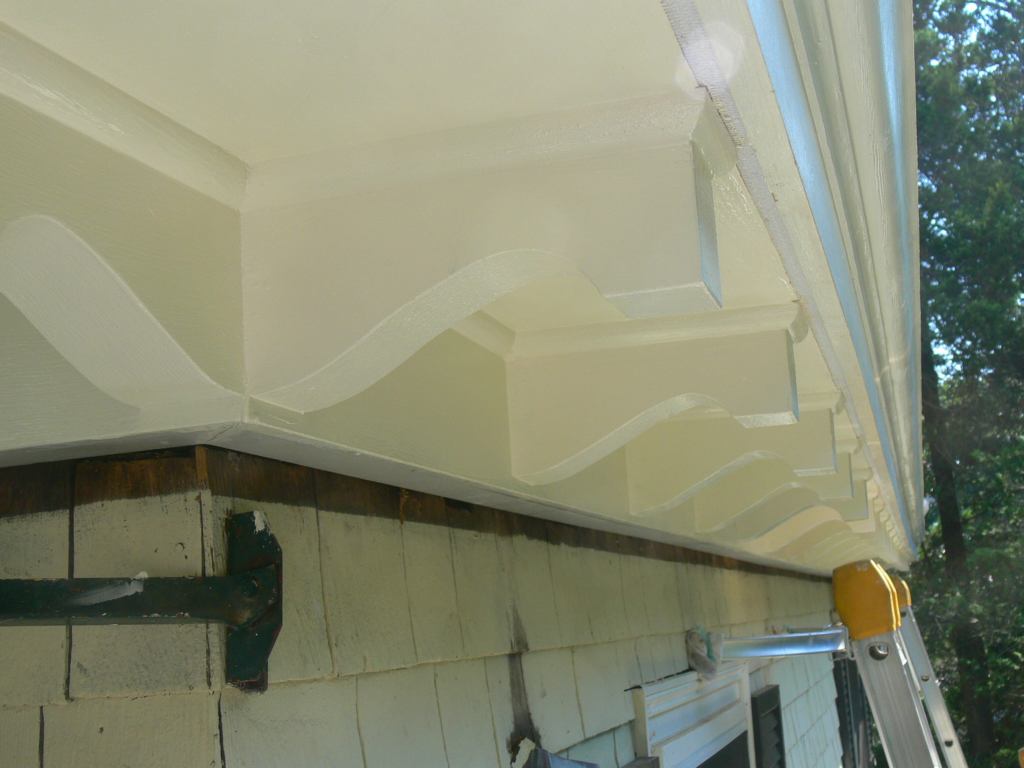
| Tom is priming what we've installed while I continue to get more components ready. |
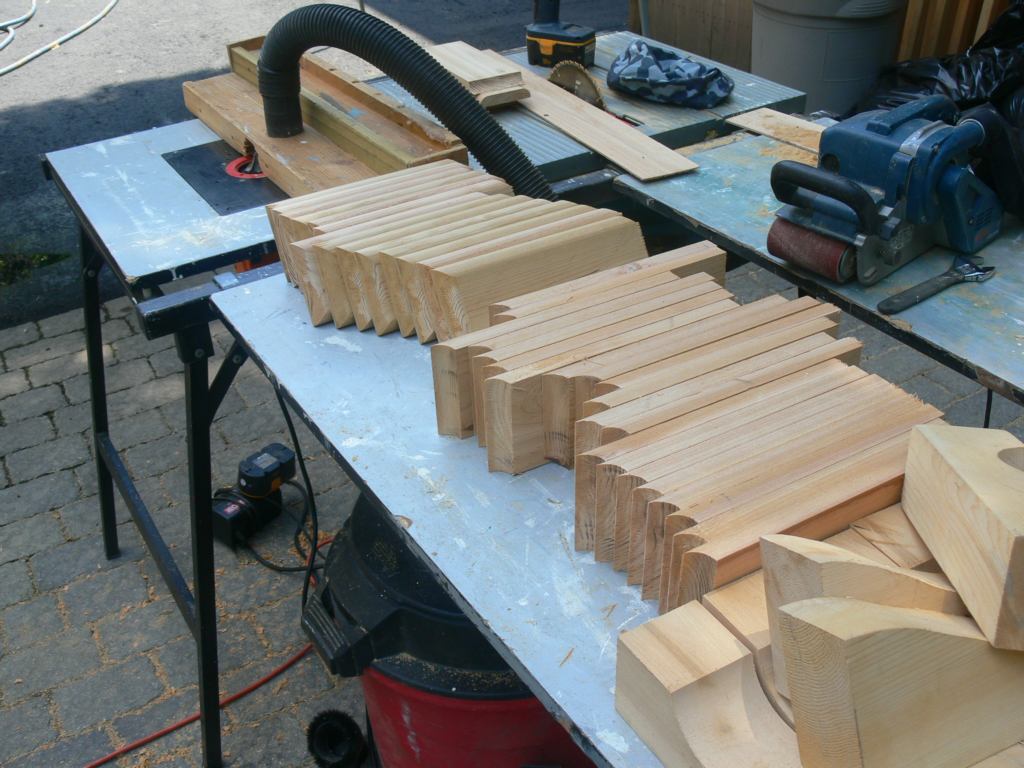
| Now the coped blanks are getting the 1" round over or quarter round detail. |
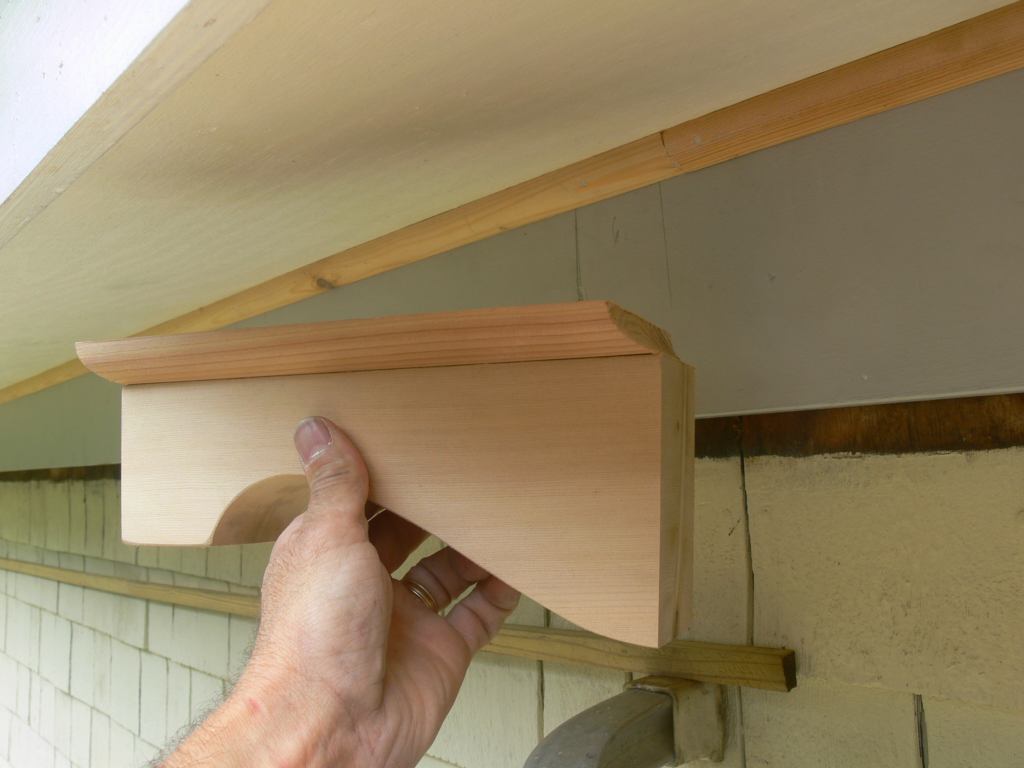
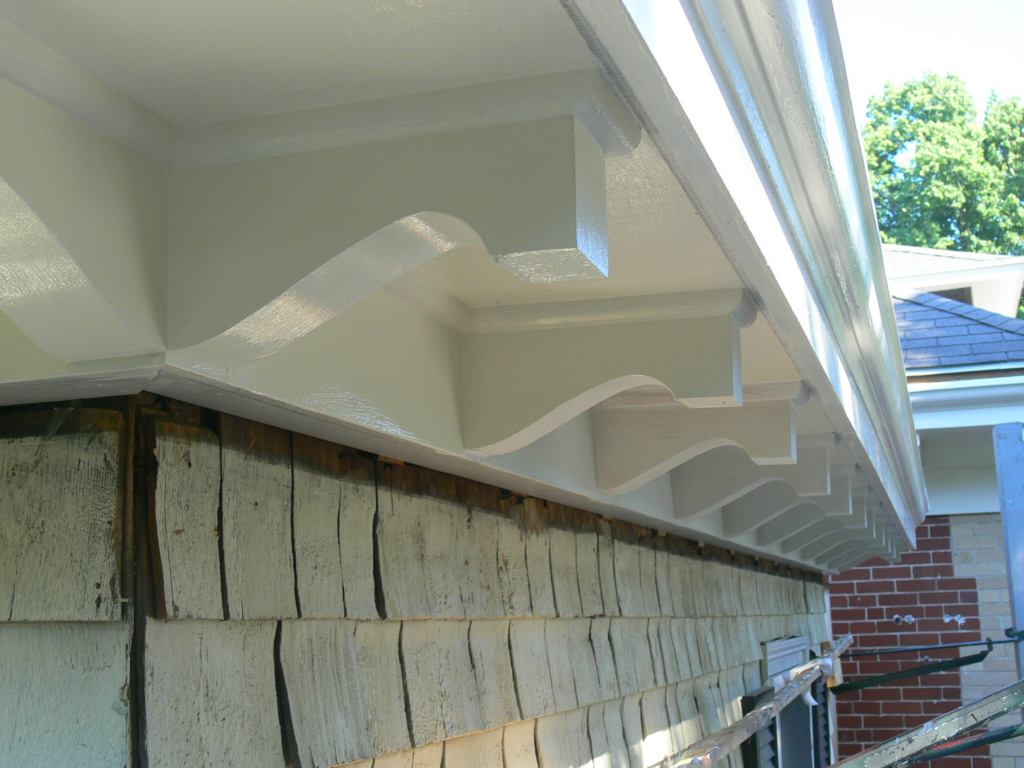
| With the continuous quarter round installed over the soffit/frieze joint the coped corbel blocks can now be installed. This method sure beats mitering this quarter round molding around every corbel. |
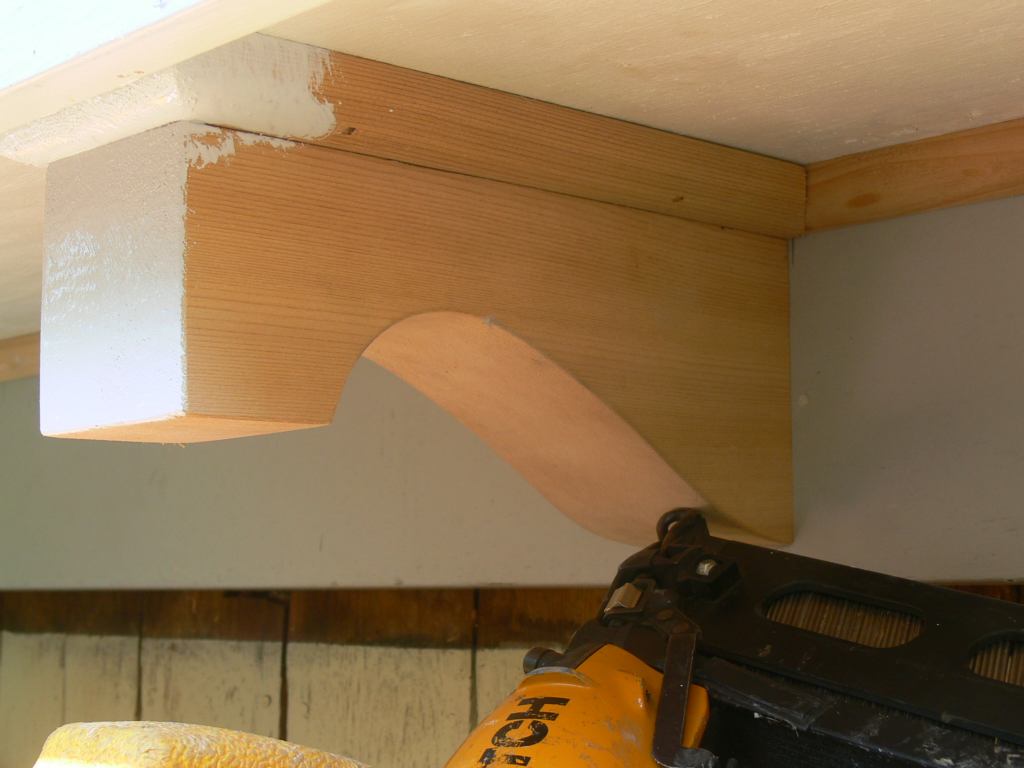
| With these corbels under this eave and out of the weather stainless steel nails finish nails will provide sufficient holding power. |

| I like to make a time capsules when I have the opportunity. Hopefully this will remain undisturbed for at least 100yrs. |
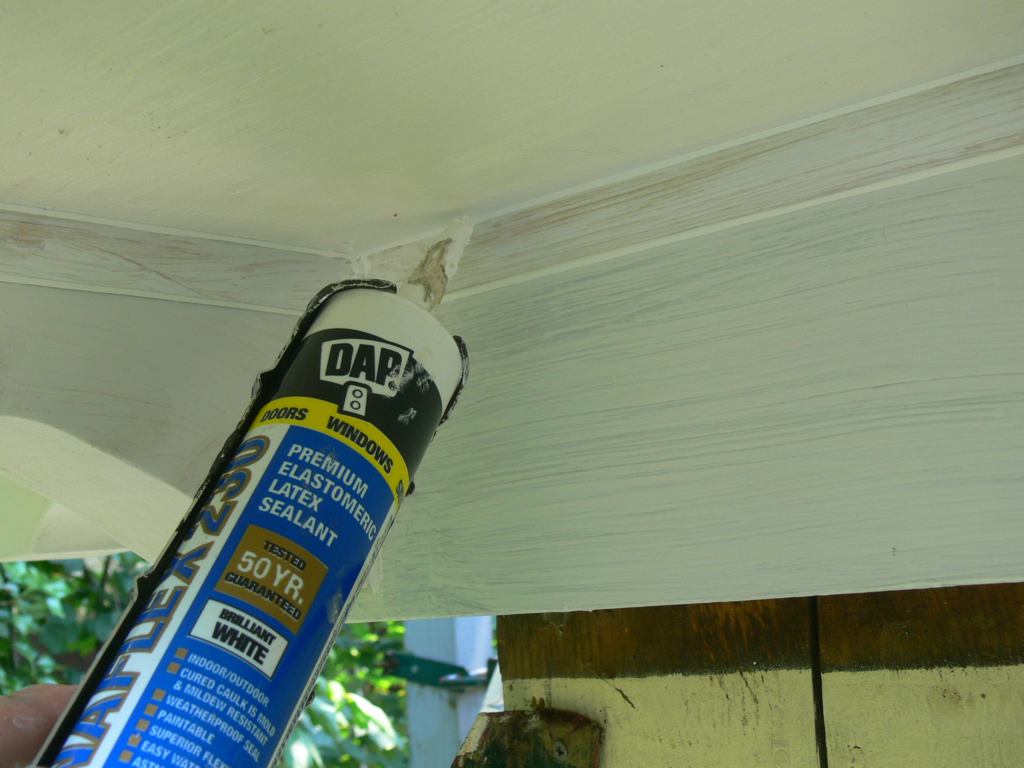
| First you prime with only oil-base primer on top of what ever it is your going to paint, them you caulk and putty fasteners. When the caulking is cured re-prime. This formula guarantees a successful paint job. Its all about the primer. Never skip this step and never "spot" prime, prime everything, including the caulking and any old finish paint even if its latex (after its been cleaned of course). Oil based primer is very porous an this is what the top finish coat soaks into and adheres to. Tip: unpainted caulking molds. |
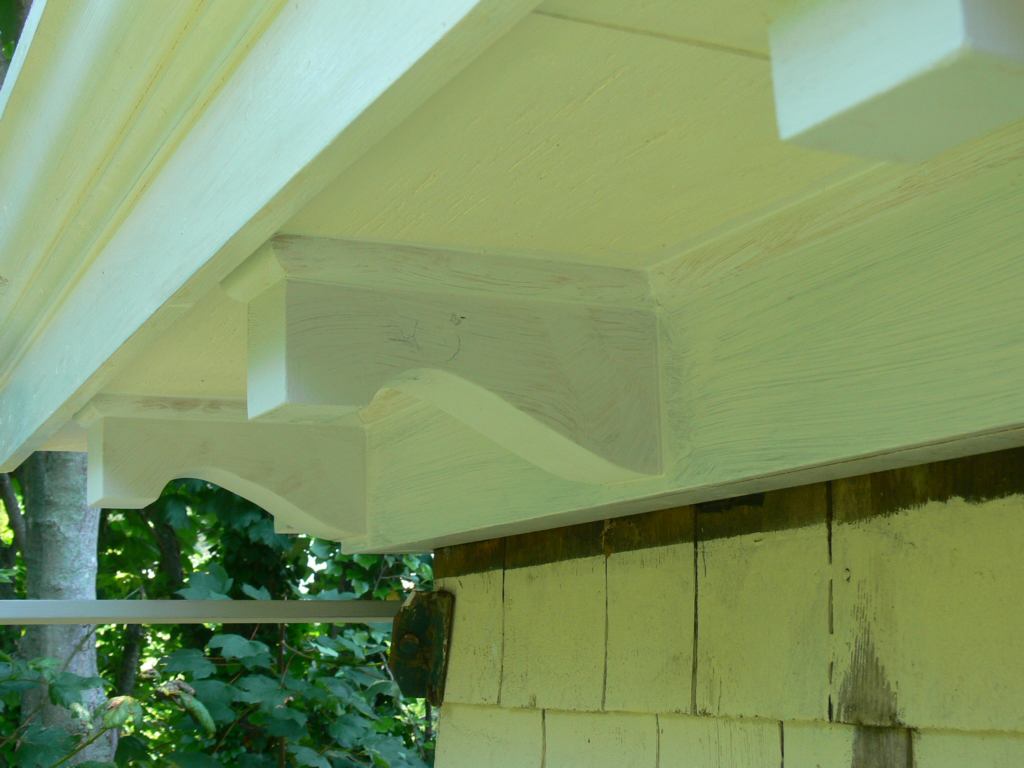
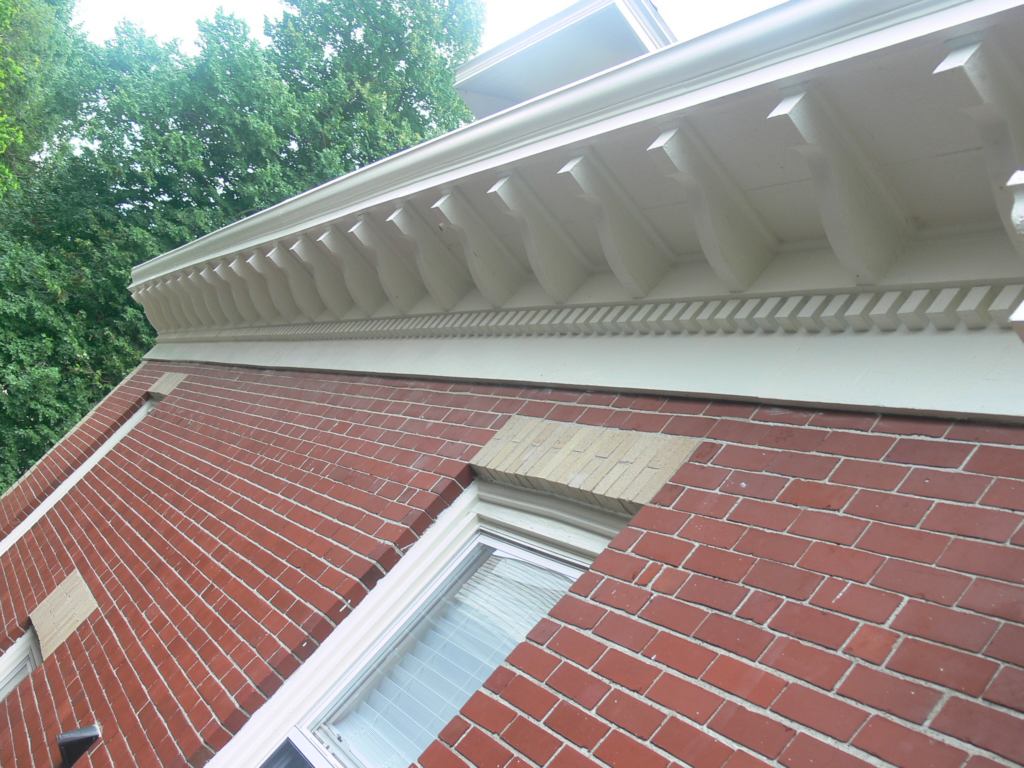
| Notice how opaque the primer coat appears on the corbels and frieze. That's because Tom used the brush only, dip and brush, dip and brush, is so inefficient. His coat is way to thin. Nothing beats the roller and brush method for installing paint. Flood it on, brush it out |
| If this were Victorian, each element would have a different color. |
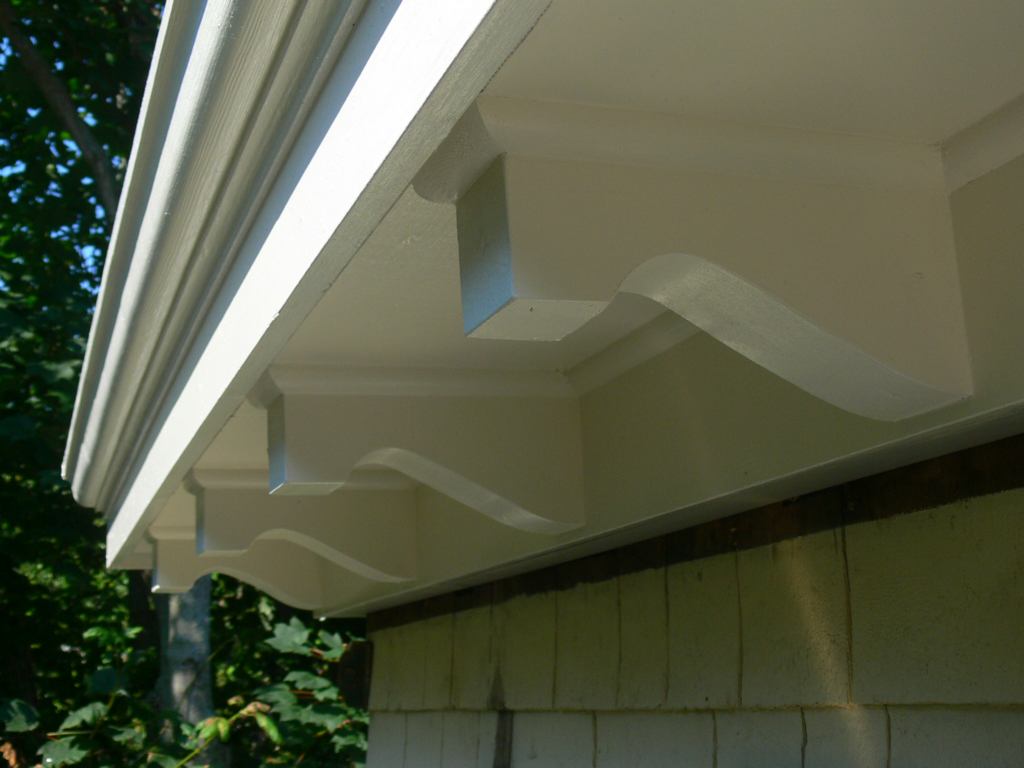
| Paint glorifies the carpenters work. |
| Gloss paint is highly washable and tends to attract dirt far less than no sheen paints |
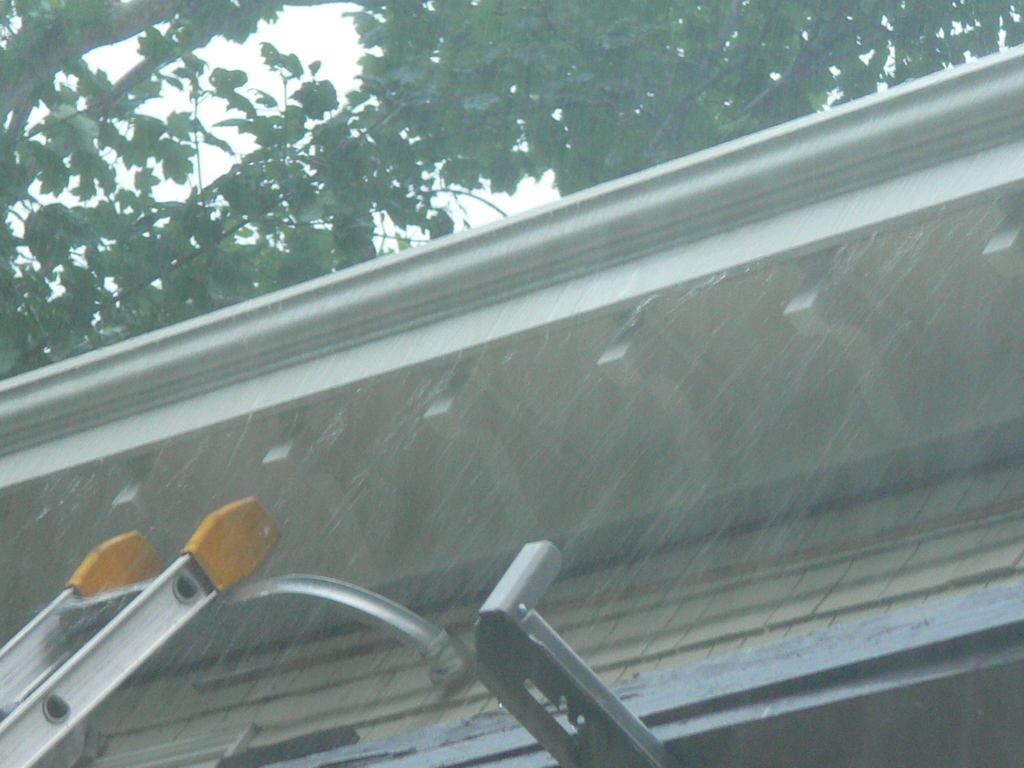
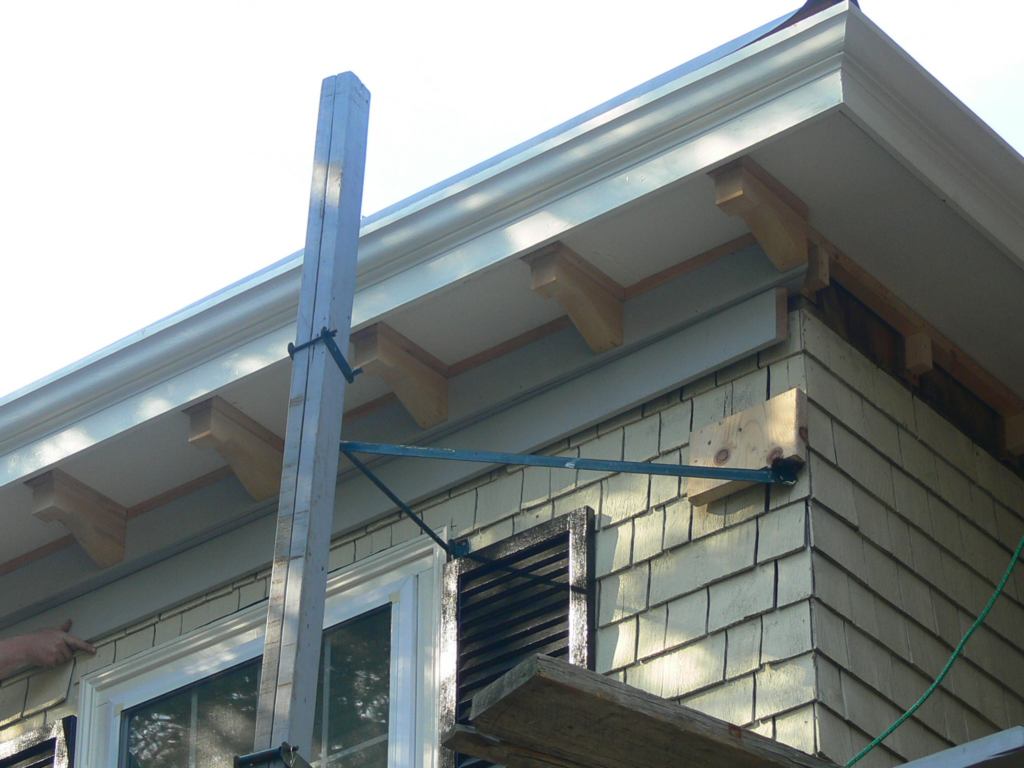
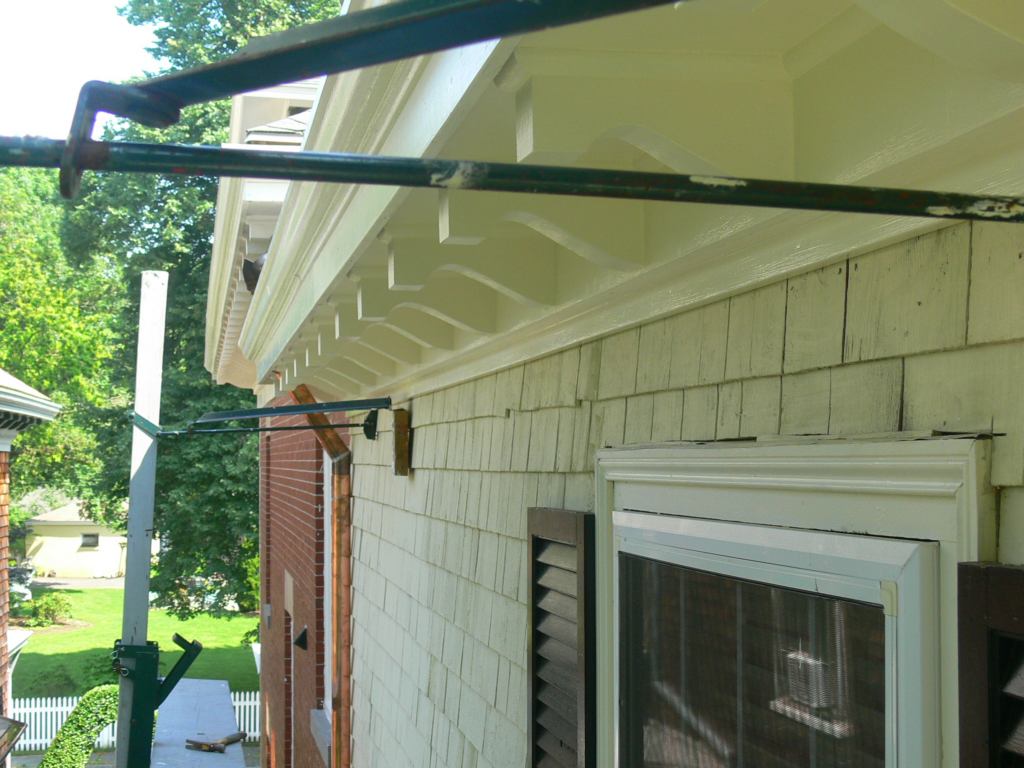
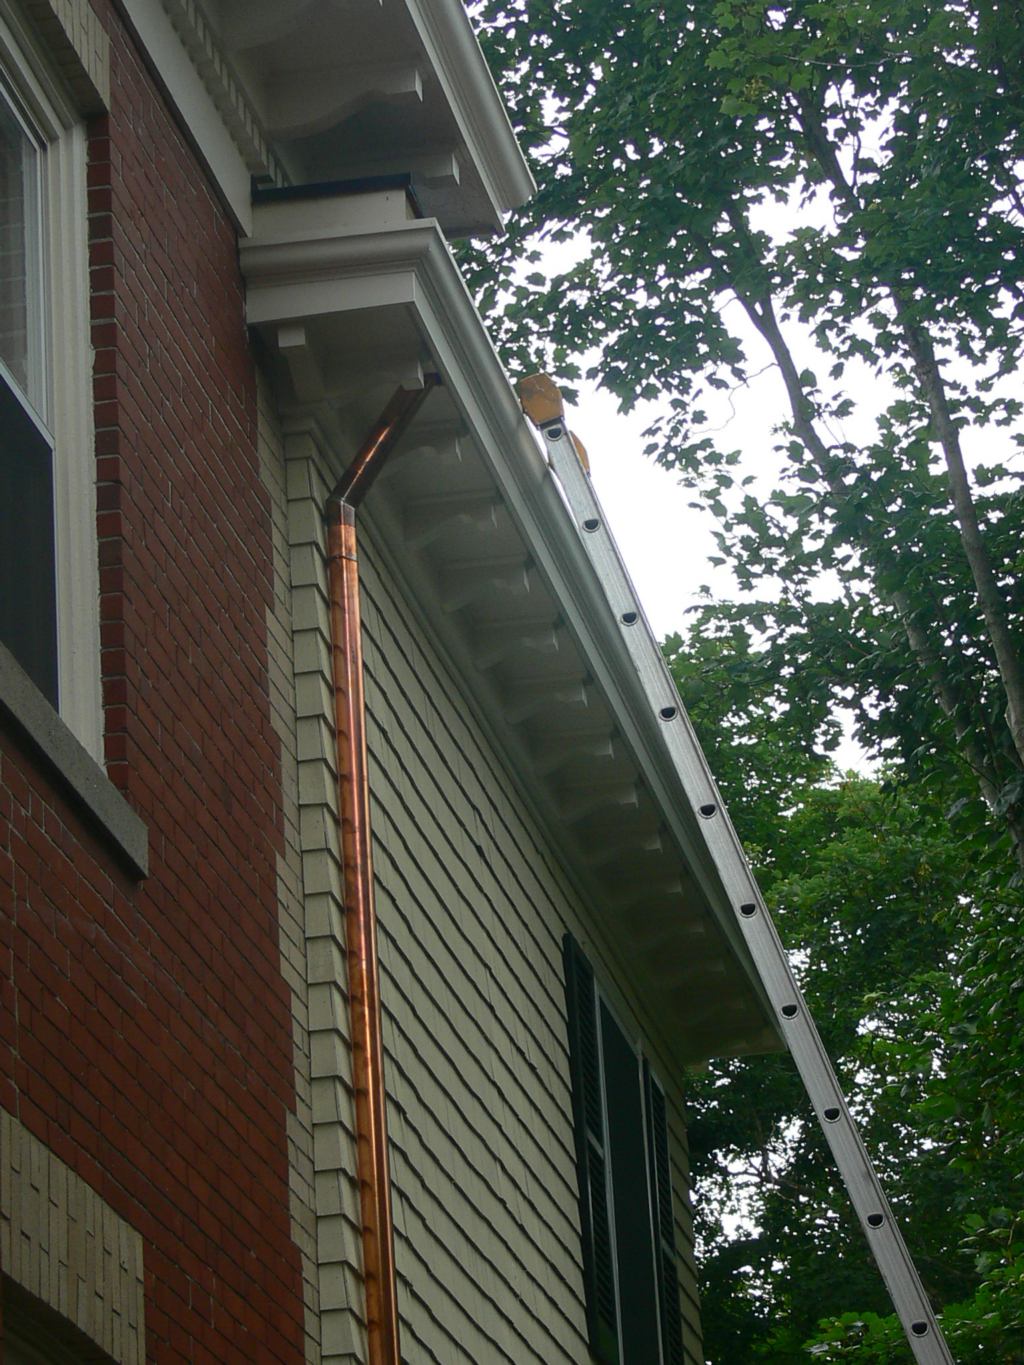
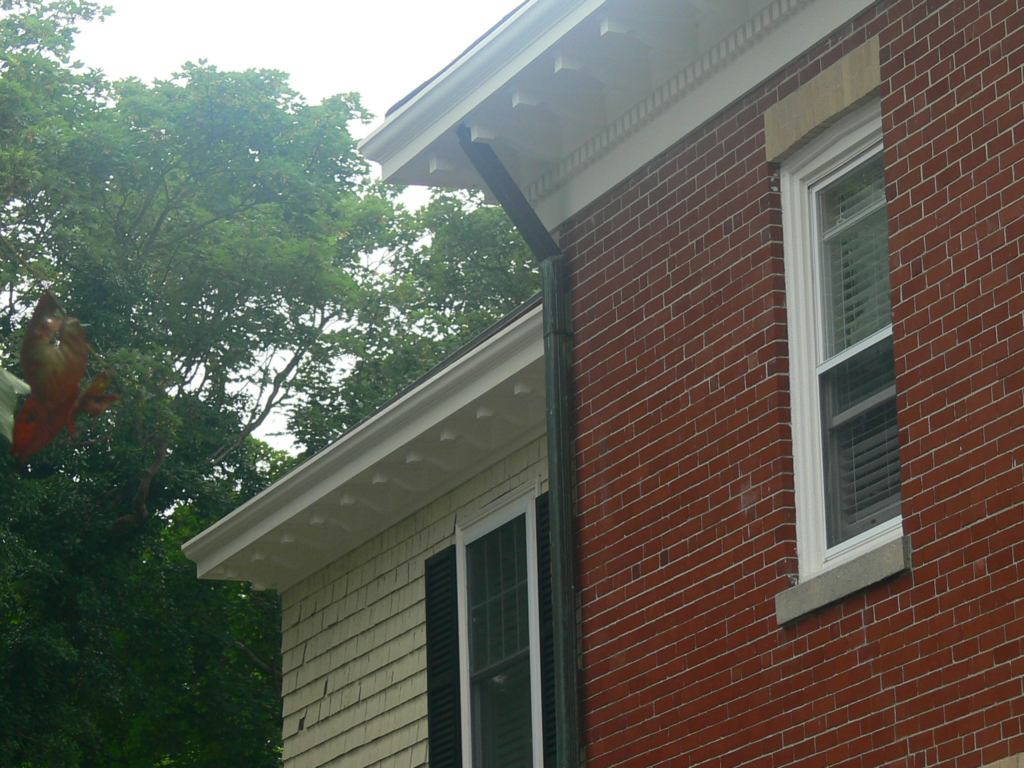
| Water from the gutter is pouring over running over the profile, cove and fascia before falling clear. One 2" leader is not large enough to handle this 625sq ft of roof. Originally the plan was for another leader on the opposite side but the owner would like to avoid adding additional water on the driveway side. |
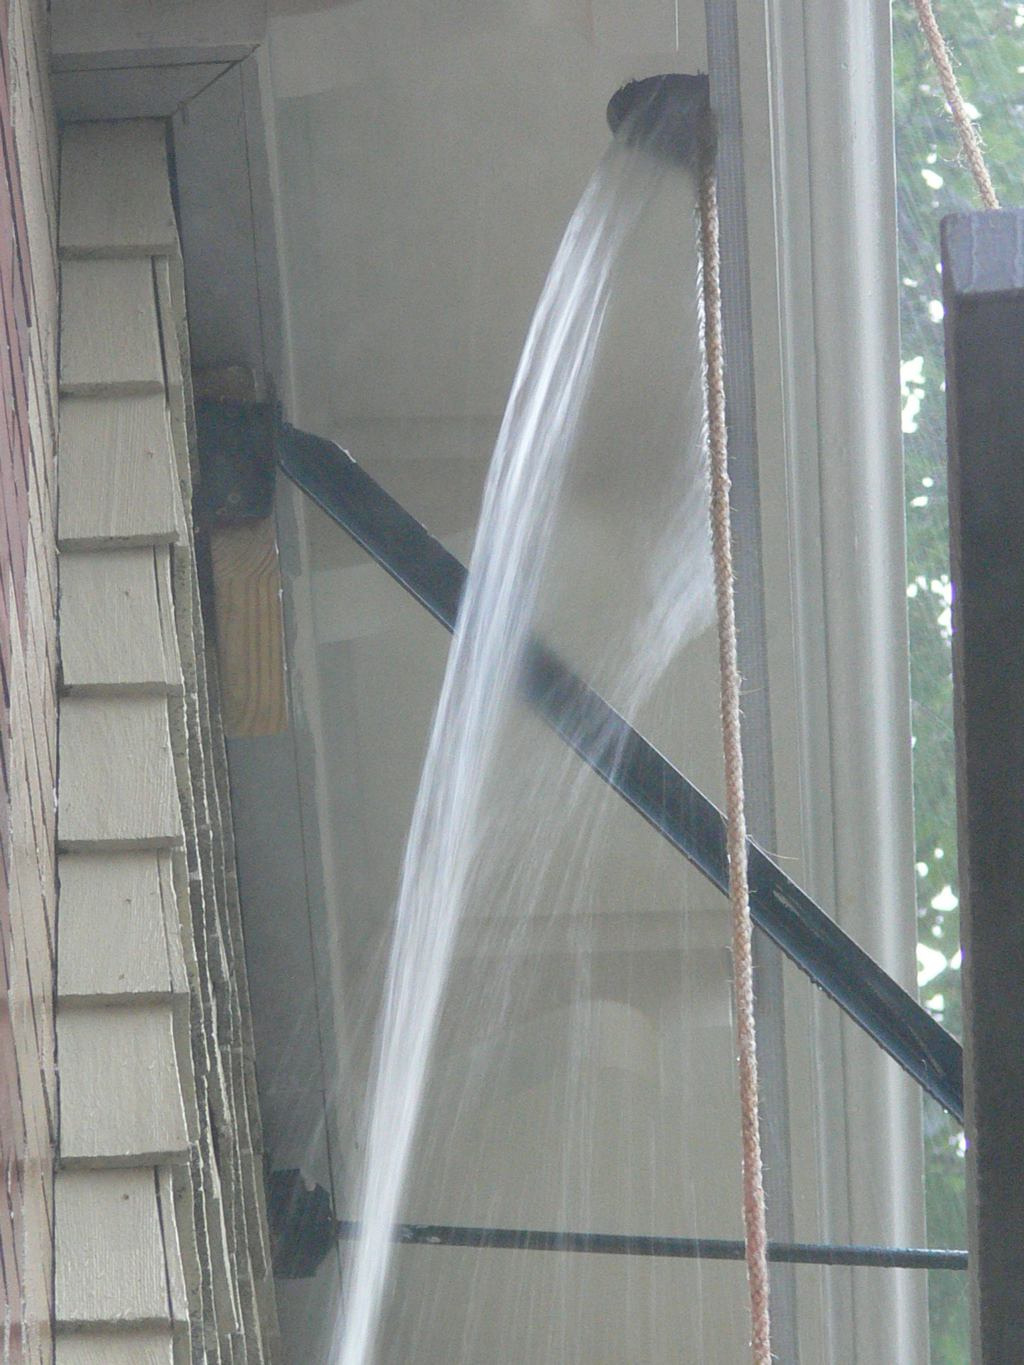
| Increasing the leader to 3" will double open area of the 2" (round). Lead is soft, so rather than try to remove this super sealed leader I'll drill right through it. |
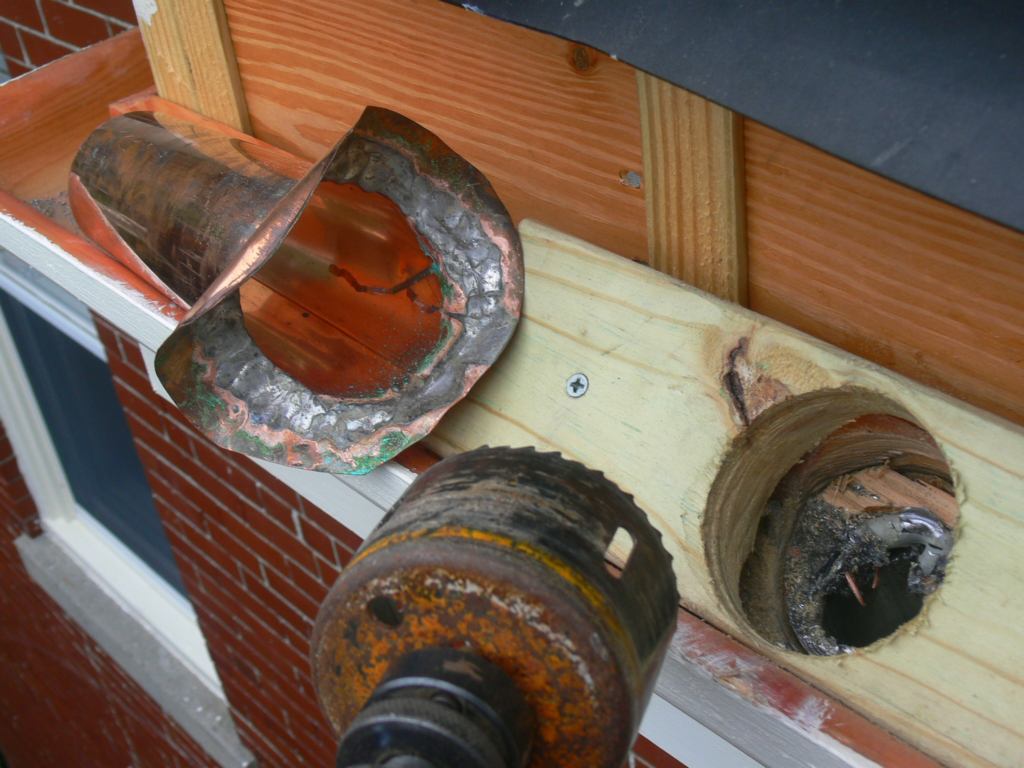
| This 3" hole saw should take care of business. |
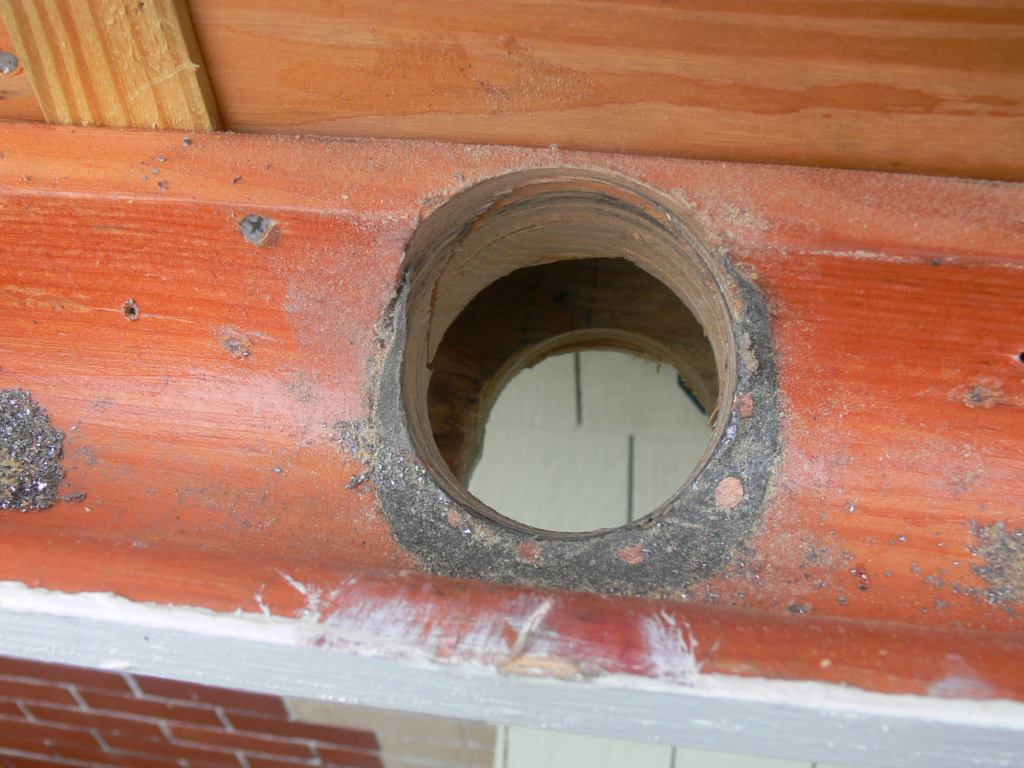
Having the leader exit out the back of the gutter insures it can never be completely covered over with tree litter. |
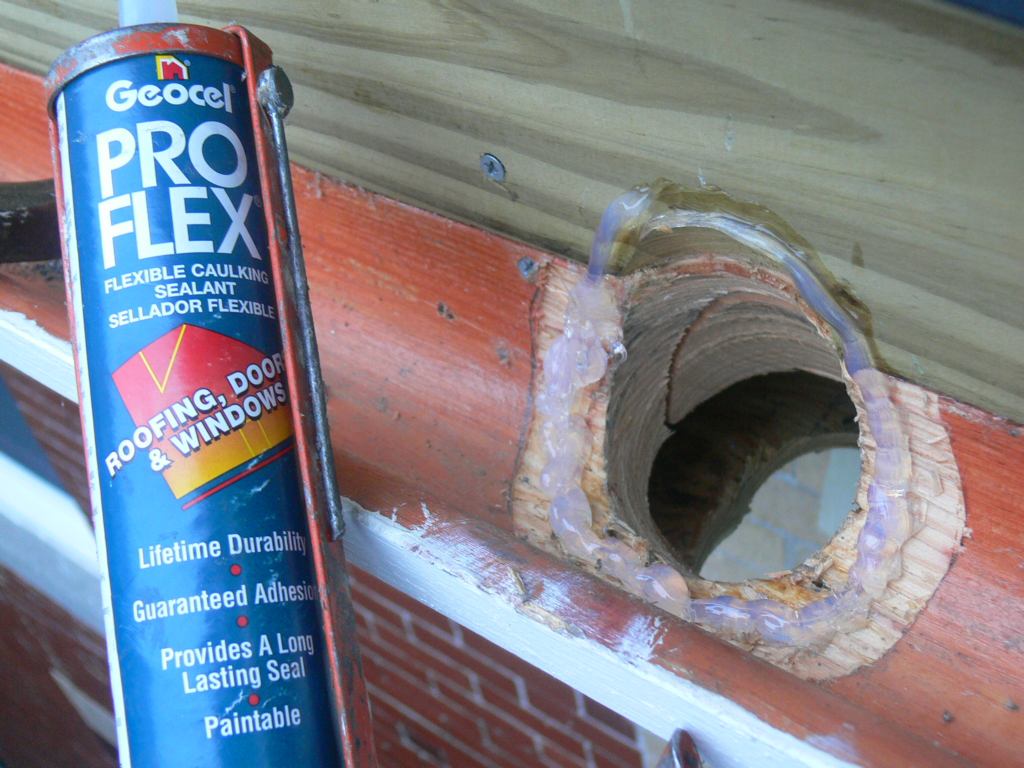
| With the flange properly morticed and the sealant generously applied... |
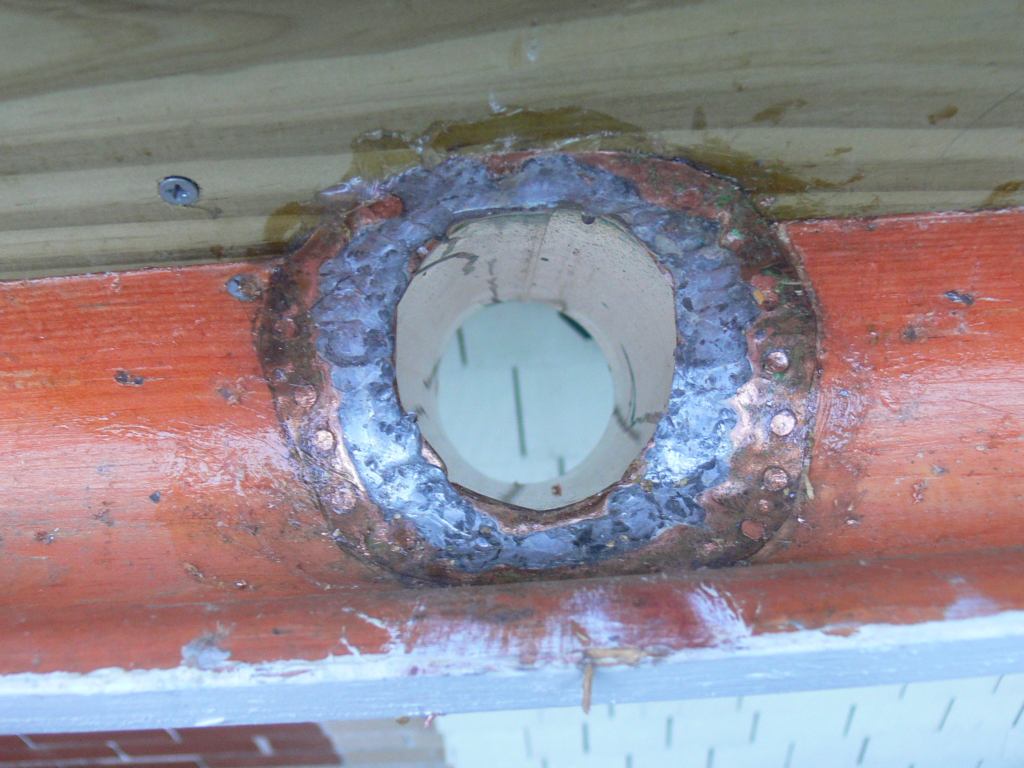
| This 3" copper leader outlet will even swallow pine cones whole, lol. |
| This small frieze will cover the raw shingles and that will be it for now. The July 4th deadline is looming and the termination of the rubber roofing still needs doing so the dentil block frieze detail is on hold for now. |
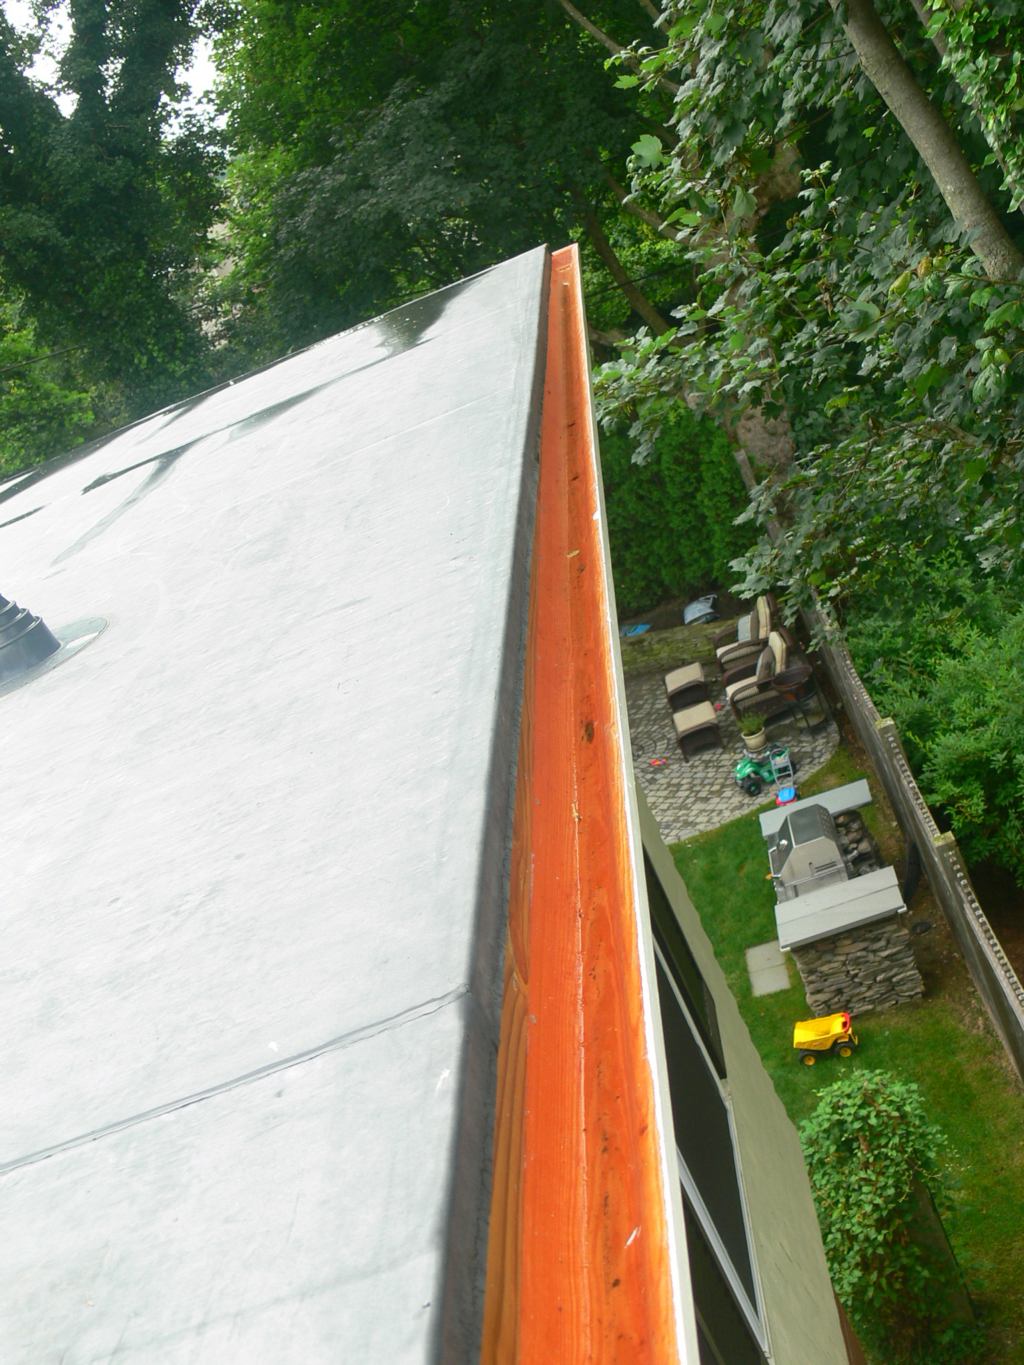
| The top of the back of the wooden gutter needs to be extended so no water gets behind it. Here I ripped a custom size with from 3/4" PT stock and set it in a bed of Geocel's tripolymer sealant before screwing it in place. |
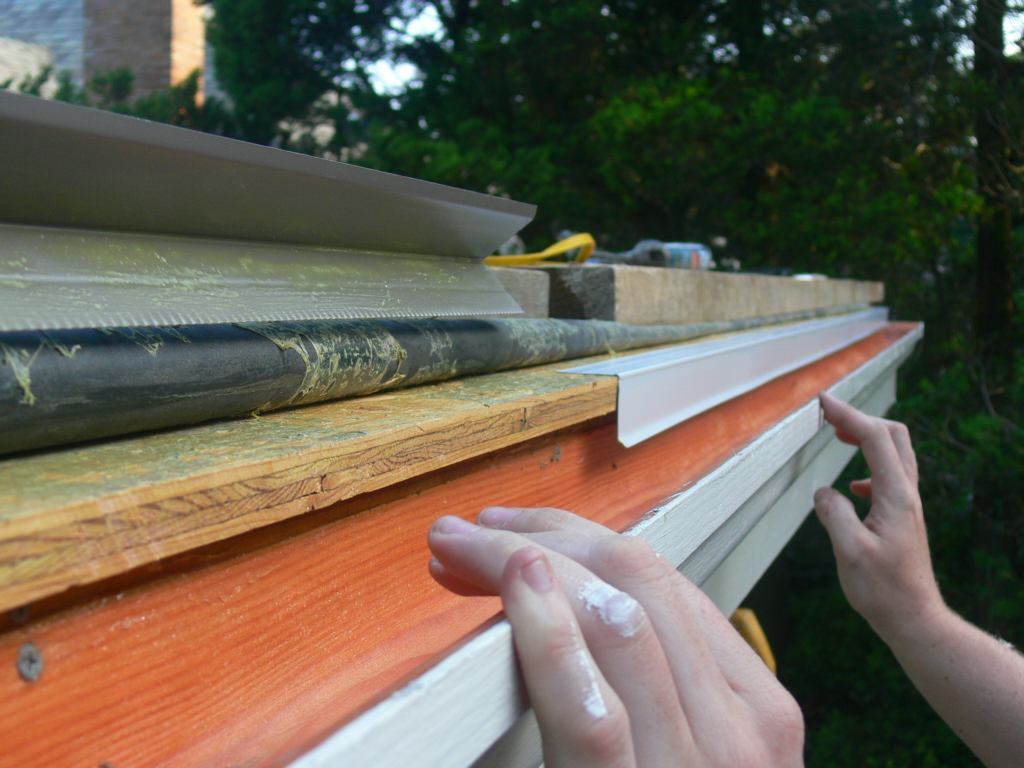
| The adhesive used to glue down rubber is tenacious! Trying to pull back this rubber sheet where it was glued to the plywood was killer. |
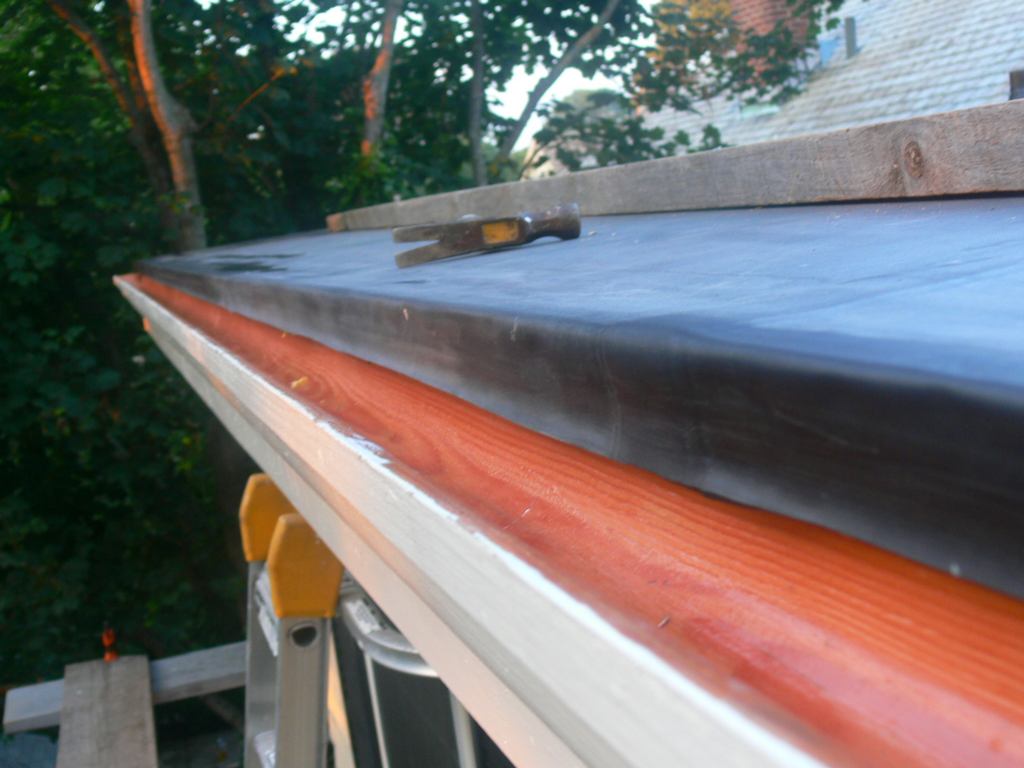
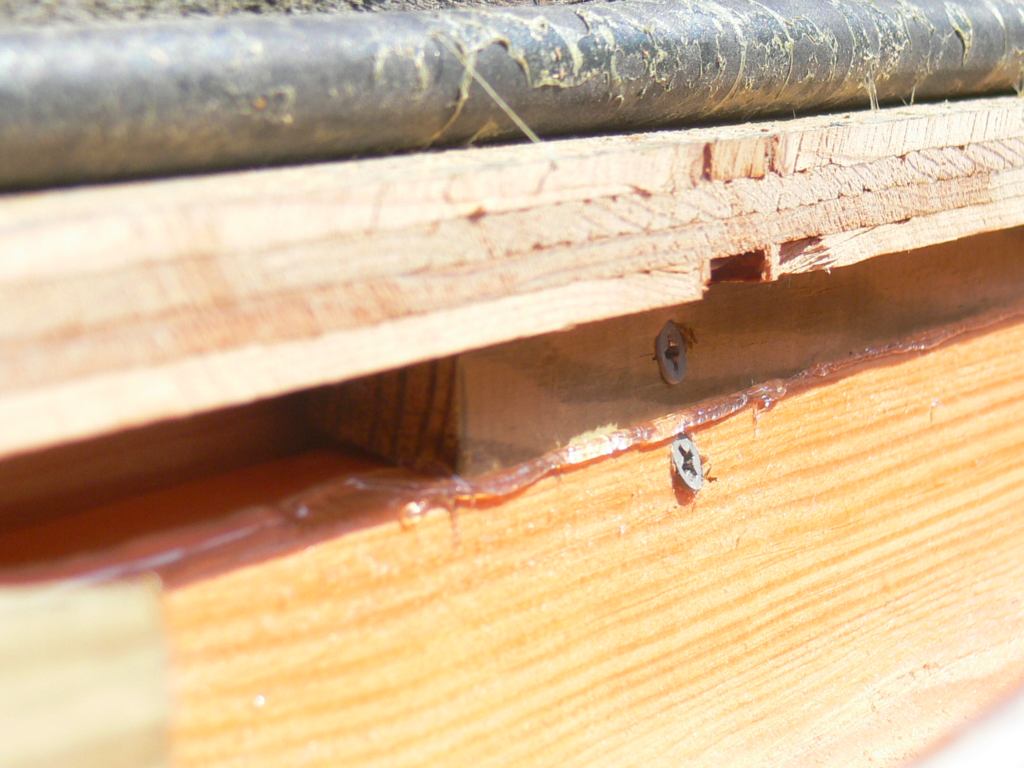
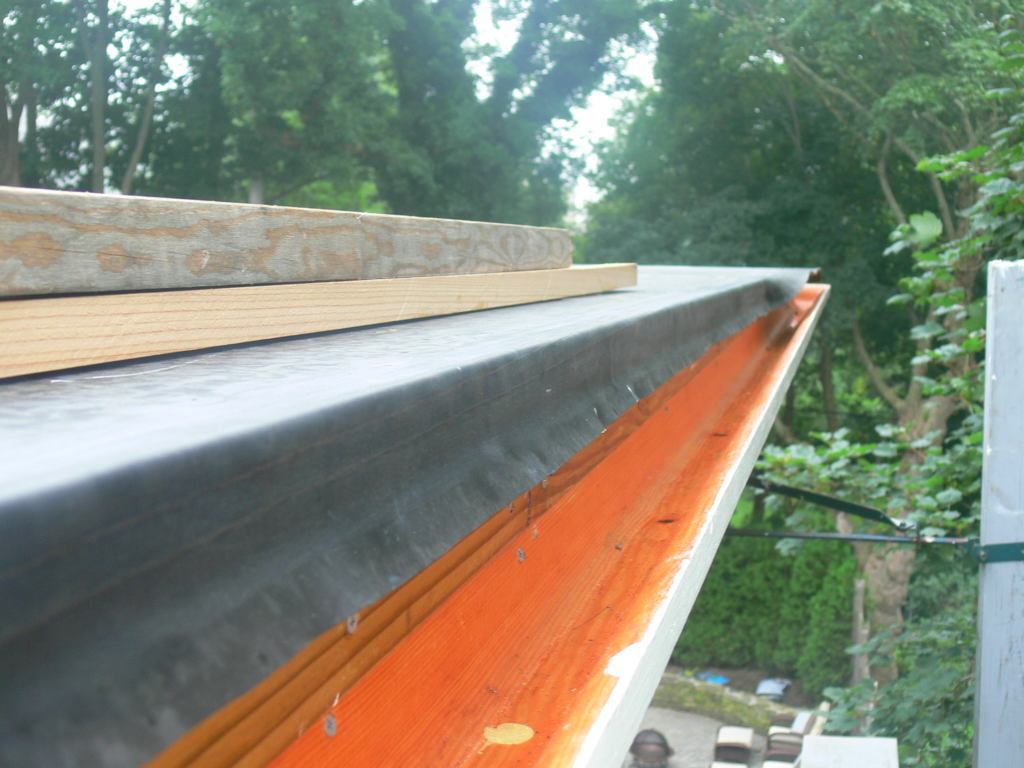
| This is the finished result. This termination method provides for a clean drip into the wood gutter because the plywood sheathing was left protruding 1" |
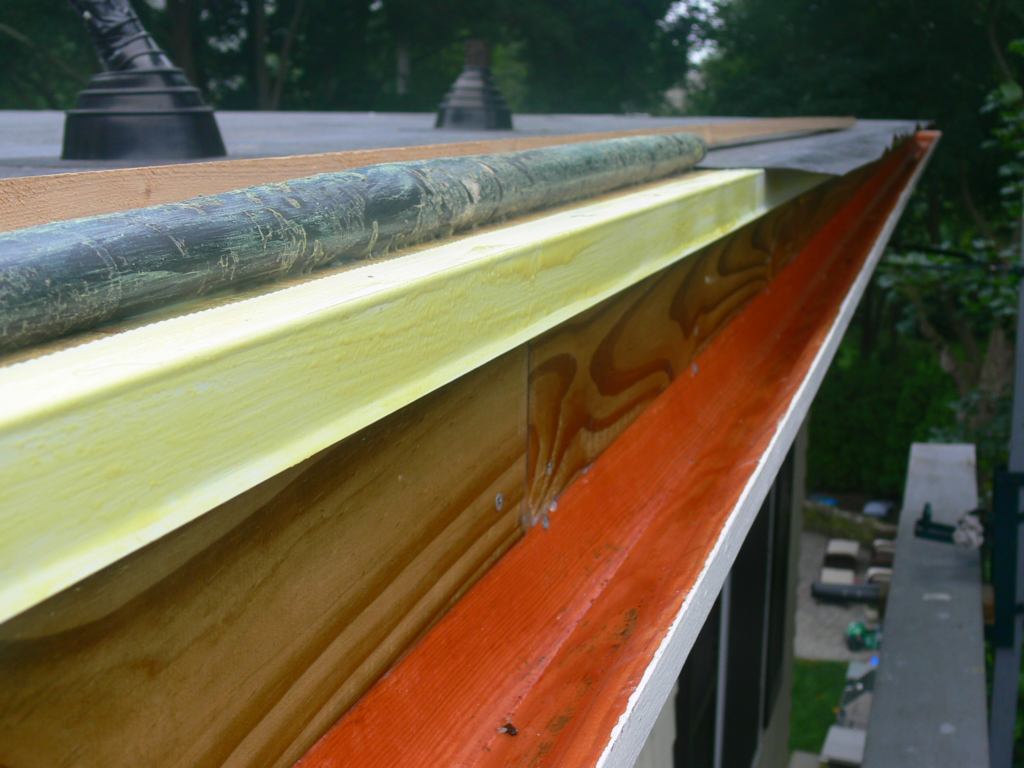
| This adhesive is a contact cement so getting the flashing up tight to the overhanging plywood edge is a one shot deal. We had to trash one and redo it. |
| Working the rubber onto the flashing insuring of complete contact with any air bubbles worked out. |

| The edge of the flashing provides for the perfect straight edge to ride along to trim the excess. Look how much excess. Talk about cutting it close. |
| The stagging is down and the Job complete. Below are a couple of last looks from the ladder. |
|

| A wider frieze and the dentil blocks are on the future to do list. The next shot explains why. |
| . |
| Does the cornice on the rear addition look originial to 1912? |
| Part I |
Part II |
Part III you are here |
| rubbered flat roof | south gutter |