

Part I |
Part II you are here |
Part III
|
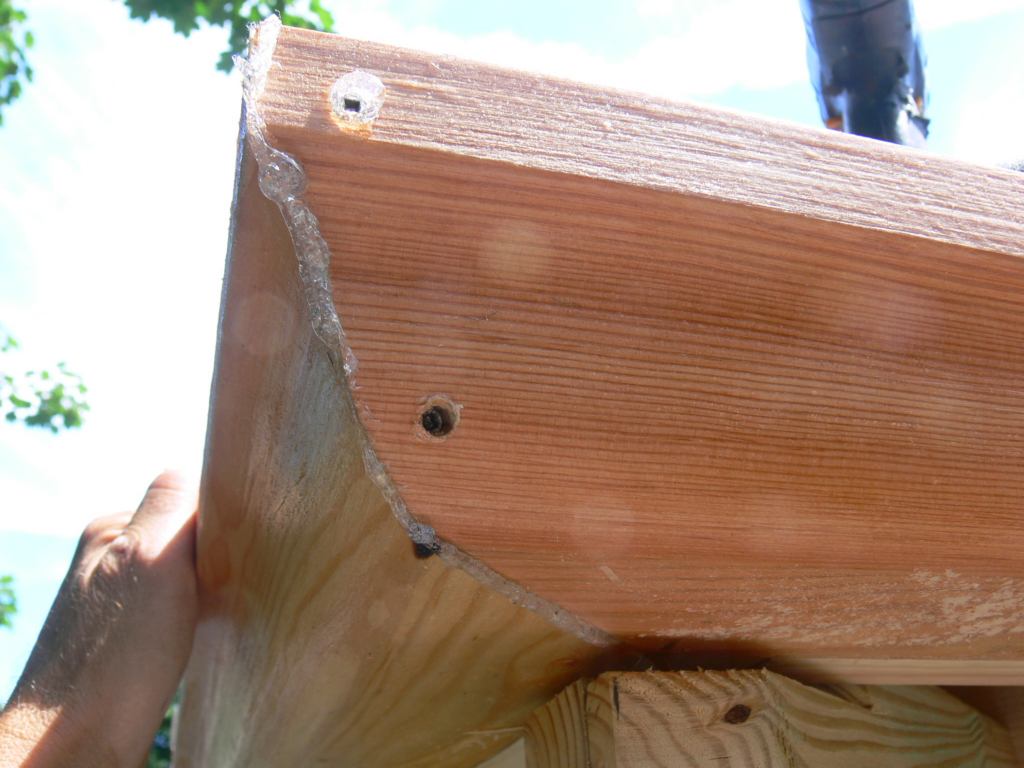
| Now that the wood gutters have been installed dry ensuring their lenghts and mitre joints are just right it's time to unscrew everything and seal the wood gutter joints. |
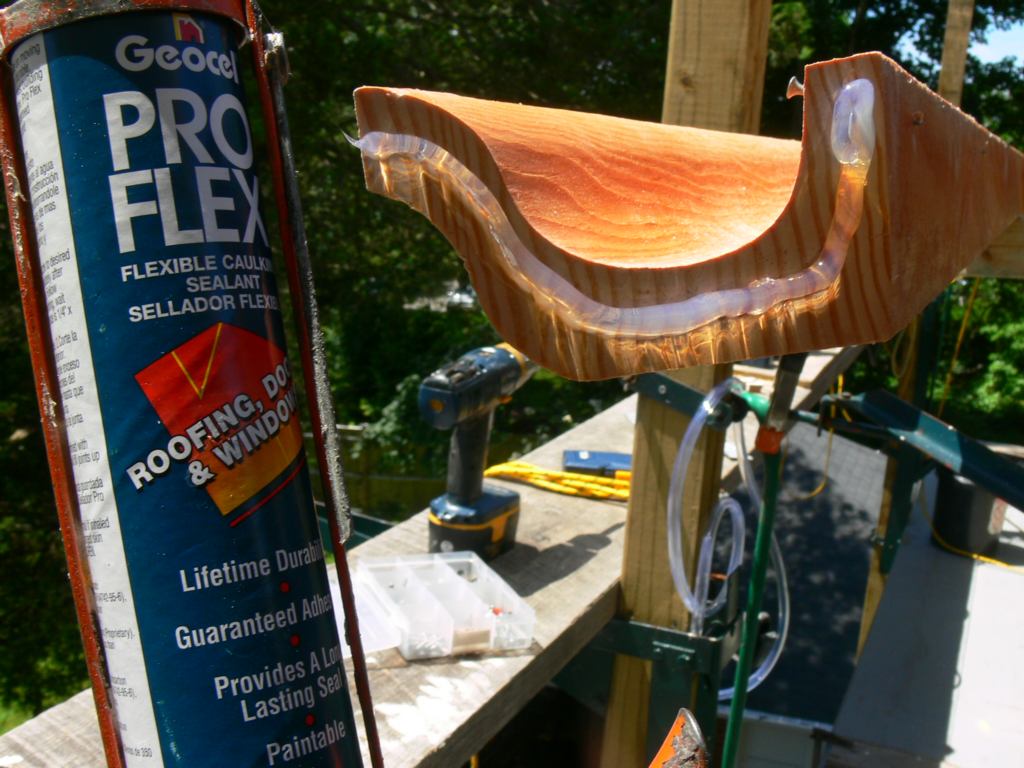
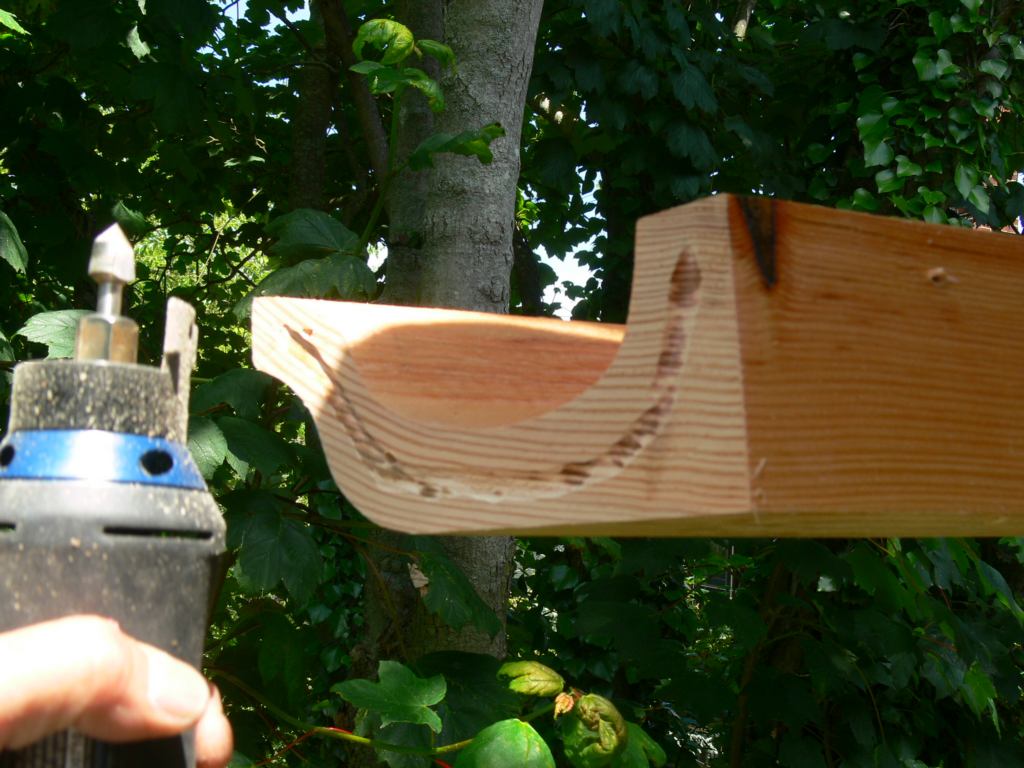
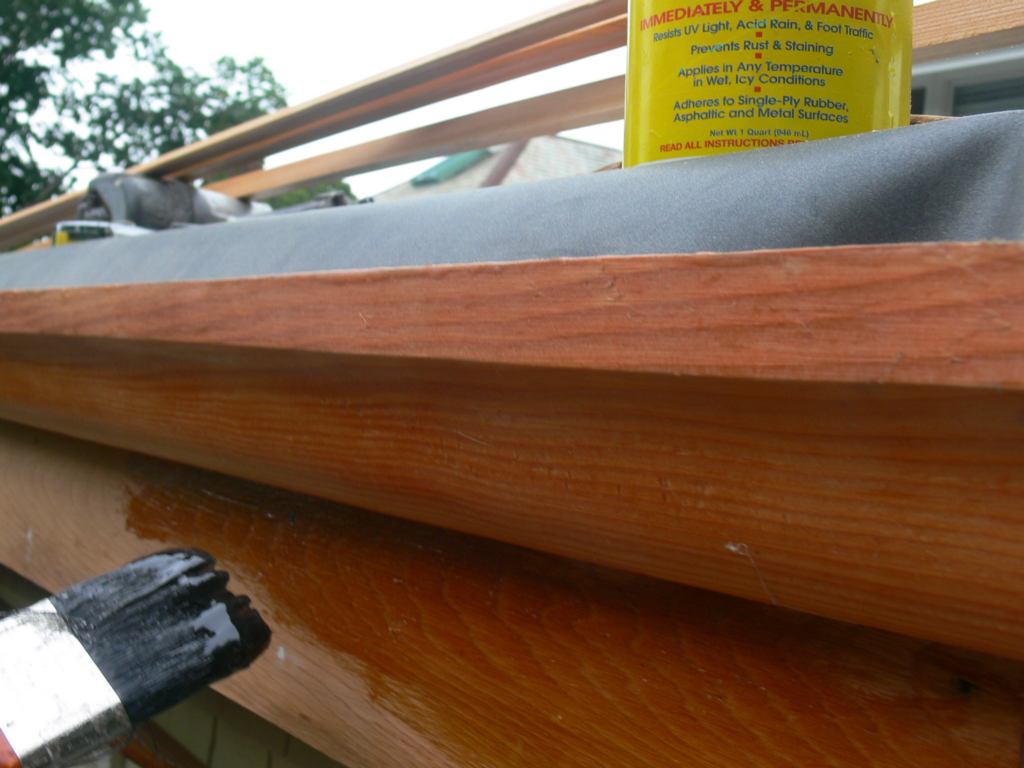
| This Tripolymer sealant by Geocel boasts guaranteed adhesion and lifetime durability. When the joint is socked up tight with stainless steel screws the remaining sealant will be only as thick as playing card. This channel was routed to give more thickness for elasticity to withstand the wood's expansion/contraction. These wood gutters should only experience thermal expansion and contraction and little to none from wetting and drying of the wood. The latter is far more destructive and was arrested by coating all surfaces of the wooden gutters with multiple coats of Geocel's brushable liquid rubber sealant while they were on the ground. |
| I'll bet they wish they had this sealant stuff in 1900 |
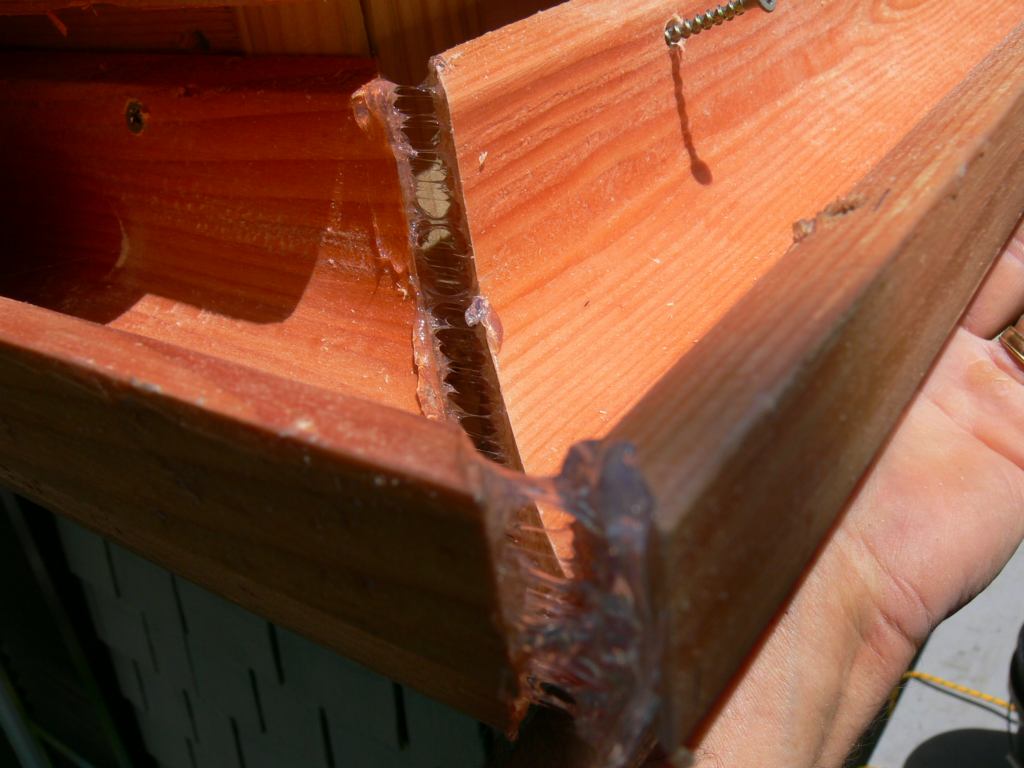
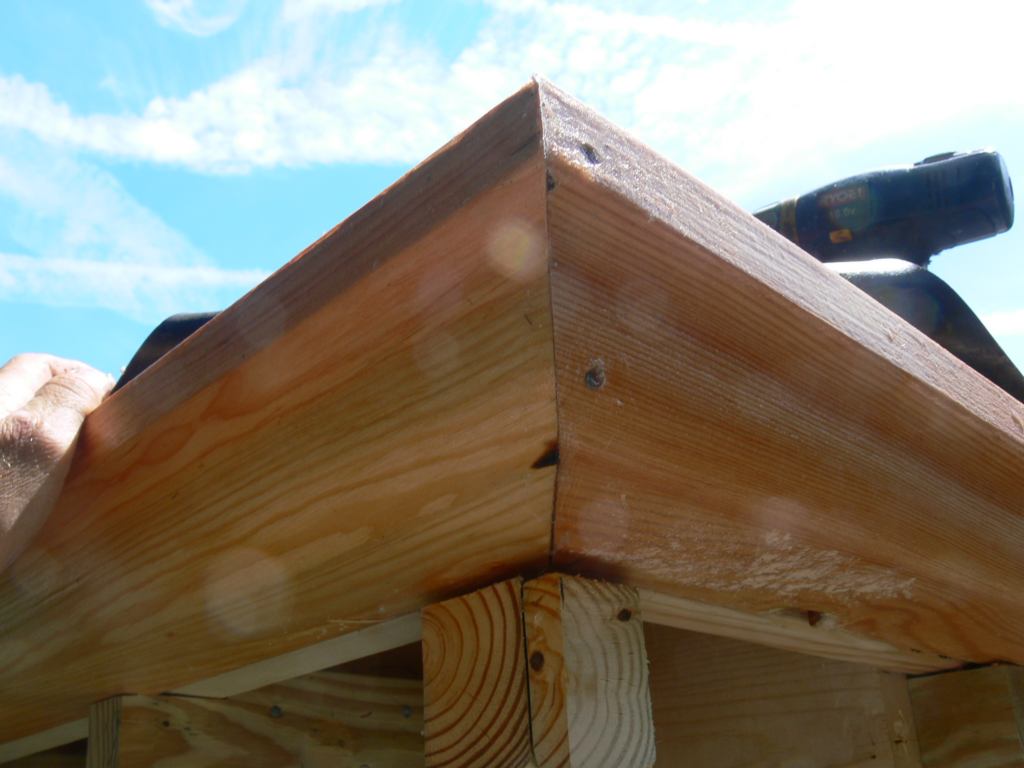
| This wood gutter is now completely sealed, eliminating the wetting dry cycle, which causes the greatest expansion and contraction. Eliminating the wetting drying cycle stops the forces trying to pull the miter joint apart. To guard against joint seperation, stainless steel screws (predrilled to stop splitting) were employed in all the joints. |
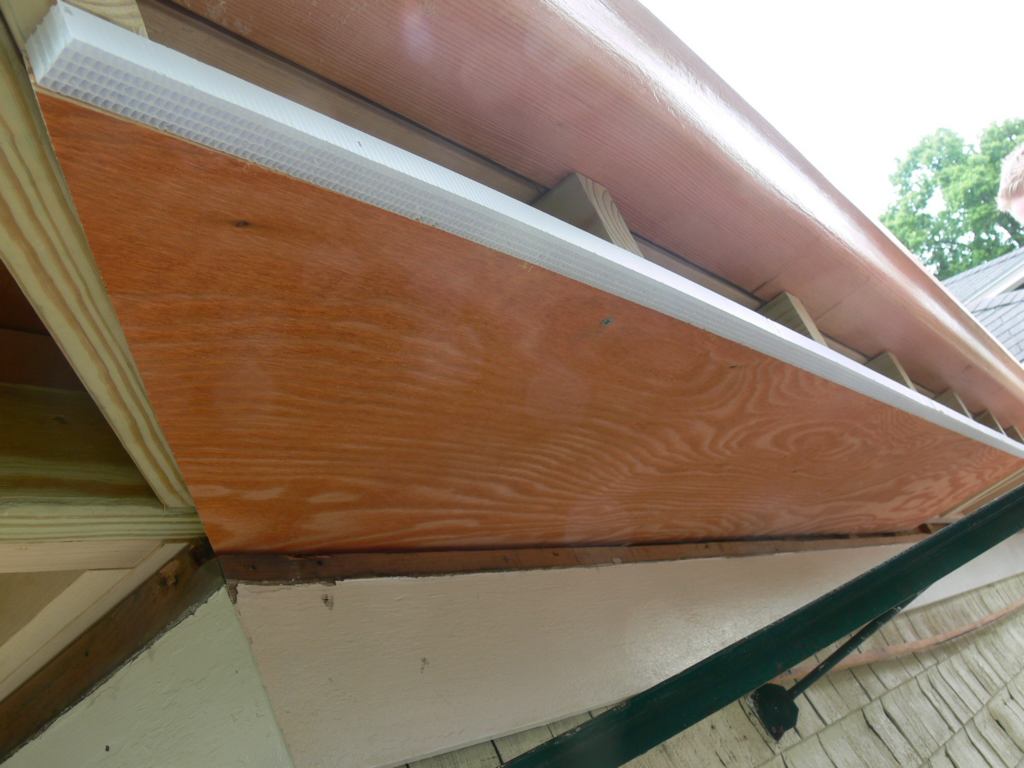
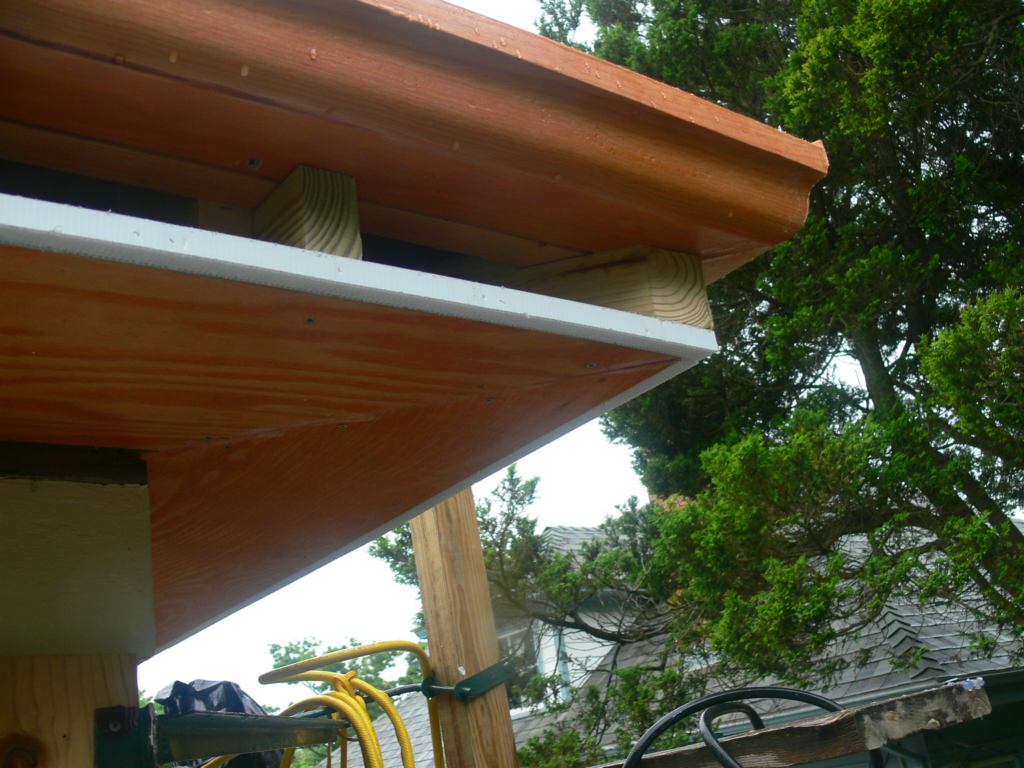
| The white strip on the leading edge is a plastic vent strip by Cor-A-Vent, found at your local building supply establishment. Remember the soffit is purposely pitched down to this vent so if any water does leak into this overhang it will fall out through this vent. This vent is one inch wide but when a more petite vent is desired, any number of the component 6 individual strips can be removed. |
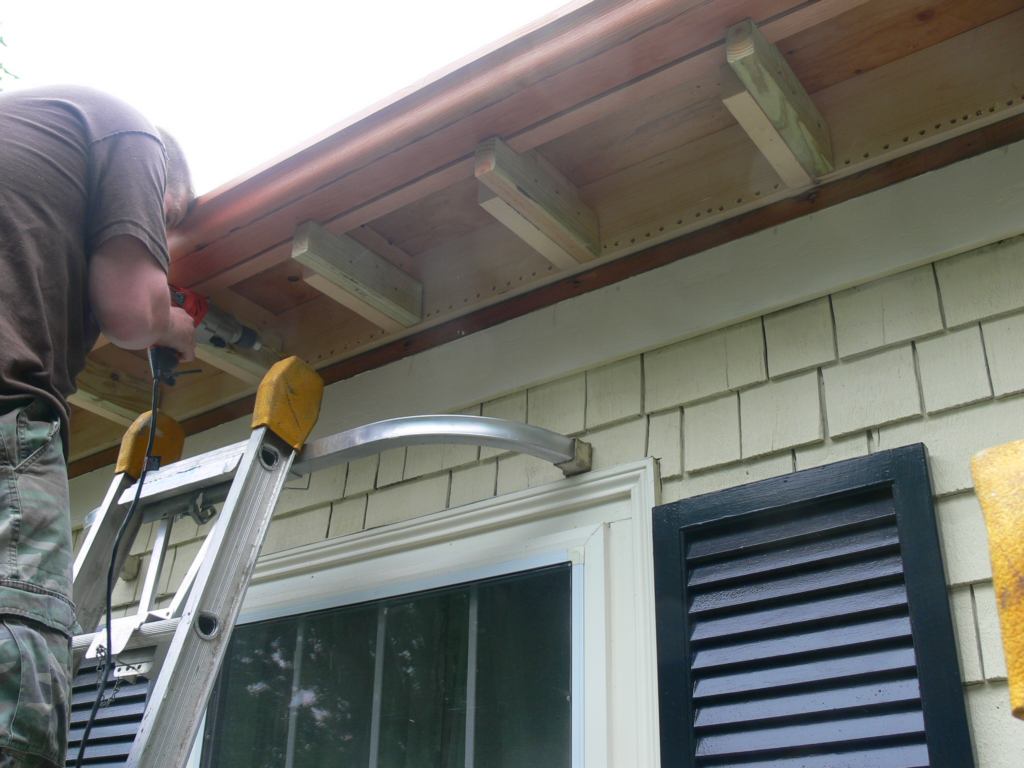
| Here venting holes are bing drilled to vent under flat rubbered roof. Moisture buildup is not allowed. |
| The fascia will hide this venting and since the trim color is an off-white it will be nearly invisible. |
| The fascia boards are reclaimed western red cedar that were already on this building. Red cedar is the most durable wood available today for exterior use. It is highly rot resistant, and unlike pine, does not check, crack or support mold growth. Geocel's brushable liquid rubber is paintable and basically impossible to remove. This product is superior to any primer and worth every penny in the dollars it will save in future scraping and painting, especially way up here. |

| These cove moldings were were custom milled on-site from 5/4" white cedar decking boards and then pre-coated front and back with Geocel's brushable rubber. To prevent any movement, stainless steel trim head screws were employed. |
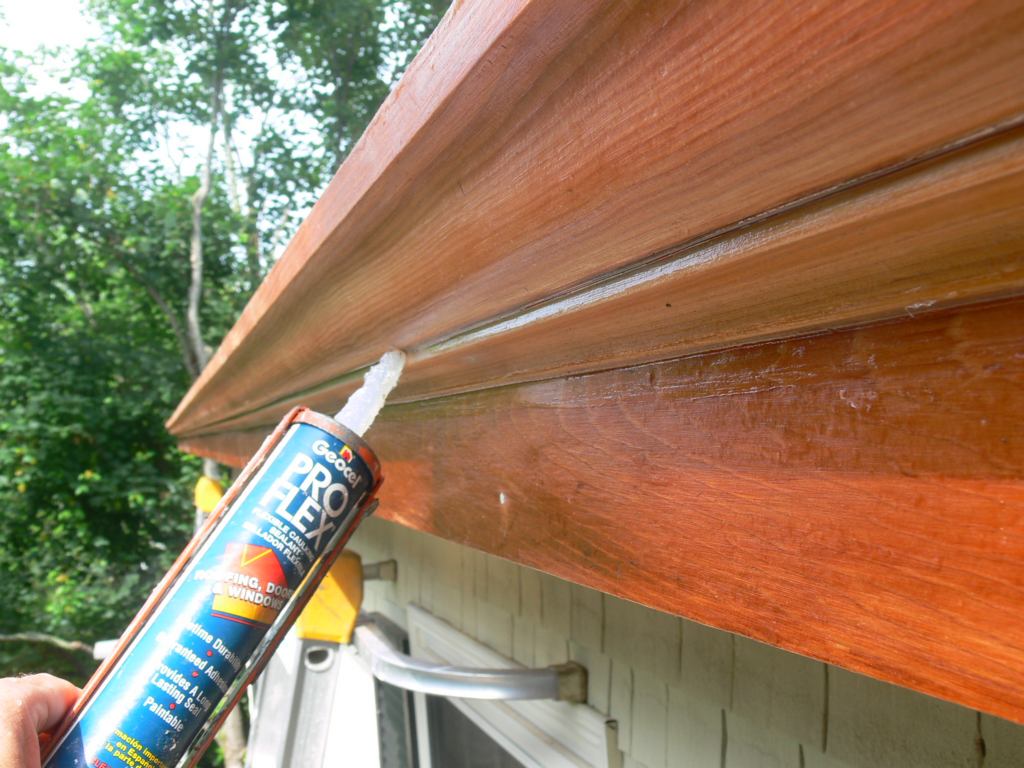
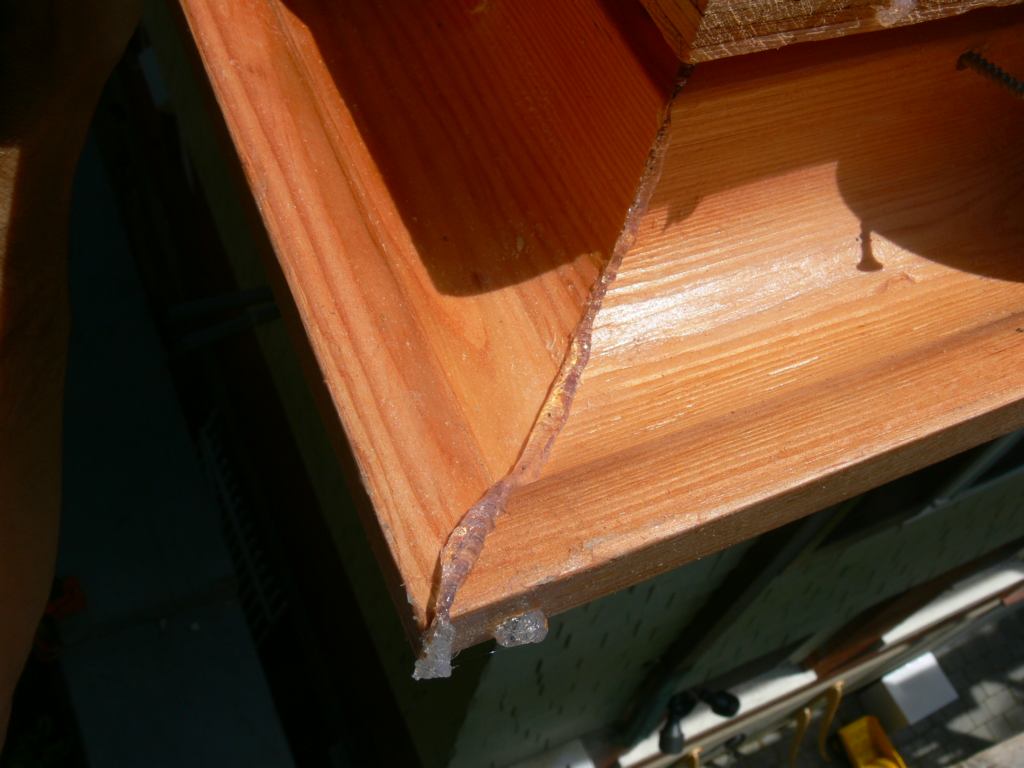
| All the running seams were sealed as well. If the leaders or downpiping become obstructed these wood gutters will overflow and water will pour over these running seams. Therefore good sealing is a must or paint failure will occur. |
| All the wood has been sealed, fasteners set and puttied, and all running seams sealed. After allowing for sealant cure time, this cornice is ready for finish paint. |
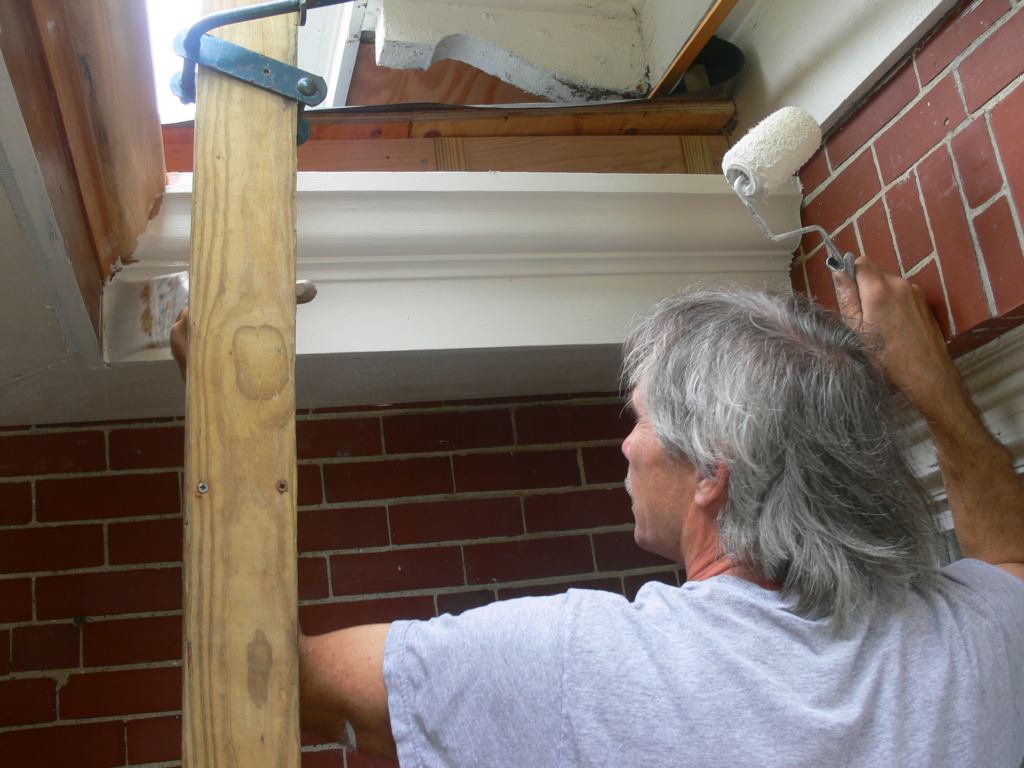
| Let the glorification begin! The method used here in applying the paint makes for a fast and through job. Sure a painter could be brought in after the carpentry is complete and they move their ladders every few feet, or I could blow this paint on right now with the great stagging access that is already in place. Makes sense to me. |
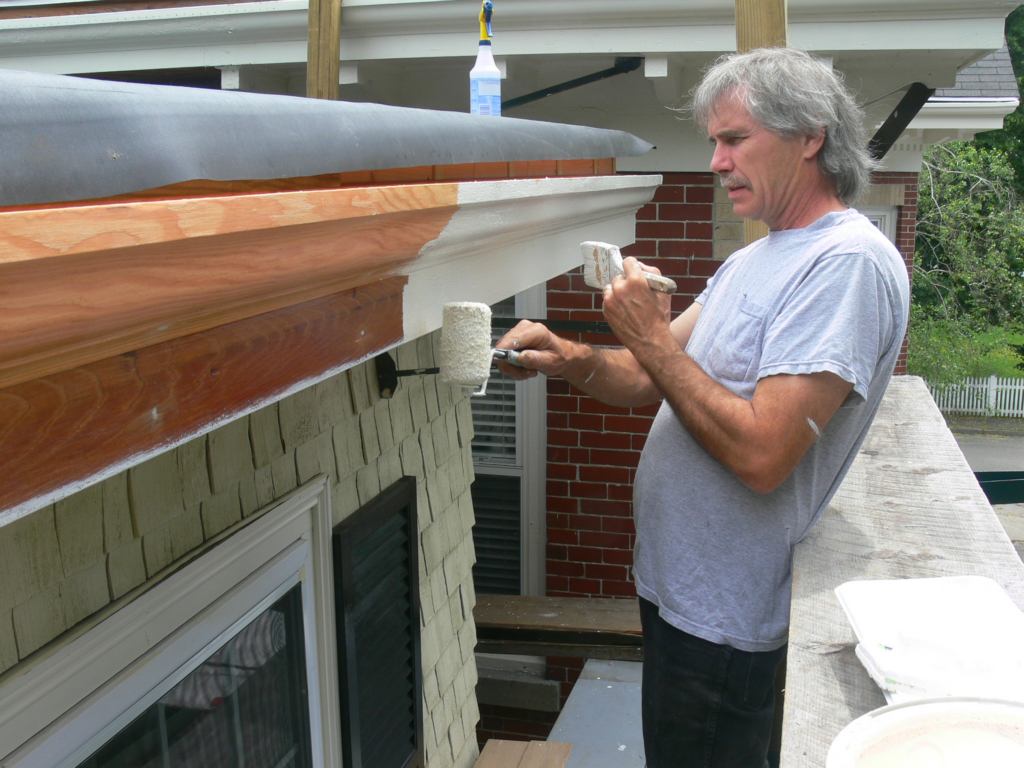
| Most painters use one hand, I use two. The roller floods the wood and the brush works it in and removes the roller nap. This top coat is Benjamin Moore's Soft Gloss 100% acrylic latex paint. The technical data sheet says to "Apply paint generously" and this is important to acheiving a durable paint film. Notice its a cloudy day. If wood is hot to the touch, or will be before cure, do not paint. |
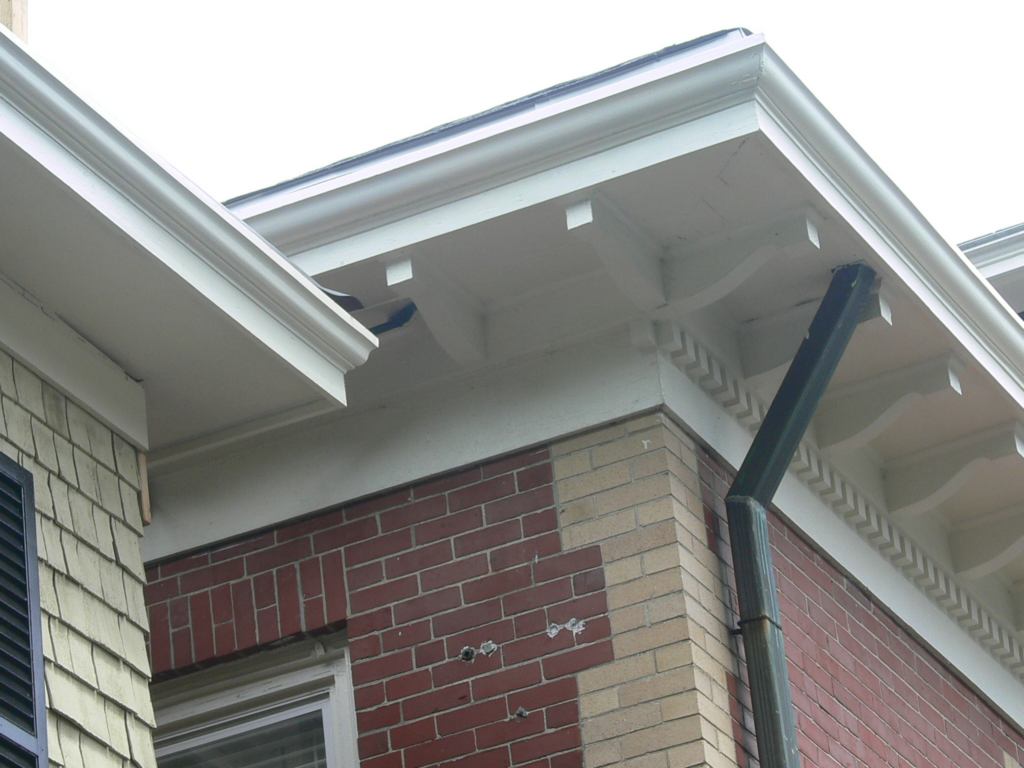
| The goal is to replicate the main house cornice but in a downsized form so that it remains subordinate. The next order of business will be the corbel dentil blocks. One more word about the paint... "...Benjamin Moore & Co. warrants that this product when used in accordance with the label instructions, will not: 1. blister from properly prepared and primed surfaces, 2. peel from properly prepared and primed surfaces, and 3. wear down or weather to expose the previously painted surface. This warranty shall be effective for 25 years..." |
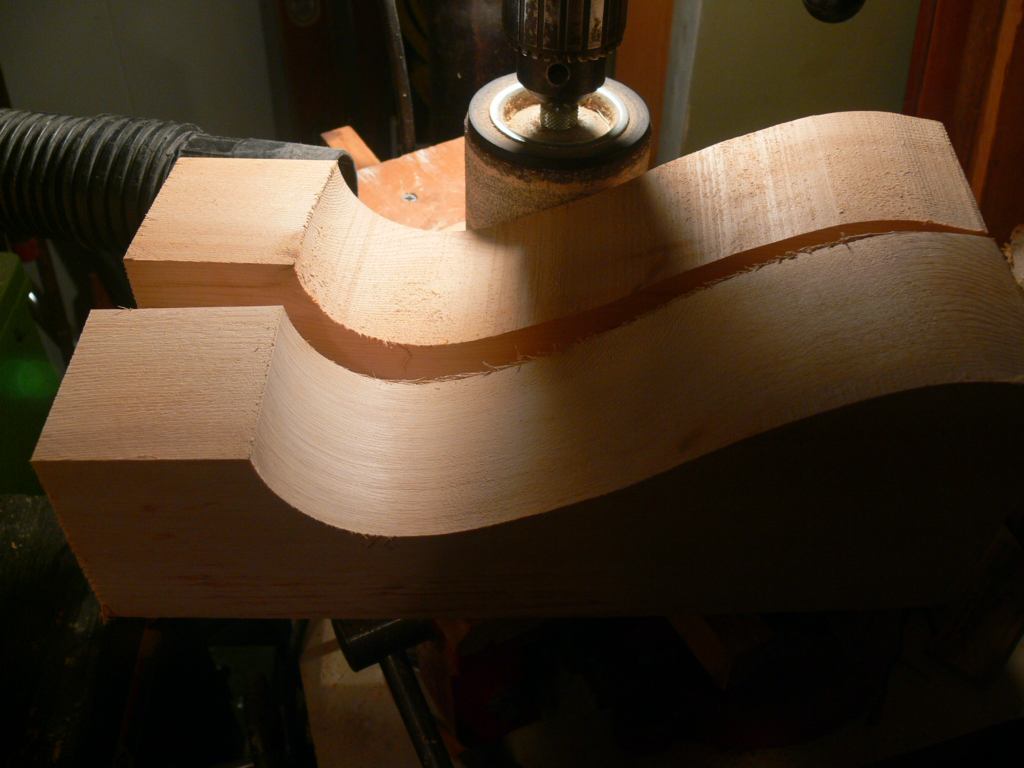
| We need 46 of these!. |
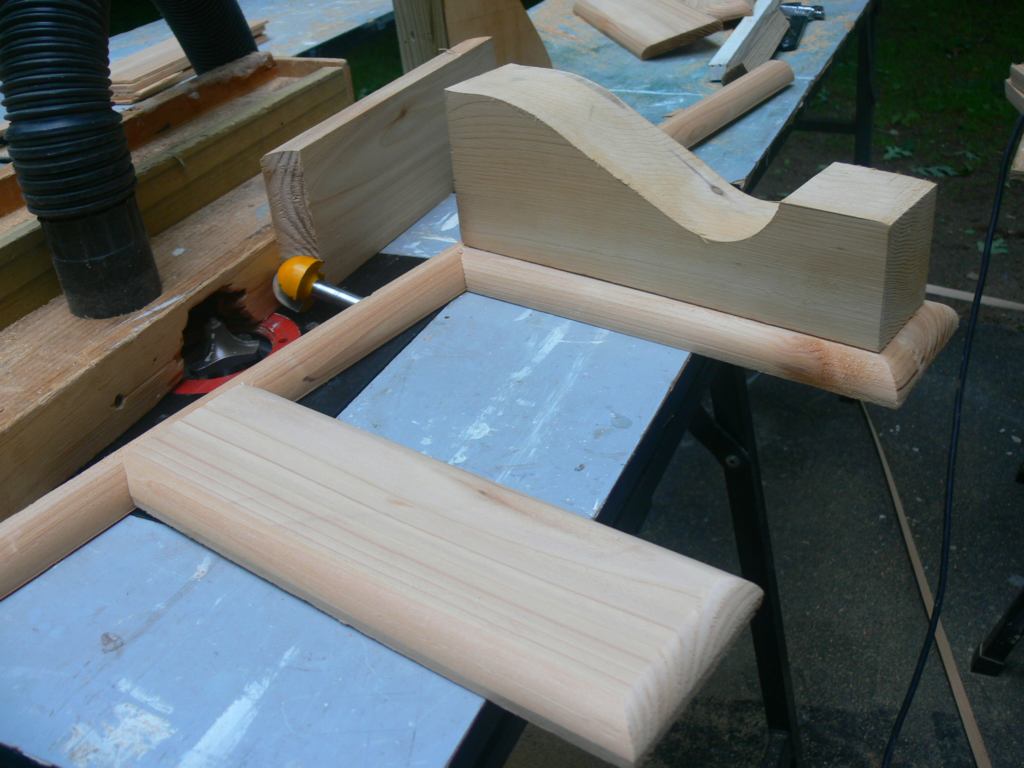
| Rather than miter a quarter round molding around every corbel block this is the way to do it, by coping. |
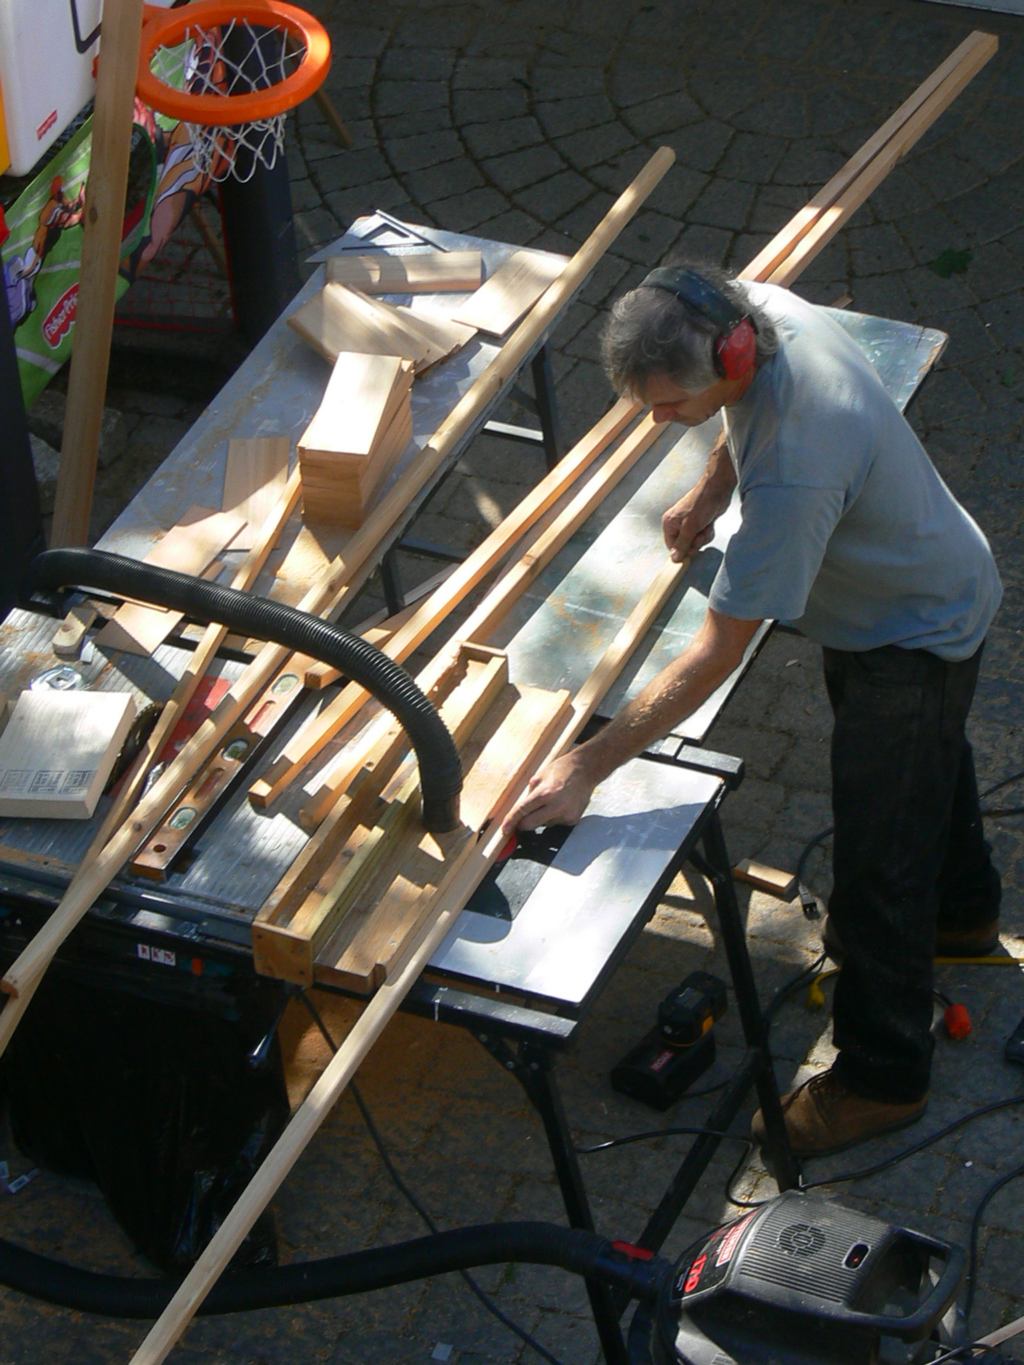
| That's me, Frank Harding, milling the quarter-round moldings right on the job site from clear 5/4" cedar decking boards. Constant chip removal is must to be able to keep the stock tight to the fence. |
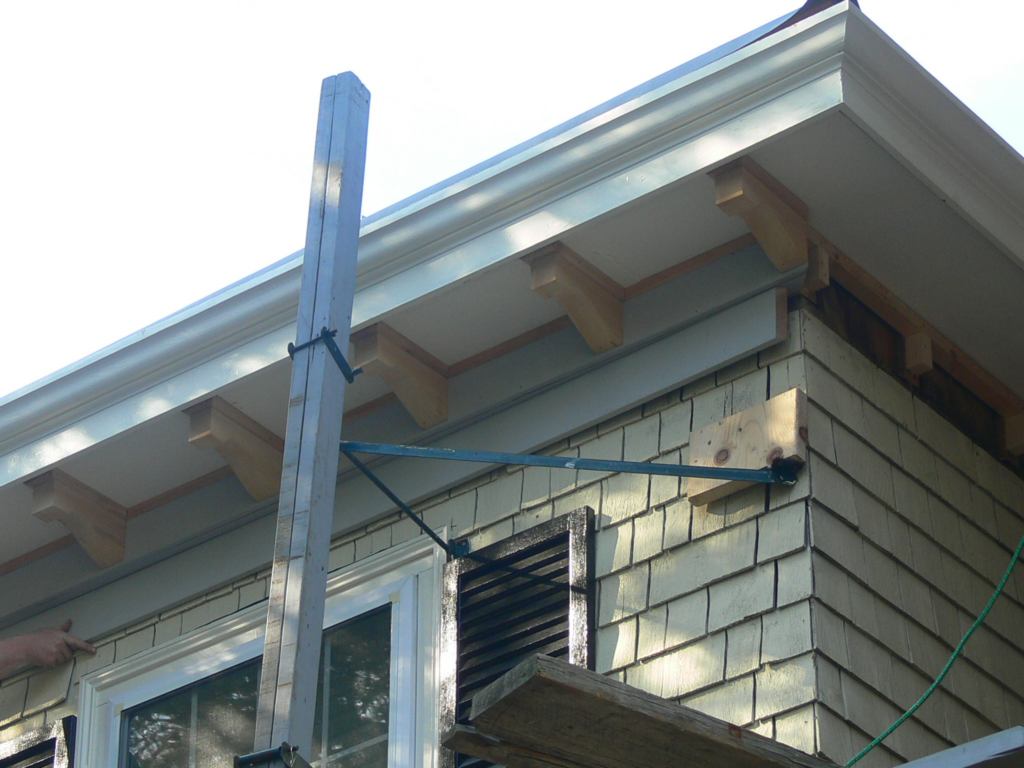
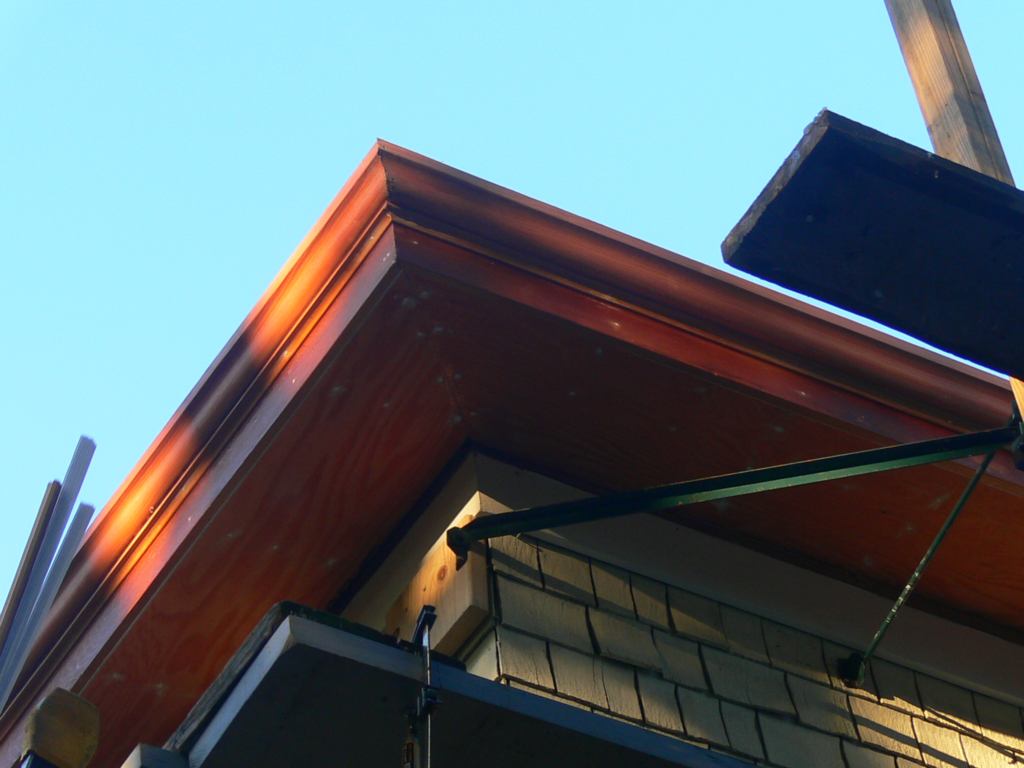
| Now we can see what the end result will look like. The painting will pull everything together.. |
| Part I |
Part II you are here |
Part III |
| rubbered flat roof | south gutter |